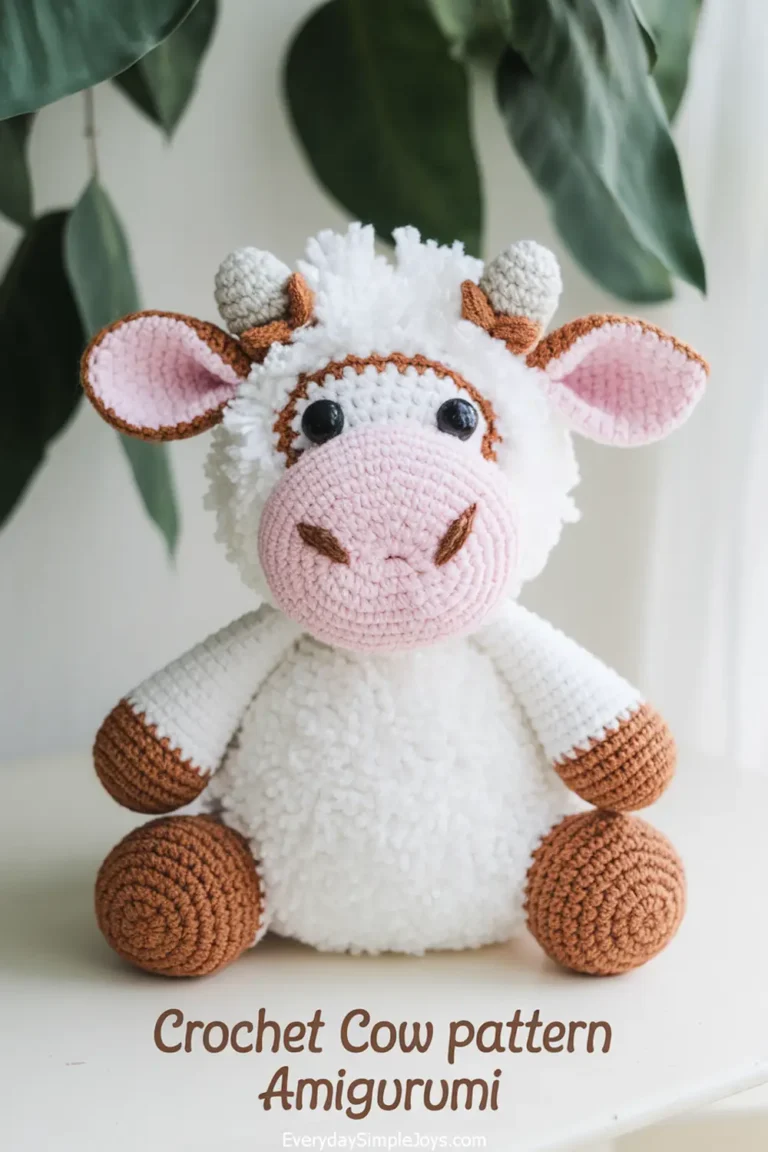
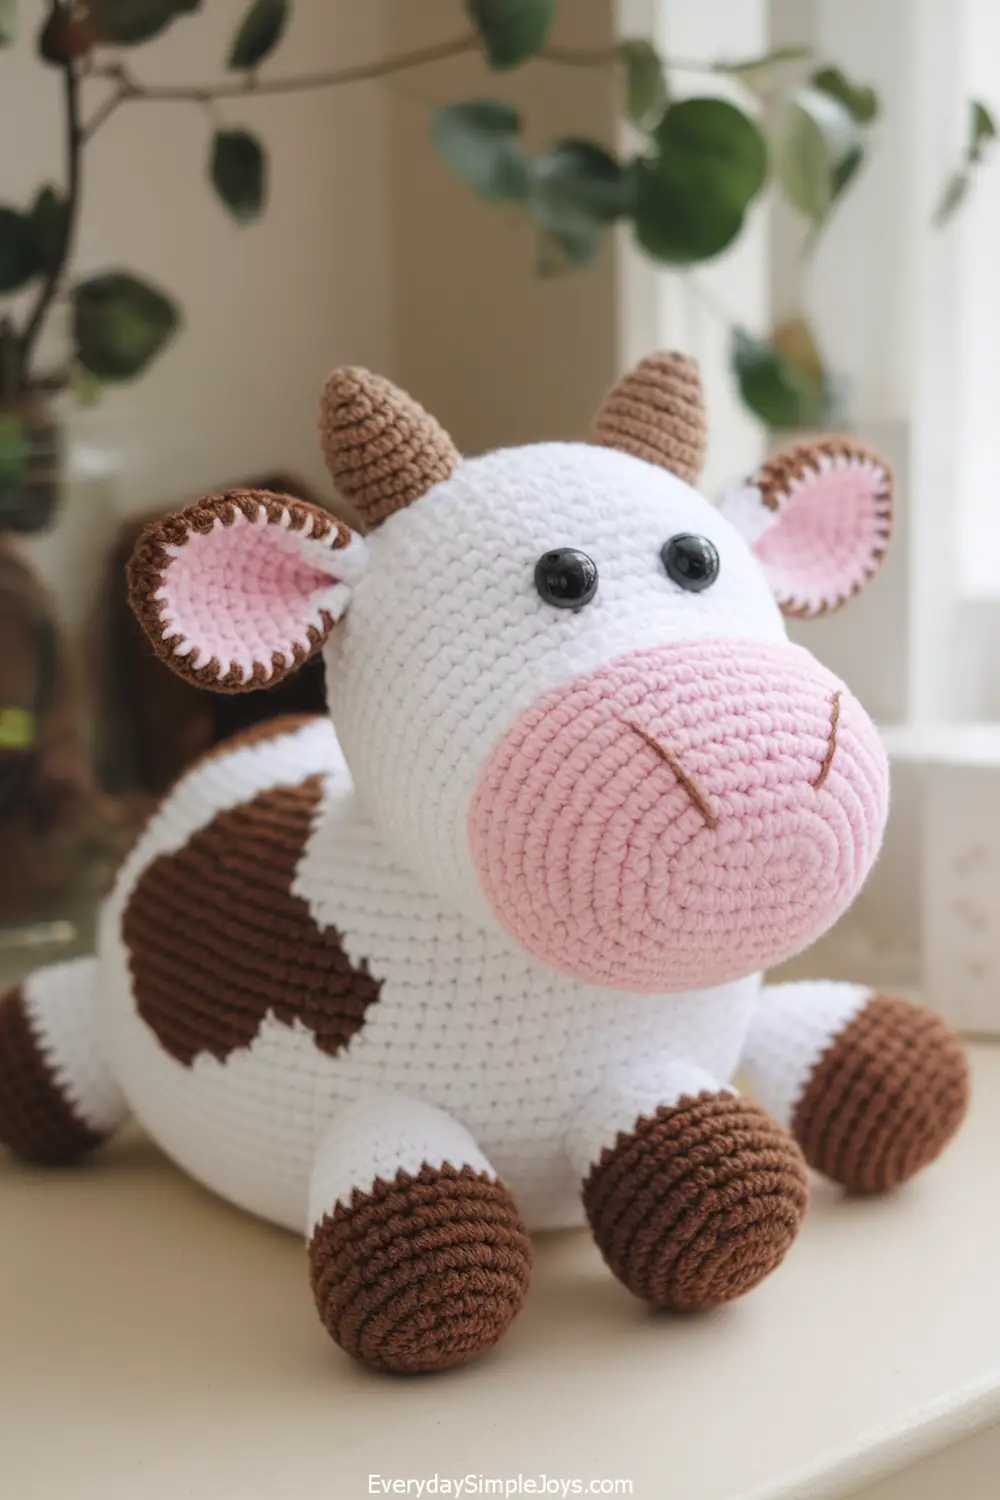
If you’re looking to add a touch of charm to your crochet projects, this cute crochet cow is the perfect choice! Whatever your level of crafting, this amigurumi cow pattern offers an easy-to-follow guide for creating a delightful crocheted cow that’s full of personality.
Designed with love, the crocheted cow pattern is ideal for anyone who enjoys working on easy crochet animals. The intricate details of this amigurumi cow bring it to life.
If you’re on the hunt for an adorably creative cow pattern or want to explore the art of confection au crochet, this design is a great way to showcase your skills and create a unique handmade piece. Perfect as a gift or to add to your own collection, this amigurumi cow pattern is sure to be a favorite!
| Material | Purpose | Quantity/Size |
|---|---|---|
| White Yarn | Main body and head | Approx. 100g |
| Black or Brown Yarn | Spots and hooves | Approx. 50g |
| Pink Yarn | Nose and inner ears | Small amount (20g) |
| Polyester Fiberfill | Stuffing for the plushie | As needed |
| Crochet Hook (4.0mm) | For stitching the yarn | 1 |
| Safety Eyes (12mm) | Eyes for the cow | 2 |
| Stitch Marker | Marking the beginning of each round | 1 |
| Ribbon or Bell | Optional accessories for decoration | 1 |
Materials and Equipment Described
- Yarn:
- White (main body and head)
- Black or brown (spots and hooves)
- Pink (nose and inner ears)
- Optional: Yellow (for a bell or extra details)
- Crochet Hook: Size 4.0mm (G) or as recommended for your yarn
- Stuffing: Soft polyester fiberfill
- Yarn Needle: For sewing pieces together
- Scissors: For cutting yarn
- Safety Eyes: Two 12mm plastic safety eyes (or black yarn for embroidered eyes)
- Stitch Marker: To mark the beginning of each round
- Optional Accessories: Ribbon for a bow or small bell for the cow’s neck
Step-by-Step Instructions
1. Make the Head (White Yarn)
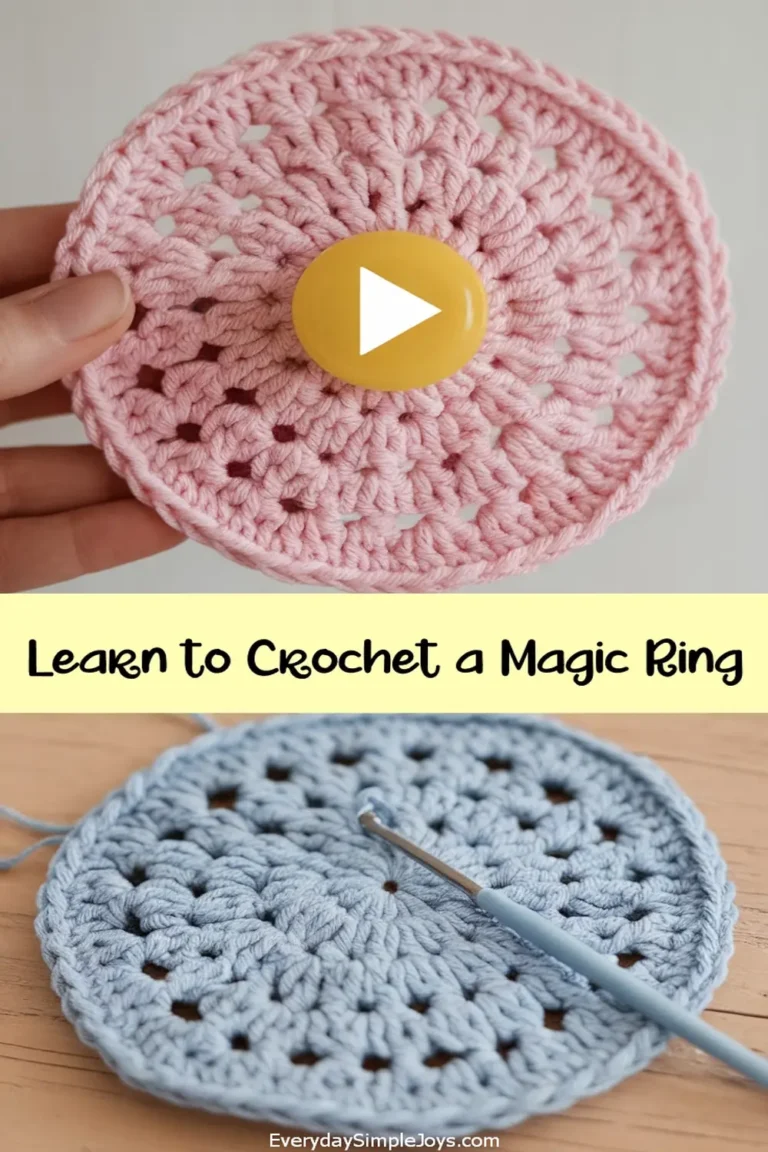
- Start with a Magic Ring: Make a magic ring and crochet 6 single crochets (sc) into it. (6 sts) Video instructions for making a magic ring are found here.
- Increase Rounds:
- Round 2: 2 sc in each stitch. (12 sts)
- Round 3: 1 sc, 2 sc in next stitch repeat around. (18 sts)
- Round 4: 2 sc, 2 sc in next stitch repeat around. (24 sts)
- Round 5: 3 sc, 2 sc in next stitch repeat around. (30 sts)
- Shape the Head: Rounds 6-12: sc in each stitch. (30 sts)
- Start Decreasing:
- Round 13: 3 sc, decrease over next 2 stitches repeat around. (24 sts)
- Round 14: 2 sc, decrease over next 2 stitches repeat around. (18 sts)
- Stuff the Head: Add stuffing firmly but not too tight.
- Finish the Head:
- Round 15: 1 sc, decrease over next 2 stitches repeat around. (12 sts)
- Round 16: Decrease over every 2 stitches. (6 sts)
- Fasten off and close the hole with a yarn needle.
2. Make the Body (White Yarn)
Follow the same process as the head but with slight modifications:
- Repeat Rounds 1-5 for the base.
- Widen the Body: Rounds 6-10: sc in each stitch. (30 sts)
- Start Tapering:
- Round 11: 3 sc, decrease over next 2 stitches repeat around. (24 sts)
- Round 12: 2 sc, decrease over next 2 stitches repeat around. (18 sts)
- Stuff and Finish: Add stuffing and follow the decrease pattern from the head to close.
3. Make the Legs (Black/Brown and White Yarn)
- Hoof Section:
- Start with black or brown yarn and make a magic ring with 6 sc.
- Round 2: 2 sc in each stitch. (12 sts)
- Rounds 3-4: sc in each stitch. (12 sts)
- Leg Section: Switch to white yarn and crochet Rounds 5-8 in sc. (12 sts)
- Fasten off and lightly stuff. Repeat for all 4 legs.
4. Make the Ears and Spots
Ears: Use white yarn for the outer ear and pink for the inner ear. Crochet as follows:
- Outer: Magic ring, 6 sc, then increase to 12 sts over 2 rounds. Fold and fasten off.
- Inner: Repeat with pink yarn and sew to the outer ear.
Spots: Crochet small or large circles using black or brown yarn as desired.
5. Assemble the Cow
- Sew the head to the body securely.
- Attach the legs evenly to the bottom of the body.
- Add the ears and sew on spots.
- Attach safety eyes or embroider them with black yarn.
6. Add Final Details
Complete your cow with accessories like a ribbon, bell, or fun embellishments!
Fun Alternatives
Get creative with these ideas:
- Colors: Try pastel, rainbow, or opposite color schemes.
- Textures: Use fluffy yarn for a cozy look or glitter yarn for sparkle.
- Accessories: Add hats, bows, or custom decorations.
Size Adjustments
Customize your plushie by adjusting the hook size and yarn type:
| Size | Hook Size | Yarn Type | Finished Dimensions |
|---|---|---|---|
| Small | 3.0mm | Light-weight yarn | Approx. 6 inches tall |
| Medium | 4.0mm | Medium-weight yarn | Approx. 8 inches tall |
| Large | 5.0mm | Chunky yarn | Approx. 12 inches tall |
Tips for Success
| Tip | Description |
|---|---|
| Use a Stitch Marker | Mark the start of each round to avoid losing your place and ensure even stitching. |
| Maintain Even Tension | Keep your stitches consistent to prevent gaps or stiffness in the cow. |
| Count Your Stitches | Regularly count your stitches at the end of each round to avoid mistakes and uneven shapes. |
| Start with a Magic Ring | Use the magic ring technique for a tight and neat starting circle with no gaps. |
| Stuff Gradually | Add stuffing little by little as you crochet to achieve an even shape and avoid overstuffing. |
| Securely Attach Pieces | Double-stitch parts like legs, ears, and head to ensure durability, especially for toys. |
| Plan Spot Placement | Lay out the cow’s spots before sewing to create a balanced and cohesive look. |
| Practice Basic Stitches | If you’re new to crochet, practice single crochet, increases, and decreases before starting. |
| Take Breaks | Crochet is relaxing but can be tiring. Take breaks to avoid mistakes from fatigue. |
| Customize for Fun | Get creative by adding bows, bells, or unique spot shapes to make your cow truly one of a kind. |
Common Problems and Troubleshooting
Even experienced crocheters can encounter challenges when making amigurumi projects. Here are some common problems and how to solve them:
- Uneven Shaping: If your cow looks lopsided, you might have skipped or added stitches. Double-check your stitch counts after each round and use a stitch marker to track your progress.
- Gaps in Stitches: If stuffing shows through, your tension may be too loose, or your hook size too large. Use a smaller hook or tighten your stitches for better coverage.
- Parts Not Aligned: If the ears, legs, or spots are unevenly placed, lay them out before attaching and pin them in place with sewing pins to check alignment.
- Holes When Closing: Use a yarn needle to weave through the last stitches and pull tightly to create a seamless finish when closing rounds.
- Twisted Magic Ring: If the magic ring doesn’t sit flat, ensure it is fully tightened and the first round of stitches is evenly spaced.
Care Instructions
Spot clean or hand-wash in cool water if necessary. If you used acrylic yarn and sturdy safety eyes,
you may machine-wash on gentle cycle and air-dry. Always check seams and attachments before giving to children.

