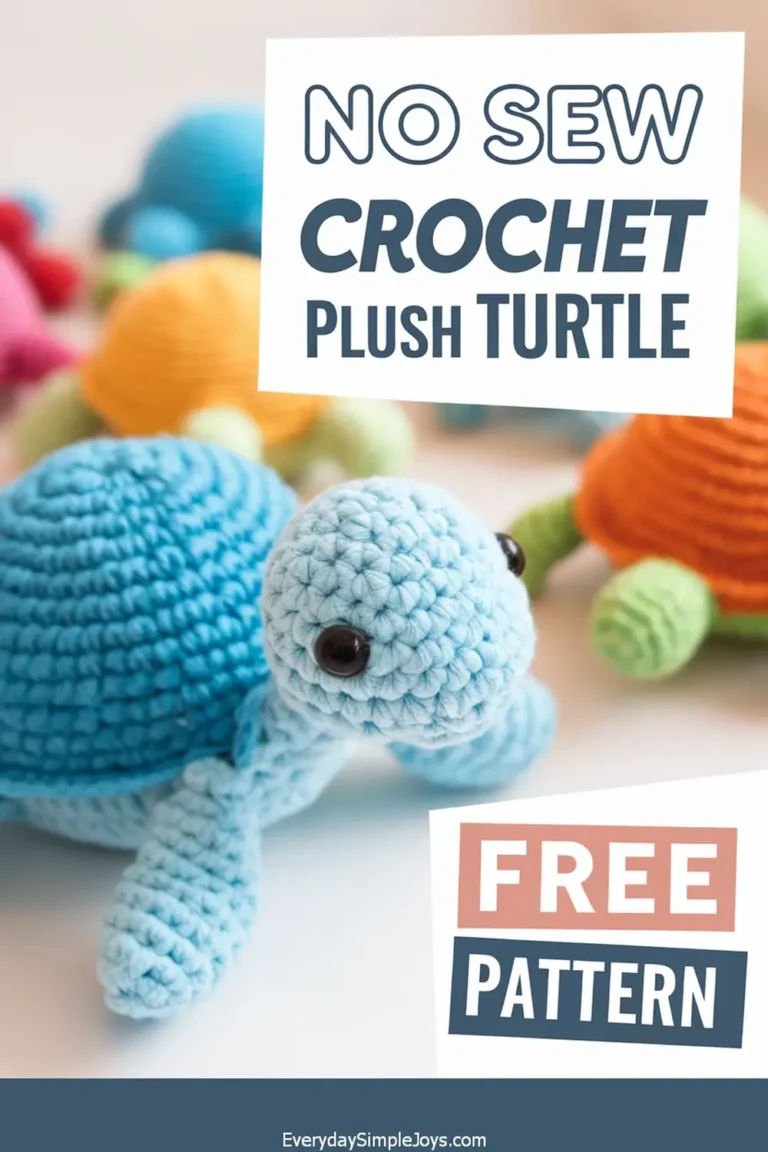
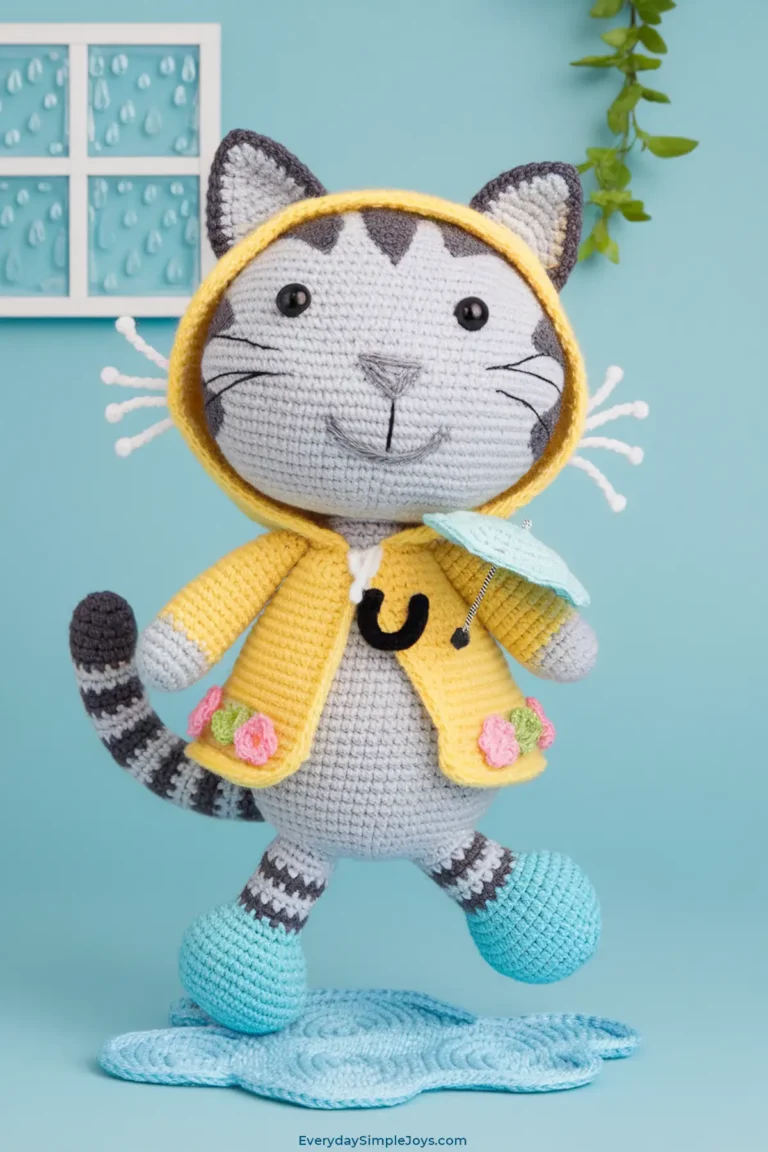
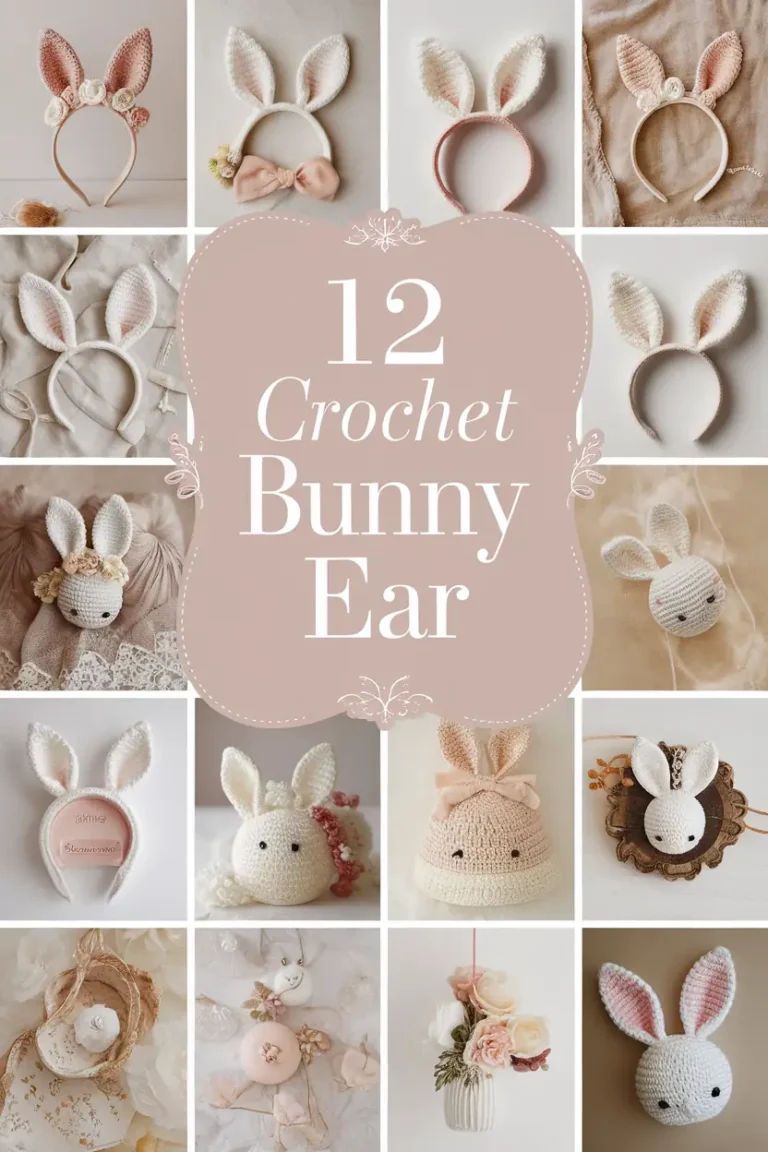
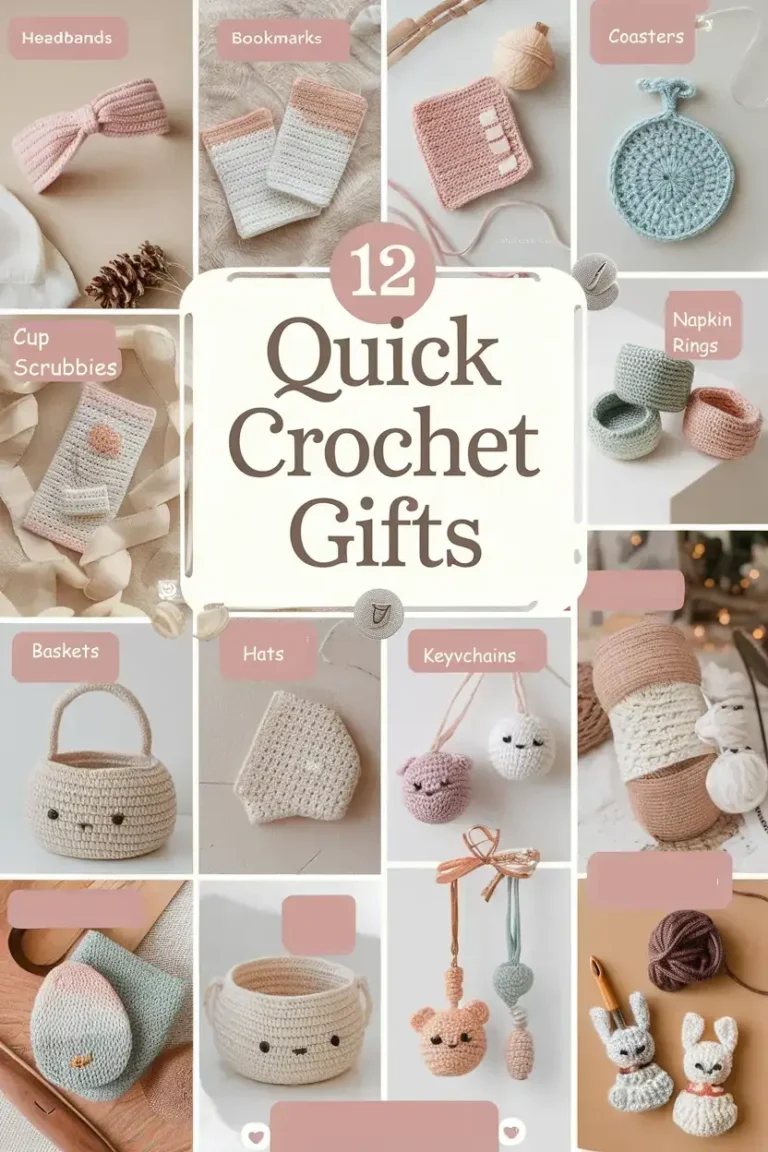
If you’re looking for a fun, quick, and beginner-friendly project, this No Sew Crochet Turtle Amigurumi is perfect for you! Combining the charm of plush crochet with the simplicity of easy crochet animals, this adorable amigurumi plushie is as delightful to make as it is to gift or display.
Using our step-by-step crochet turtle pattern, you’ll create a lovable turtle that’s soft, squishy, and irresistibly cute. Designed for crafters of all skill levels, this project features quick crochet patterns that come together effortlessly—no sewing required!
This guide will help you create the most adorable crochet turtle that’s sure to steal hearts. Why not let your crochet family bring this sweet little turtle to life
Materials and Equipment
| Materials | Quantity |
|---|---|
| Yarn (DK weight) | 2 colors (Green & Brown) |
| Crochet Hook (G-6 / 4.0mm) | 1 |
| Safety Eyes | 2 |
| Stuffing (Polyester) | Small amount |
| Yarn Needle | 1 |
| Stitch Marker | 1 |
| Scissors | 1 |
Notes
- Skill Level: Beginner to Intermediate
- Finished Size: Approximately 4 inches (10 cm) in diameter
- Stitches Used: Chain (ch), Slip Stitch (sl st), Single Crochet (sc), Invisible Decrease (inv dec)
Substitutes for polyester stuffing include:
Washed old pantyhose, scraps of clean rags, old t-shirts, strips of discarded fabric from other projects
Step by Step Instructions
Head:
- Start with a magic ring. Learn how to make a magic ring here – with videos!
- Round 1: 6 sc into the magic ring. (6)
- Round 2: 2 sc in each stitch around. (12)
- Round 3: (sc in next stitch, 2 sc in next stitch) around. (18)
- Round 4-5: sc in each stitch around. (18)
- Stuff lightly, then close the opening.
Body:
- Start with a magic ring.
- Round 1: 6 sc into the magic ring. (6)
- Round 2: 2 sc in each stitch around. (12)
- Round 3: (sc in next stitch, 2 sc in next stitch) around. (18)
- Round 4-6: sc in each stitch around. (18)
- Round 7: (sc in next 2 stitches, 2 sc in next stitch) around. (24)
- Round 8-12: sc in each stitch around. (24)
- Stuff lightly, then close the opening.
Legs (Make 4):
- Start with a magic ring.
- Round 1: 6 sc into the magic ring. (6)
- Round 2: 2 sc in each stitch around. (12)
- Round 3-4: sc in each stitch around. (12)
- Stuff lightly, then close the opening.
Tail:
- Start with a magic ring.
- Round 1: 6 sc into the magic ring. (6)
- Round 2-3: sc in each stitch around. (6)
- Stuff lightly, then close the opening.
Assembly:
- Crochet the pieces together in order to attach the head onto the body, positioning it where you want the turtle’s neck to be.
- Attach the legs to the body, spacing them evenly.
- Attach the tail at the back of the body.
- Sew safety eyes onto the head. Make sure these are secure so they don’t fall off easily.
Note about attaching the tail, turtle’s legs, body, and head. Instead of crochet, you can use the simple sewing method with needle and thread. But I think your turtle will be much stronger and last longer with the crochet attaching method.
Fun Alternatives
- Change the Shell: Instead of a simple green shell, you can crochet a striped or speckled shell by changing yarn colors every few rounds.
- Switch up the Colors: Make the turtle shell dark green and the legs a pretty yellow.
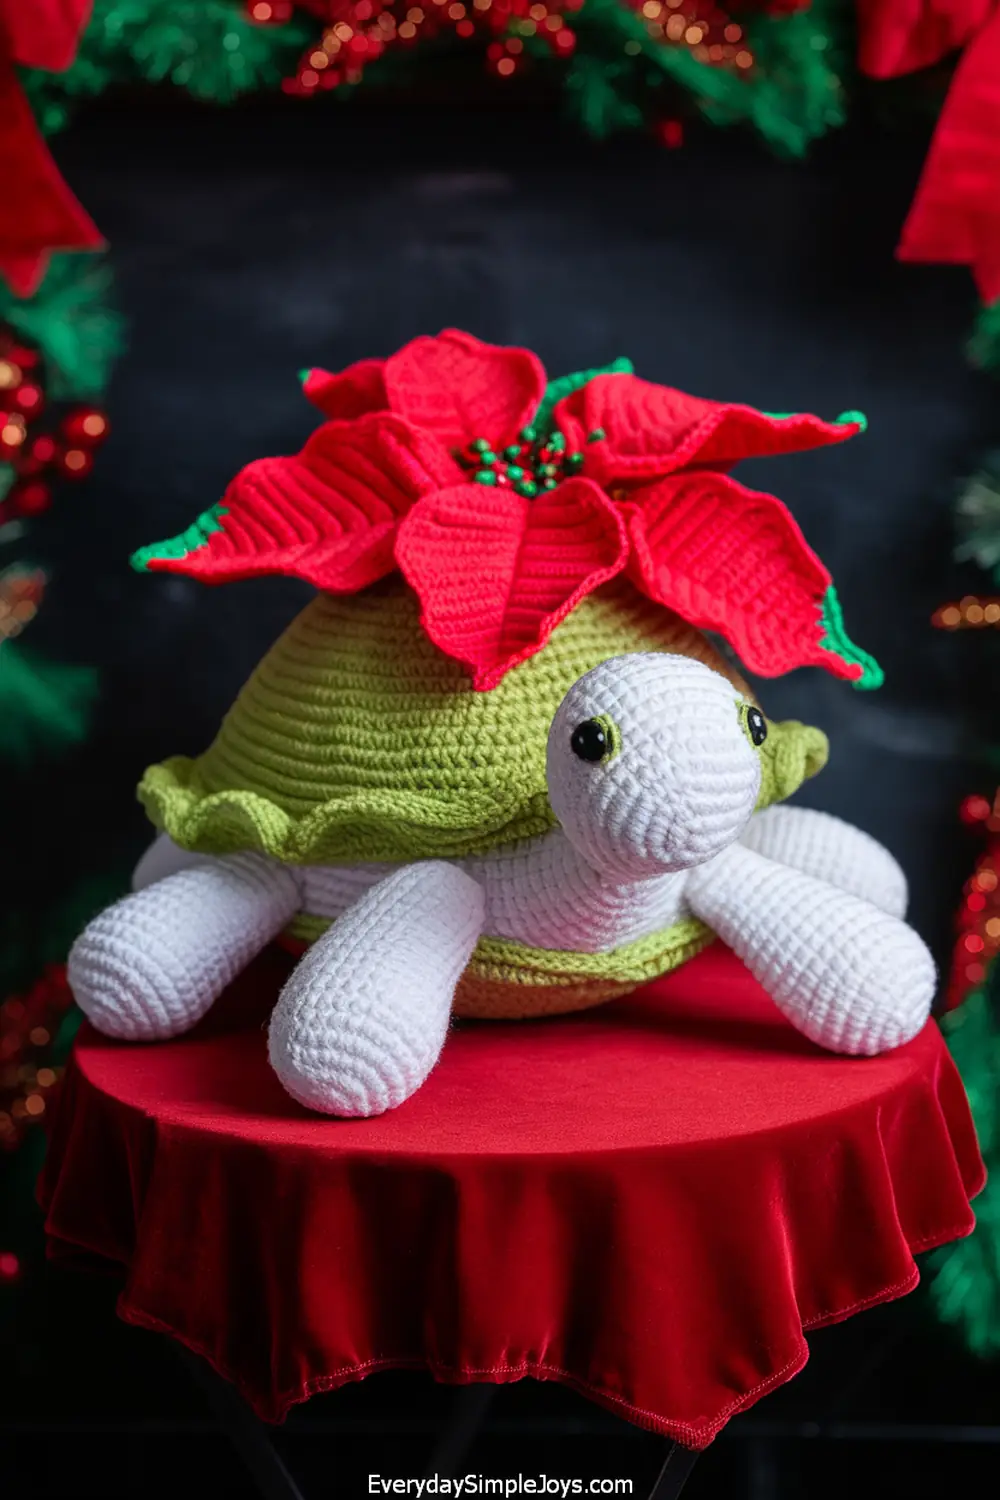
- Holidays and Seasons: Depending on the holiday or season, make your turtle a color to match and also add embellishments that are appropriate. For example:
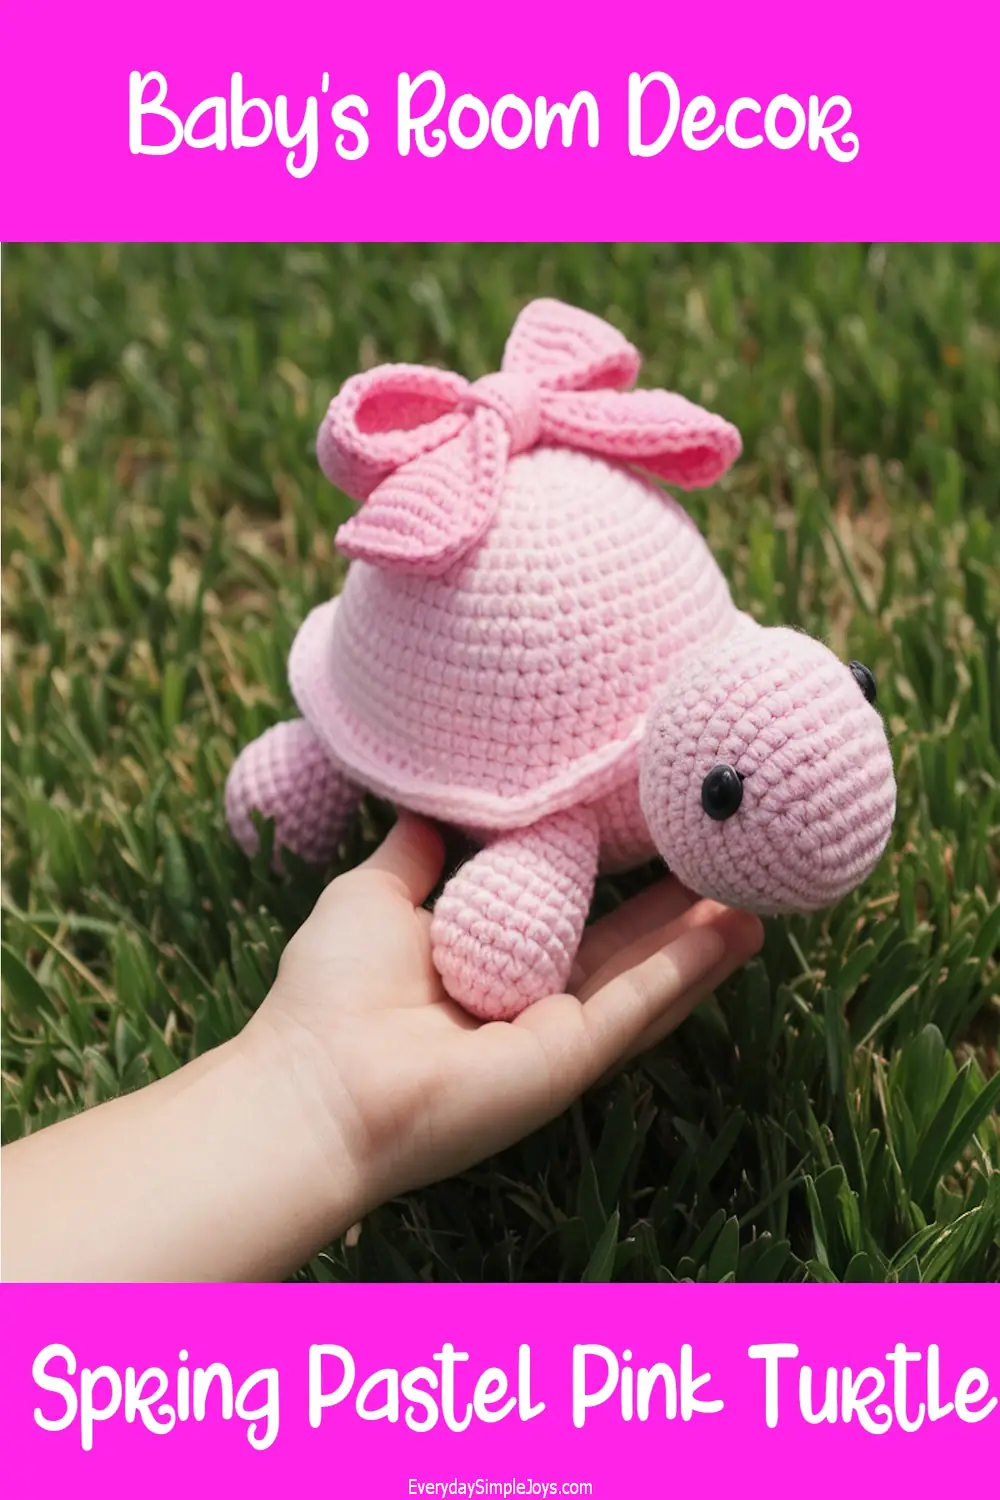
- In the spring pastel colors with flowers
- At Christmas time, a turtle made of green and white with a red poinsettia on the green back
- For a baby shower, make the turtle to match the nursery decor
- Add a Hat: Attach a small crochet hat or a bow to the turtle’s head for a cute accessory.
- Swap out the Tail: For a fun twist, you can make the tail in the shape of a leaf or star, adding extra character.
Size Adjustments
| Adjustment | Method |
|---|---|
| Larger Turtle | Use bulkier yarn and a larger hook (e.g., H-8 / 5mm) to make a bigger turtle. |
| Smaller Turtle | Use thinner yarn (like sport weight) and a smaller hook (e.g., F-5 / 3.75mm) to make a mini turtle. |
Tips for Success
| Tip | Description |
|---|---|
| Invisible Decrease | To ensure a smooth finish, use the invisible decrease technique to reduce stitches without a noticeable gap. |
| Stuffing | Be sure not to overstuff the body parts, as this may distort the shape. Lightly stuff to maintain a soft, squishy texture. |
| Consistent Tension | Keep your stitches tight and consistent to avoid visible gaps, especially in the head and body. |
Common Problems and Troubleshooting
- Lopsided Body: If your turtle’s body is uneven, check for any missed stitches or gaps. Ensure you are following the stitch counts exactly as written.
- Head Won’t Stay Attached: If the head is loose, sew it on more securely with extra yarn and reinforcements, especially in the neck area.
- Difficulty With the Magic Ring: If the magic ring is too tight or difficult to work with, use a looser tension or try starting with a chain ring instead.
Care Instructions
- Hand wash the crochet turtle gently in lukewarm water with mild detergent.
- Lay it flat to dry, reshaping the body and limbs as necessary.
- Avoid machine washing and drying to prevent the yarn from fraying or becoming misshapen.

