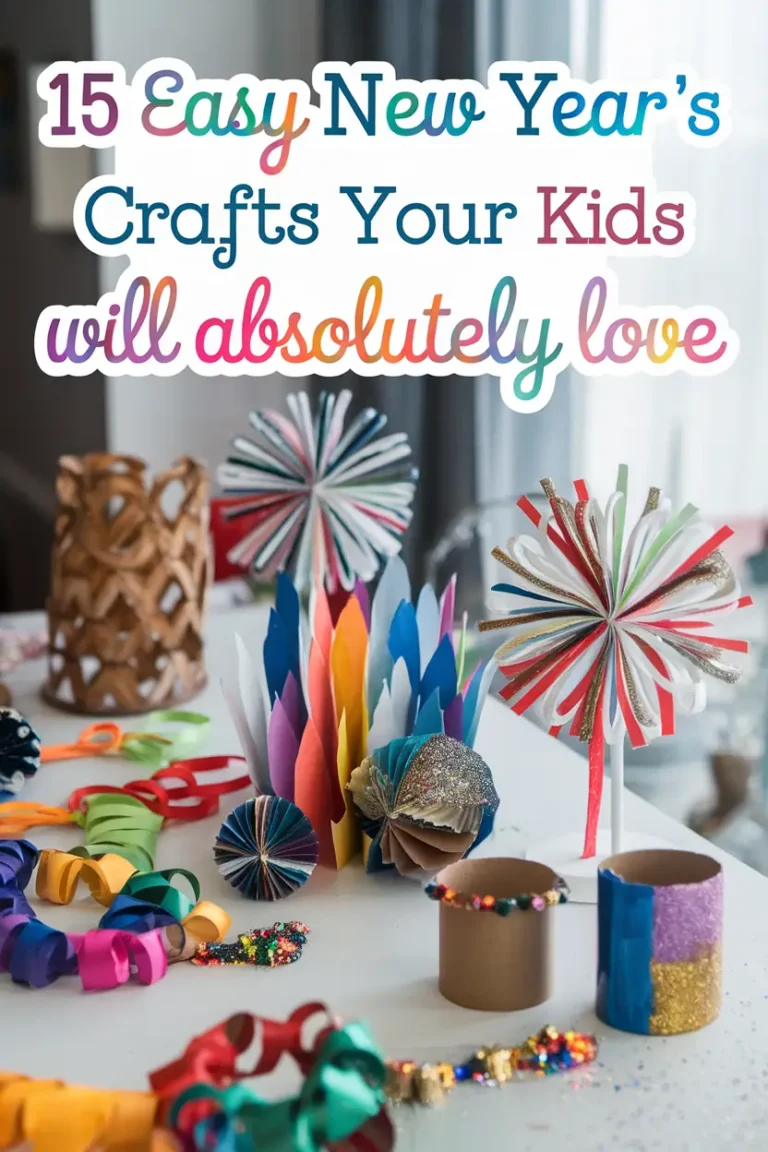
If you love DIY projects and want to start the New Year on a creative note, you’re in the right place.
This list of New Year’s Eve Crafts for Kids is packed with imaginative, hands-on activities that turn everyday materials into something magical.
Think Diy Popsicle Noise Makers, sparkly Handcrafted Jewelry Boho for older kids, and colorful Fireworks Art Projects for the little ones.
Crafting together is not just fun; it’s a way to bond, teach creativity, and even sneak in a little learning.
Whether you’re planning a Toddler NYE celebration, helping with New Years Art Kindergarten, or decorating for a party, these crafts will make your New Year’s Eve Kids Activities unforgettable.
Why You’ll Love This Article:
- DIY Made Easy: Simple ideas like Cool Paper Crafts and Noise Makers with step-by-step instructions.
- Crafts for All Ages: From New Years Crafts For Toddlers to projects for older kids and even adults.
- Unique Party Touches: Personalize your celebration with Diy Art Projects and Party Crafts.
- Budget and Eco-Friendly: Reuse everyday items like paper rolls and popsicle sticks for fun creations.
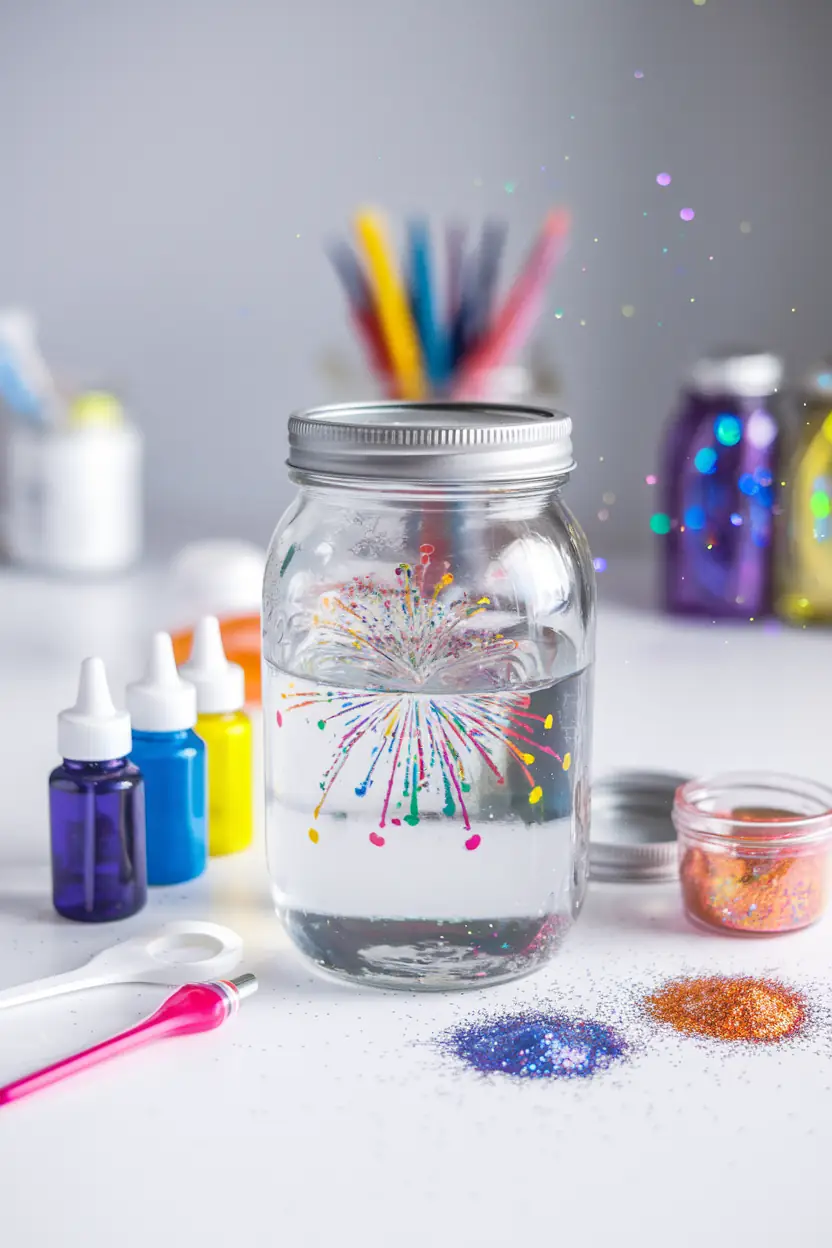
1. Create DIY “Fireworks in a Jar”
If your kids are mesmerized by fireworks, this craft is perfect for capturing that magic without the noise or cleanup! These glittery jars mimic the swirling bursts of color in the sky, making them a beautiful and calming activity.
Kids will love shaking the jars to see glitter whirl around like mini explosions, and the finished product can double as a keepsake or decoration. It’s safe, quick, and endlessly entertaining for little ones.
- Pros/Features:
- Safe alternative to real fireworks, perfect for indoor celebrations.
- Reusable and doubles as a fun room decoration.
- Quick and easy for kids of all ages.
- DIY Instructions:
- Materials Needed:
-
-
- A clear jar with a tight lid, water, vegetable oil, food coloring, and glitter.
-
- Step-by-Step Process:
-
-
- Fill the jar ¾ full with water.
- Add 2-3 tablespoons of vegetable oil to the water.
- Drop in a few drops of food coloring (choose vibrant colors for best effect).
- Sprinkle glitter liberally for a sparkly fireworks look.
- Secure the lid tightly and shake the jar to see the “fireworks” come to life.
-
- Extra Tips:
-
-
- Use multiple jars with different colors for a rainbow effect.
- Add glow-in-the-dark glitter for nighttime fun!
-
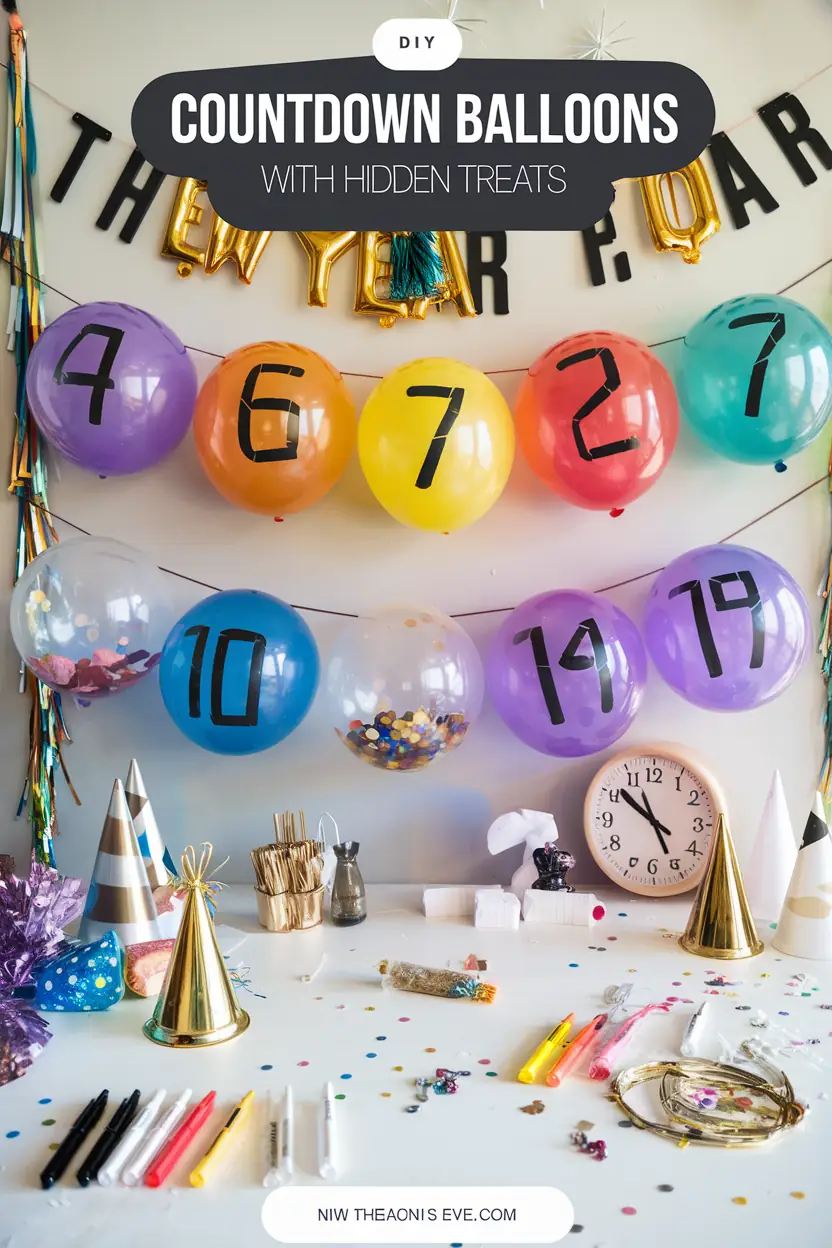
2. Design Countdown Balloons with Hidden Treats
Make counting down to midnight extra fun with this interactive craft. Each balloon represents an hour, and kids get to pop them as time ticks closer to the New Year!
Fill the balloons with small treats, confetti, or even mini crafts for a surprise they’ll look forward to. It’s not just a fun activity but a great way to keep the excitement alive throughout the night.
- Pros/Features:
- Keeps kids entertained and engaged during the countdown.
- Can be customized with treats, notes, or even small crafts.
- Adds a festive touch to party decor.
- DIY Instructions:
- Materials Needed:
-
-
- Balloons, small treats or toys, confetti, a marker, and string for hanging.
-
- Step-by-Step Process:
-
-
- Write the countdown hours (e.g., 6 PM, 7 PM) on each balloon using a marker.
- Fill each balloon with a small treat or toy and a pinch of confetti.
- Inflate the balloons and tie them securely.
- Arrange them in order on a string or tape them to a wall.
-
- Extra Tips:
-
-
- Use biodegradable balloons and confetti for an eco-friendly option.
- Add clues or mini crafts inside each balloon for extra fun!
-
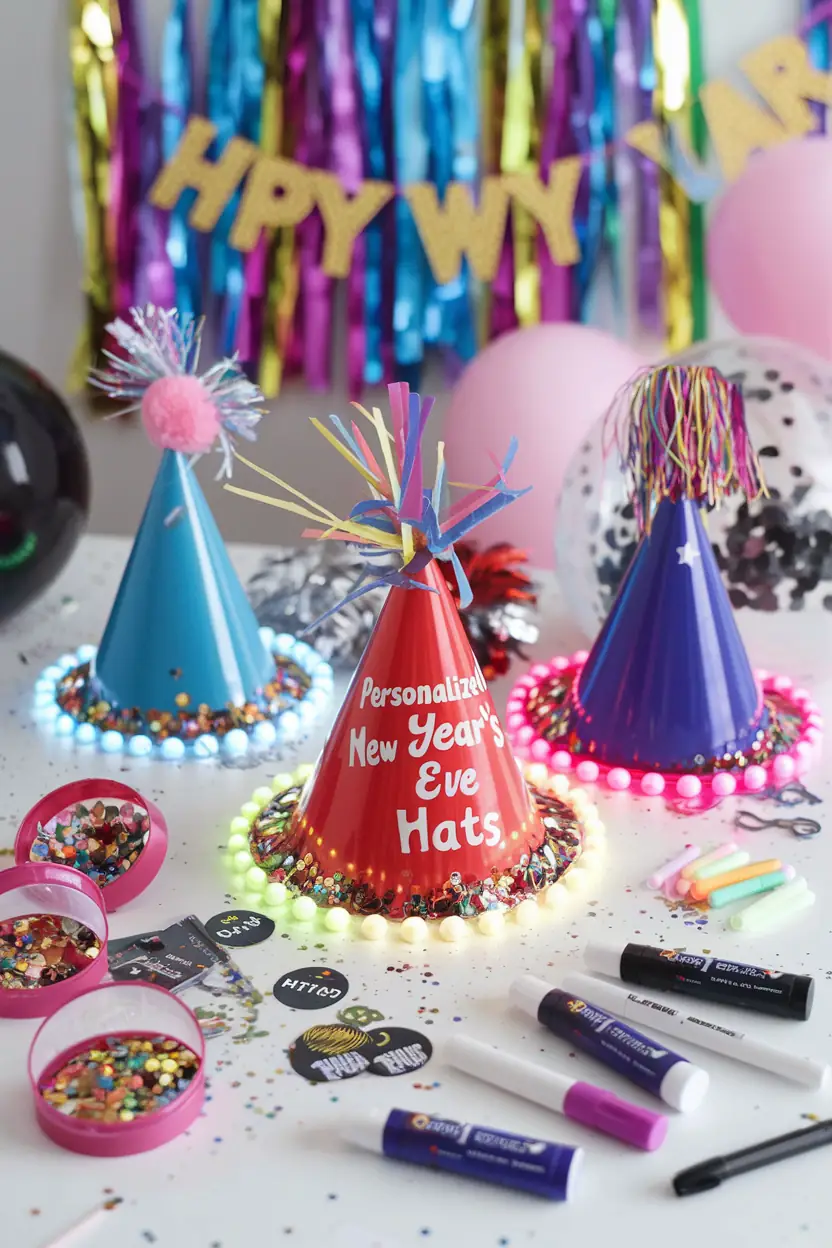
3. Craft Personalized New Year’s Eve Hats
Nothing says “party ready” like festive New Year’s hats! These aren’t your typical store-bought hats—they’re fully customizable and let your kids’ creativity shine. With confetti, glitter, and glow sticks, these hats can be made as vibrant and unique as each child’s personality.
It’s a simple way to turn plain hats into something dazzling.
- Pros/Features:
- Doubles as a fun craft and party accessory.
- Encourages creativity with endless design options.
- Glow-in-the-dark elements make it perfect for nighttime celebrations.
- DIY Instructions:
- Materials Needed:
-
-
- Plain party hats, confetti, glitter glue, glow sticks, markers, and stickers.
-
- Step-by-Step Process:
-
-
- Start with plain party hats as a base.
- Let kids decorate their hats with confetti, glitter glue, and stickers.
- Attach glow sticks around the brim for a glowing effect.
- Add pom-poms or streamers to the top for extra flair.
-
- Extra Tips:
-
-
- Use elastic bands to secure the hats comfortably.
- Personalize hats with kids’ names or resolutions for the new year!
-
4. Make Shimmering Paint Fireworks Art
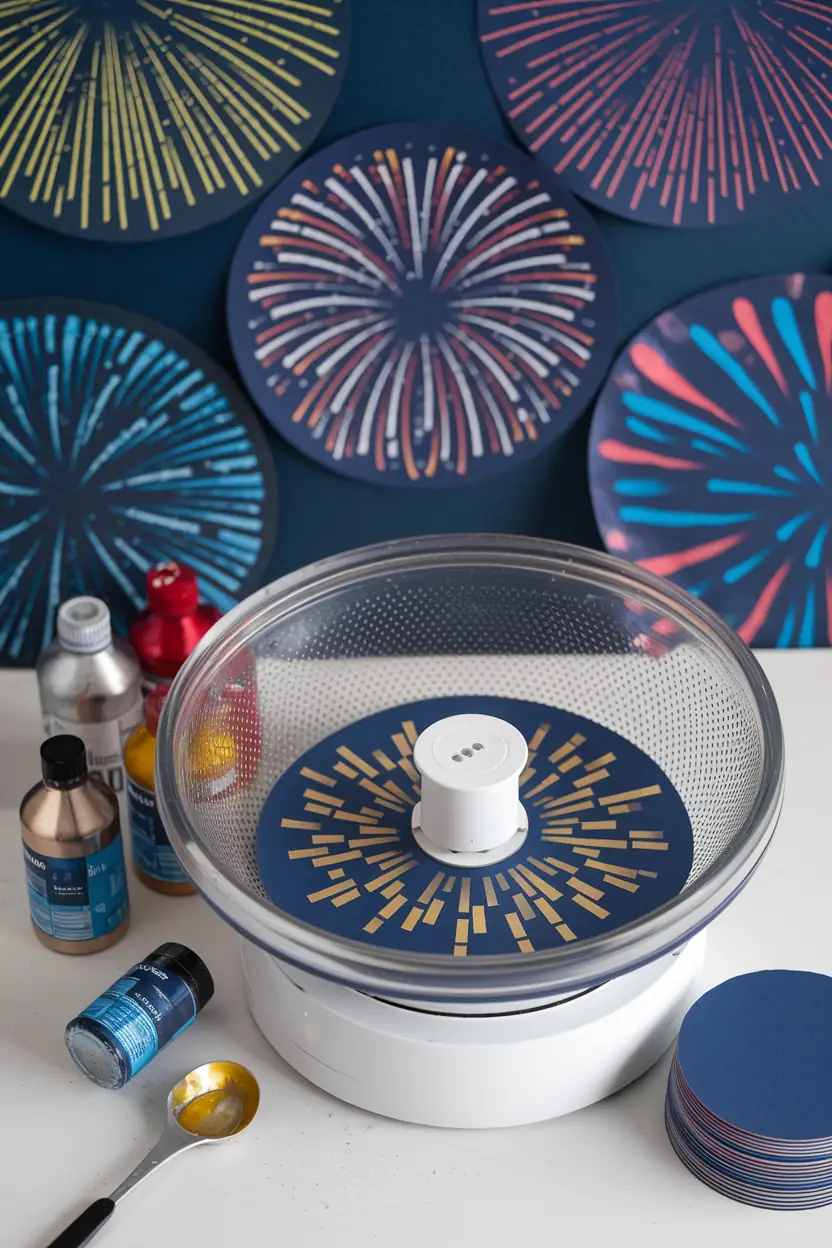
Kids love messy crafts, and this one brings a bit of sparkle to their creativity! Using a salad spinner and metallic paints, they can create fireworks-inspired art that’s perfect for hanging on walls or fridges.
The spinning process mimics the burst of real fireworks, making it a fun activity that yields stunning results.
- Pros/Features:
- A creative and hands-on way to replicate fireworks.
- Metallic paints add a festive and shimmering touch.
- Great for kids who love interactive art projects.
- DIY Instructions:
- Materials Needed:
-
-
- A clean salad spinner, cardstock paper, metallic paints, and a spoon.
-
- Step-by-Step Process:
-
-
- Cut the cardstock into circles to fit inside the salad spinner.
- Place the paper inside the spinner.
- Add small drops of metallic paint onto the paper.
- Close the lid and let kids spin the handle to create their fireworks art.
-
- Extra Tips:
-
-
- Use black paper for a nighttime fireworks effect.
- Layer multiple colors for a more vibrant look!
-
5. Create DIY Noise Makers from Plastic Eggs
Add some music and fun to your New Year’s celebration with these simple noise makers! Using plastic eggs and a few craft supplies, kids can create personalized shakers that are perfect for ringing in the new year.
They’re colorful, fun to make, and just noisy enough to make kids giggle without driving parents crazy.
- Pros/Features:
- Easy and mess-free for younger kids.
- A fun way to introduce rhythm and music.
- Lightweight and portable for party use.
- DIY Instructions:
- Materials Needed:
-
-
- Plastic eggs, dried beans or rice, tape, paint, and stickers.
-
- Step-by-Step Process:
-
-
- Fill each plastic egg halfway with dried beans or rice.
- Close the eggs and secure them tightly with tape.
- Let kids decorate the eggs with paint, markers, or stickers.
- Shake them to test the sound and adjust the filler if needed.
-
- Extra Tips:
-
-
- Use glitter tape for a festive look.
- Create a “shaker station” at your party for kids to make and use their own noise makers.
-

6. Design a “Wish Wand” for New Year Wishes
Turn your kids’ dreams into a magical craft with this beautiful wish wand! Using sparkly pipe cleaners and colorful ribbons, children can create wands to wave while making their New Year wishes.
It’s a sweet and meaningful way to celebrate the holiday while inspiring positivity.
- Pros/Features:
- Encourages kids to reflect on their hopes for the new year.
- Easy to make with minimal supplies.
- A fun keepsake to remember the celebration.
- DIY Instructions:
- Materials Needed:
-
-
- Sparkly pipe cleaners, colorful ribbons, beads, and a wooden stick or dowel.
-
- Step-by-Step Process:
-
-
- Wrap the wooden stick with pipe cleaners for a glittery base.
- Attach ribbons to one end of the stick, letting them dangle freely.
- Add beads or small charms to the ribbons for extra flair.
- Let kids wave their wands and share their New Year wishes.
-
- Extra Tips:
-
-
- Use glow-in-the-dark materials for nighttime fun.
- Encourage kids to write down their wishes to save for next year.
-

7. Turn Recycled CDs into Dazzling New Year’s Eve Disco Balls
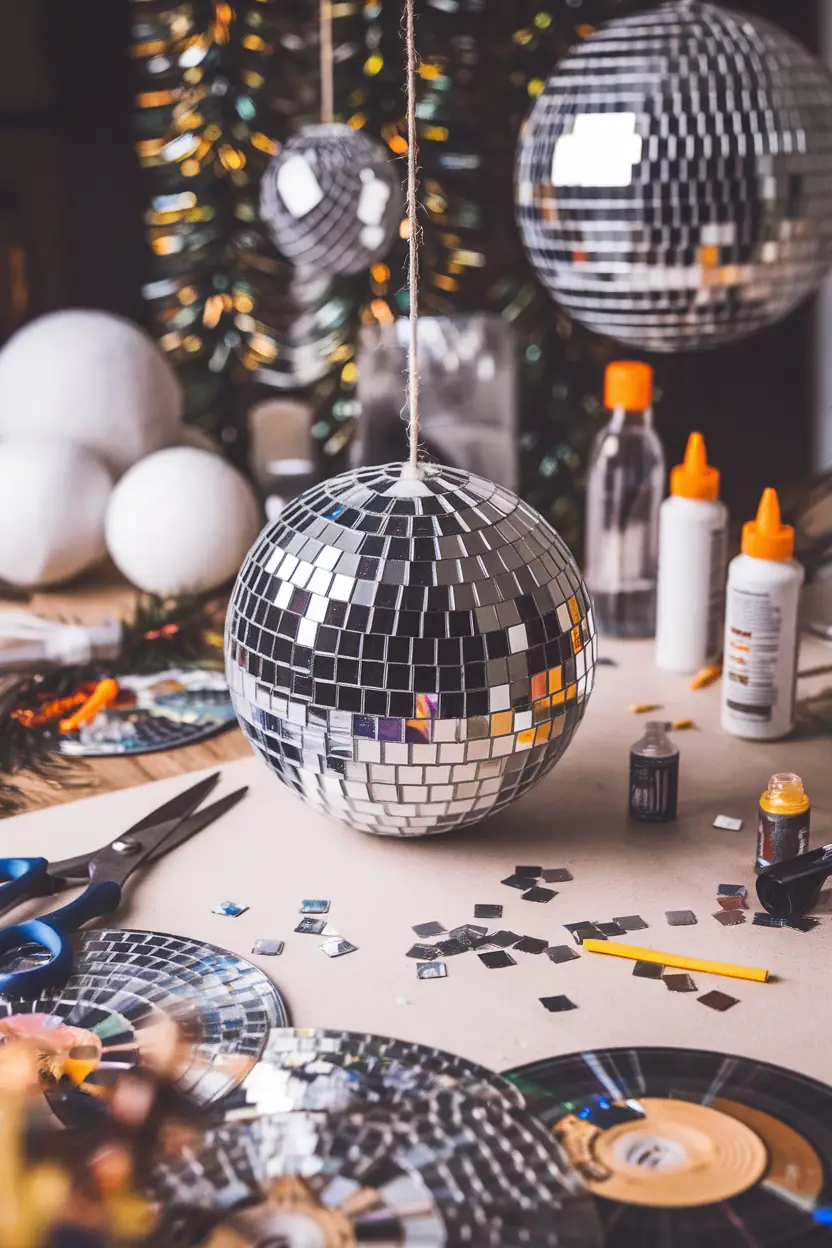
Transform old CDs into mini disco balls that add sparkle to your party! This eco-friendly craft is perfect for older kids who enjoy working with scissors and glue. The finished disco balls can be hung as decorations or used as table centerpieces.
- Pros/Features:
- Teaches kids the value of recycling and upcycling.
- Adds a festive touch to New Year’s decor.
- Great for fine motor skill development.
- DIY Instructions:
- Materials Needed:
-
-
- Old CDs, a foam ball, scissors, glue, and string.
-
- Step-by-Step Process:
-
-
- Cut the CDs into small square pieces (adult supervision required).
- Glue the CD pieces onto the foam ball, shiny side out.
- Cover the entire surface of the ball for a disco effect.
- Attach a string for hanging.
-
- Extra Tips:
-
-
- Use smaller foam balls for kid-sized projects.
- Add LED string lights to make them sparkle even more.
-
8. Build a DIY “Resolution Tree”
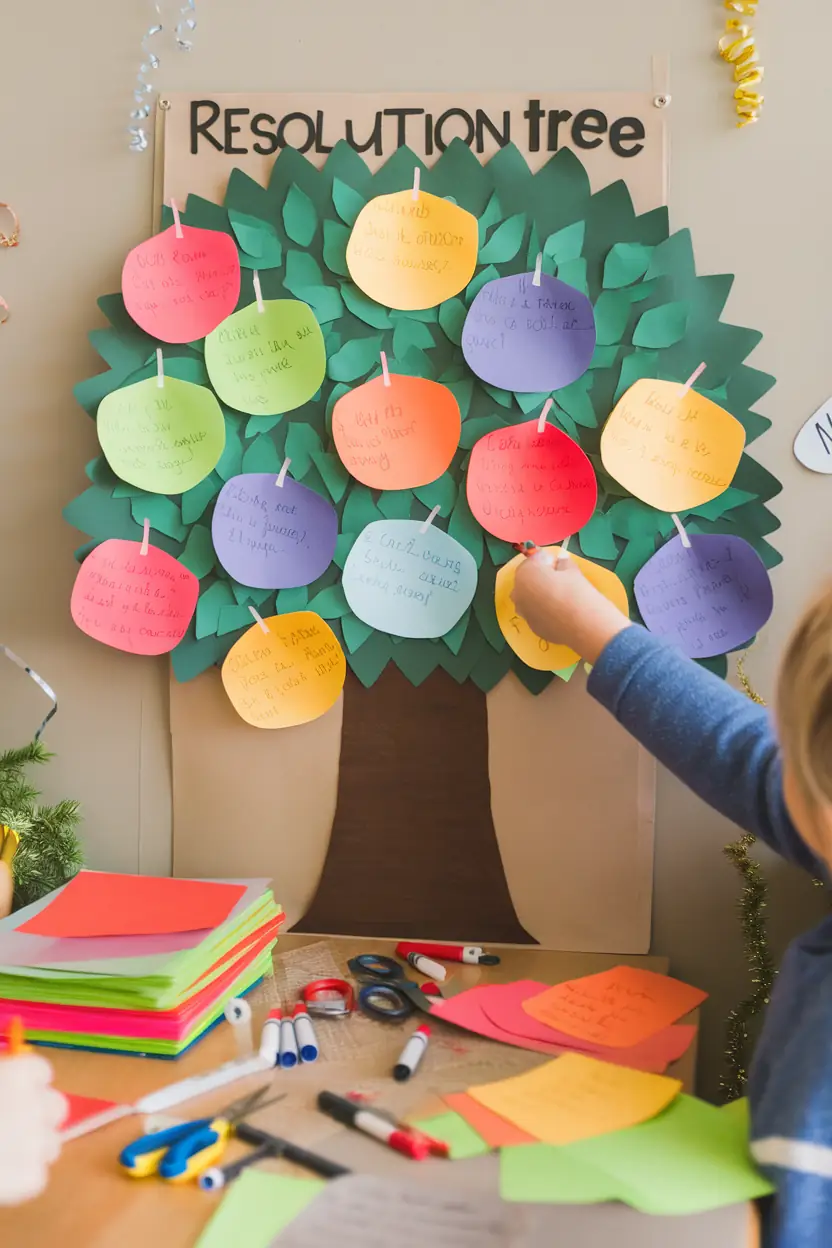
This craft combines creativity with a little introspection. Kids can write down their New Year’s resolutions on colorful leaves and attach them to a paper or branch tree. It’s a fun way to encourage goal-setting while adding a personal touch to your holiday decor.
- Pros/Features:
- Encourages kids to think about their goals for the year.
- Doubles as an interactive decoration.
- Suitable for family or classroom use.
- DIY Instructions:
- Materials Needed:
-
-
- A branch or large paper cutout of a tree, colored paper, markers, and glue or tape.
-
- Step-by-Step Process:
-
-
- If using a real branch, place it in a vase or secure it on a stand.
- Cut out leaf shapes from colored paper.
- Write a resolution or goal on each leaf.
- Attach the leaves to the tree with glue or tape.
-
- Extra Tips:
-
-
- Use glitter pens to make the leaves stand out.
- Save the tree to reflect on your goals at the end of the year.
-
9. Use Tissue Paper and Glue to Craft Colorful New Year Lanterns
Add a soft, festive glow to your celebration with handmade lanterns. This simple craft uses tissue paper and glue to create bright, cheerful designs that can light up your New Year’s Eve party.
- Pros/Features:
- Teaches kids layering and color mixing.
- Creates a warm, inviting atmosphere for celebrations.
- Easy enough for preschoolers and toddlers.
- DIY Instructions:
- Materials Needed:
-
-
- Clear jars, tissue paper, glue, and LED tea lights.
-
- Step-by-Step Process:
-
-
- Tear tissue paper into small pieces.
- Cover the jar in glue and stick the tissue paper pieces onto the surface.
- Allow the jars to dry completely.
- Place an LED tea light inside for a glowing effect.
-
- Extra Tips:
-
-
- Use metallic tissue paper for a shimmering finish.
- Add stickers or gems for extra decoration.
-

10. Create “Popsicle Stick Clocks” for Time-Telling Fun
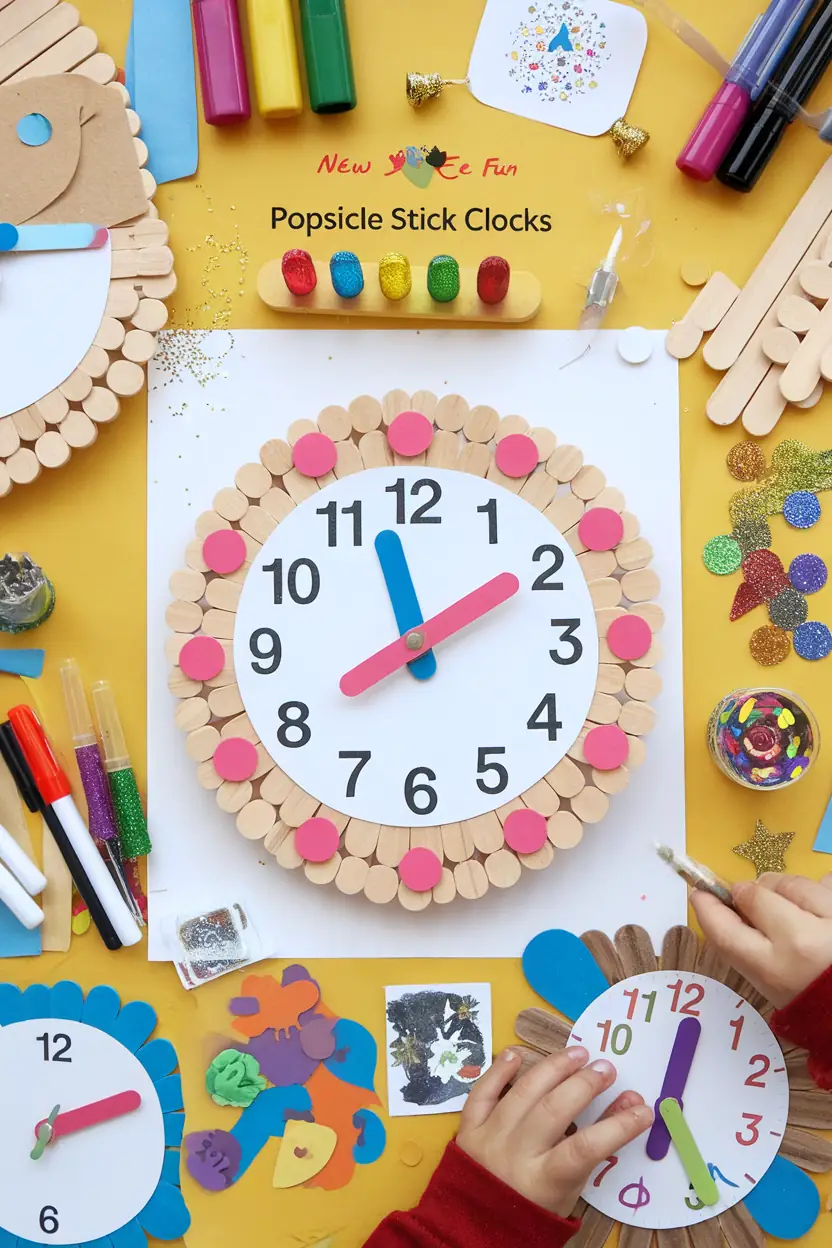
Teaching kids to tell time has never been this festive! These DIY clocks are not only a great way to practice numbers and time concepts, but they also make cute New Year’s Eve decorations.
Kids can personalize their clocks with glitter, stickers, and fun colors, making them a hit at any celebration.
- Pros/Features:
- Combines learning with creativity.
- Doubles as an educational tool and party decor.
- Easy for young kids with simple supplies.
- DIY Instructions:
- Materials Needed:
-
-
- Popsicle sticks, cardstock, a brad fastener, markers, glue, and stickers.
-
- Step-by-Step Process:
-
-
- Arrange popsicle sticks into a circular shape and glue them together.
- Cut out a clock face from cardstock and attach it to the popsicle stick base.
- Draw numbers on the clock face and attach clock hands using a brad fastener.
- Decorate the clock with stickers, glitter, or markers.
-
- Extra Tips:
-
-
- Add movable clock hands for interactive learning.
- Use glow-in-the-dark markers for a nighttime effect!
-
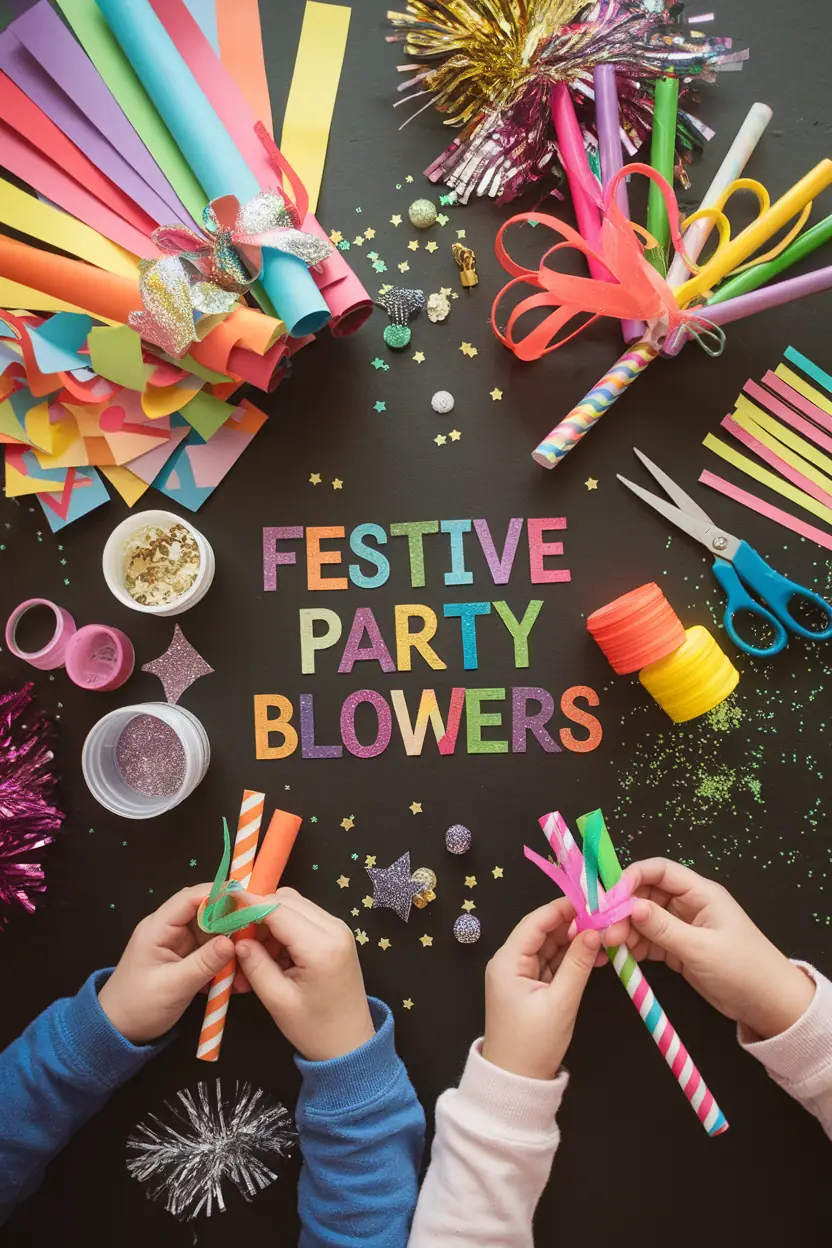
11. Make Festive Party Blowers with Construction Paper
No New Year’s Eve is complete without party blowers, and making them yourself adds an extra layer of fun! Kids will love customizing their own blowers with vibrant colors and fun designs, making them perfect for celebrating the countdown to midnight.
- Pros/Features:
- Adds a personal touch to party accessories.
- Easy and quick to make with household materials.
- Encourages kids to get involved in party prep.
- DIY Instructions:
- Materials Needed:
-
-
- Construction paper, straws, tape, glue, and decorative stickers or ribbon.
-
- Step-by-Step Process:
-
-
- Cut construction paper into strips and roll them tightly around a straw to create the blowing mechanism.
- Tape or glue the paper in place.
- Decorate the paper with stickers, glitter, or ribbon.
- Test the blower to ensure it unrolls properly when blown.
-
- Extra Tips:
-
-
- Use metallic paper for a more festive look.
- Attach small bells for added sound effects.
-
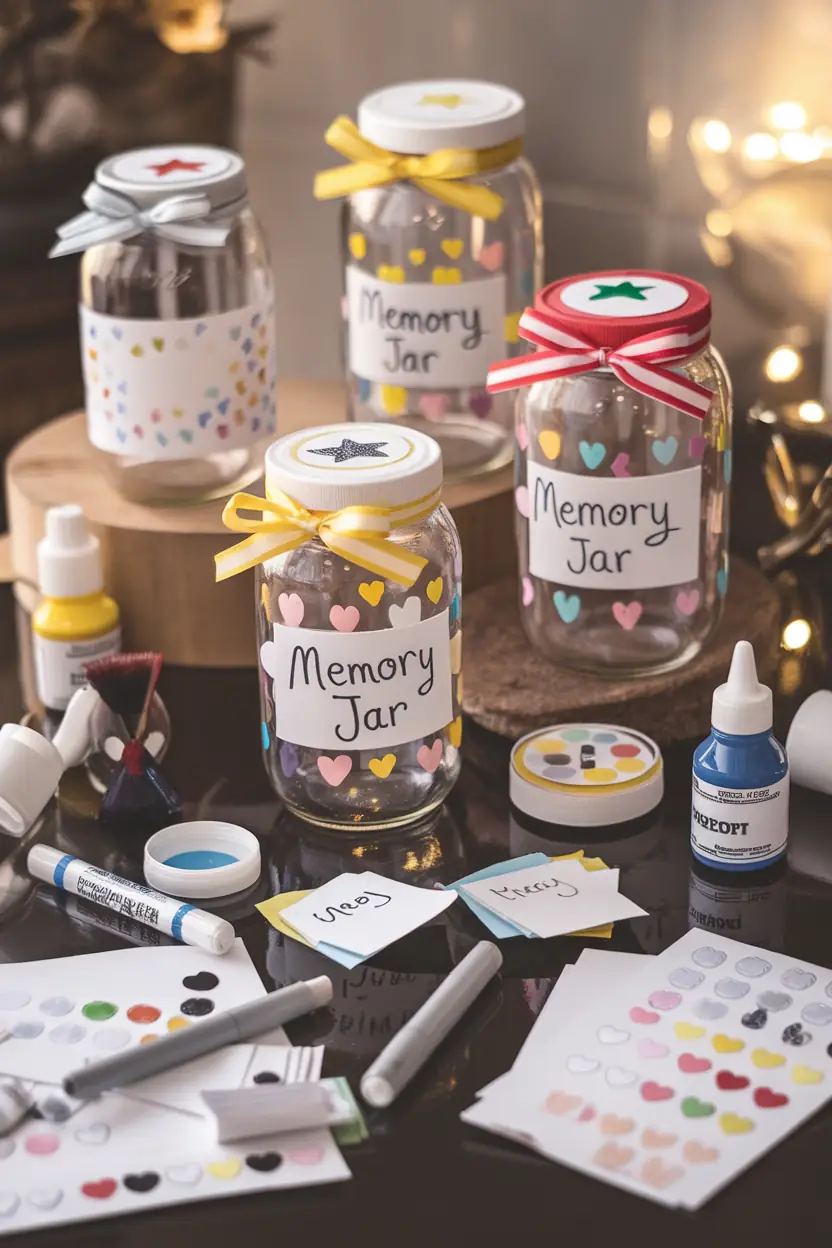
12. Decorate Empty Jars as “Memory Jars” for the Year Ahead
A memory jar is a heartfelt way to preserve all the special moments of the upcoming year. Kids can decorate their jars and start filling them with notes, photos, or small keepsakes right away. It’s a craft that keeps giving throughout the year and encourages mindfulness.
- Pros/Features:
- Encourages gratitude and reflection.
- Makes a beautiful keepsake to cherish year after year.
- Simple and meaningful for all ages.
- DIY Instructions:
- Materials Needed:
-
-
- A clear jar, paint or markers, stickers, and ribbon.
-
- Step-by-Step Process:
-
-
- Clean and dry the jar.
- Decorate the jar with paint, markers, and stickers.
- Tie a ribbon around the lid for added charm.
- Encourage kids to write down happy moments or goals and drop them into the jar.
-
- Extra Tips:
-
-
- Use glitter glue to add sparkle to the jar.
- Keep the jar in a visible spot to remind kids to add to it regularly.
-
13. Craft Sparkling “Fireworks Crowns” Using Pipe Cleaners
Let your kids shine like stars with these dazzling crowns inspired by fireworks. Pipe cleaners and beads come together to create festive headwear that’s perfect for a Kids New Year’s Eve party. These crowns are as fun to wear as they are to make!
- Pros/Features:
- Lightweight and comfortable for kids to wear.
- Fully customizable with colors and bead choices.
- A fun way to incorporate firework designs into your celebration.
- DIY Instructions:
- Materials Needed:
-
-
- Pipe cleaners, beads, and scissors.
-
- Step-by-Step Process:
-
-
- Twist pipe cleaners into a circle to form the base of the crown.
- Attach additional pipe cleaners to the base, pointing upward like fireworks.
- Thread beads onto the pipe cleaners for extra sparkle.
- Adjust the size of the crown to fit each child’s head.
-
- Extra Tips:
-
-
- Use metallic or glitter pipe cleaners for a festive touch.
- Let kids pick their favorite colors for a personalized crown.
-

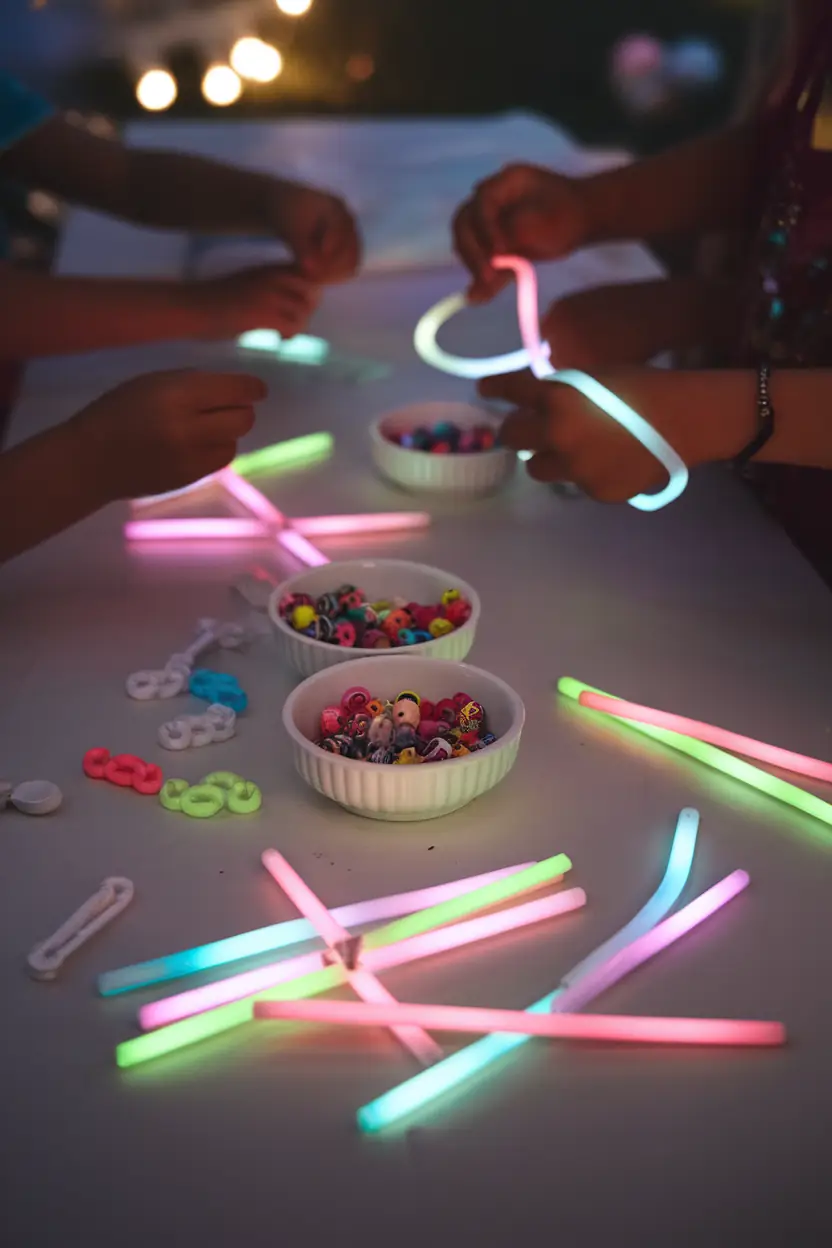
14. Create DIY Glow Stick Bracelets
Glow stick bracelets are simple to make and perfect for lighting up the night! They’re great for outdoor celebrations or dimly lit parties, and kids will love crafting their own glowing accessories.
- Pros/Features:
- A fun way to add light to your celebration.
- Safe and easy for younger kids.
- Affordable and quick to assemble.
- DIY Instructions:
- Materials Needed:
-
-
- Glow sticks, connectors, and optional beads.
-
- Step-by-Step Process:
-
-
- Activate the glow sticks by bending them until they light up.
- Connect the ends of each stick to form a bracelet.
- Add beads or charms to customize the design.
-
- Extra Tips:
-
-
- Use longer glow sticks to create necklaces or headbands.
- Combine multiple colors for a rainbow effect.
-
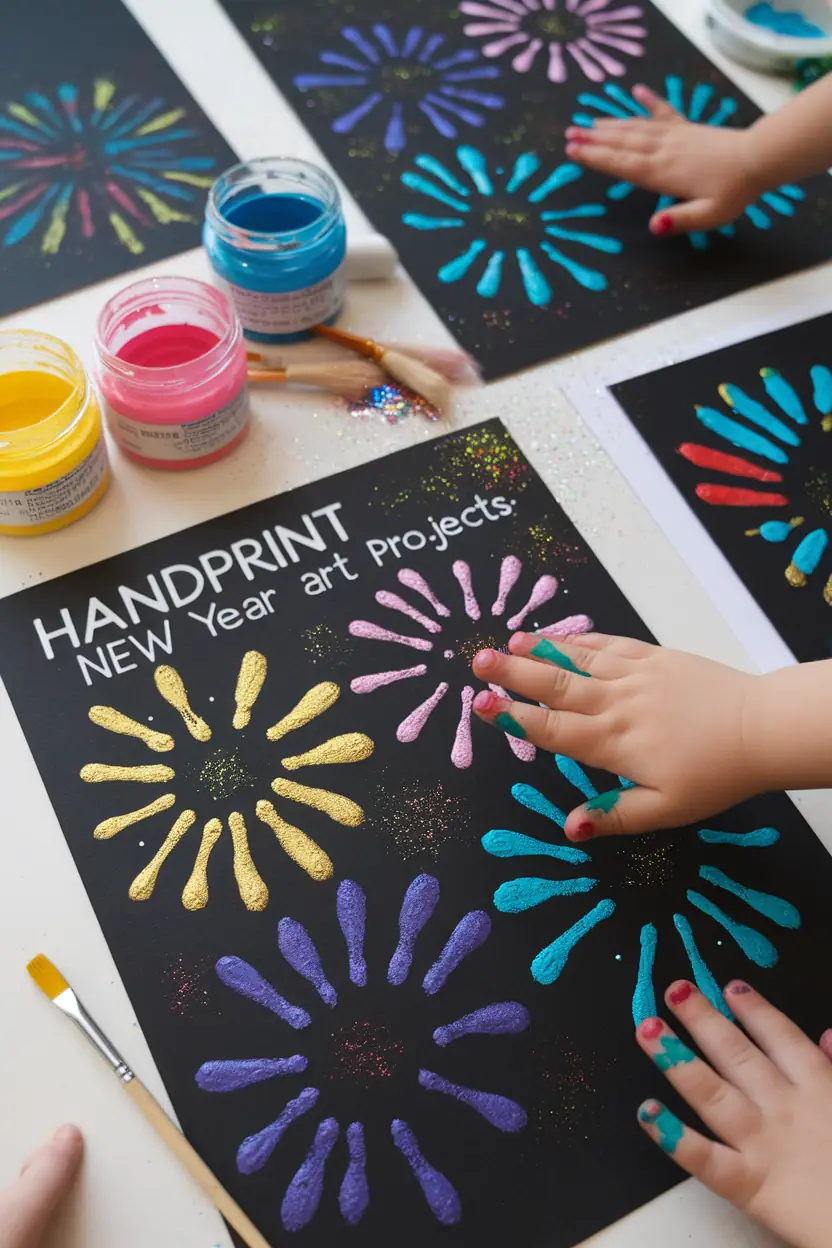
15. Make Handprint New Year Art Projects
Handprint crafts are always a hit with kids, and this one turns their tiny hands into colorful exploding fireworks. These keepsakes are perfect for decorating walls or fridges while capturing a memory of your little ones’ growth.
- Pros/Features:
- A meaningful keepsake for families.
- Easy and mess-free with proper setup.
- Fun for toddlers and older kids alike.
- DIY Instructions:
- Materials Needed:
-
-
- Black construction paper, non-toxic paint, and brushes.
-
- Step-by-Step Process:
-
-
- Paint each child’s hand with a mix of vibrant colors.
- Press their hand onto the black paper to create a firework design.
- Add glitter or small paint dots for extra sparkle.
- Let the artwork dry completely before displaying.
-
- Extra Tips:
-
-
- Use metallic or neon paint for a glowing effect.
- Frame the finished artwork as a keepsake.
-
Common FAQs About New Year’s Crafts for Kids
- What age group are these crafts suitable for?
These crafts are perfect for a wide range of ages! From toddler-friendly crafts like handprint art and noise makers to more intricate projects like DIY disco balls for older kids, there’s something for everyone. - What materials do I need for these crafts?
Most of the crafts use simple, budget-friendly materials like construction paper, glue, glitter, tissue paper, and items you already have at home, such as jars or popsicle sticks. - Are these crafts messy?
While some crafts like Paint Fireworks can get a little messy, many are clean and easy to manage, especially with proper preparation (e.g., laying down a crafting mat or old newspapers). - Can these crafts be done in a classroom setting?
Absolutely! Many of these crafts, such as New Year’s Resolution Trees and Paper Roll Fireworks, are perfect for classrooms and group settings. They can also double as New Year Classroom Decorations. - How long do these crafts take to complete?
Most crafts can be completed within 30 minutes to an hour, making them ideal for kids’ shorter attention spans. However, larger projects like Memory Jars or Disco Balls may take a bit longer. - What if I don’t have all the materials?
Many crafts are flexible and can be adapted based on the materials you have. For example, replace glitter with stickers or use recycled materials for an eco-friendly touch. - Are these crafts suitable for family activities?
Yes! Many of these crafts are designed to encourage family bonding, such as making Glow Stick Bracelets together or writing shared resolutions for a Resolution Tree.
Conclusion: Share Your Festive Creations!
Crafting is a wonderful way to celebrate the New Year with kids while creating lasting memories. These ideas are simple, fun, and customizable, making them perfect for any family or classroom celebration.
Don’t be afraid to experiment with colors, materials, and styles—crafting is all about expressing your creativity!
If you enjoyed these ideas, save this article to refer back to for your next celebration or share it with friends to inspire them.
We’d also love to see your creations! Tag us on social media or share your favorite craft in the comments to keep the festive spirit alive. Let’s make this New Year the most colorful and creative one yet!

