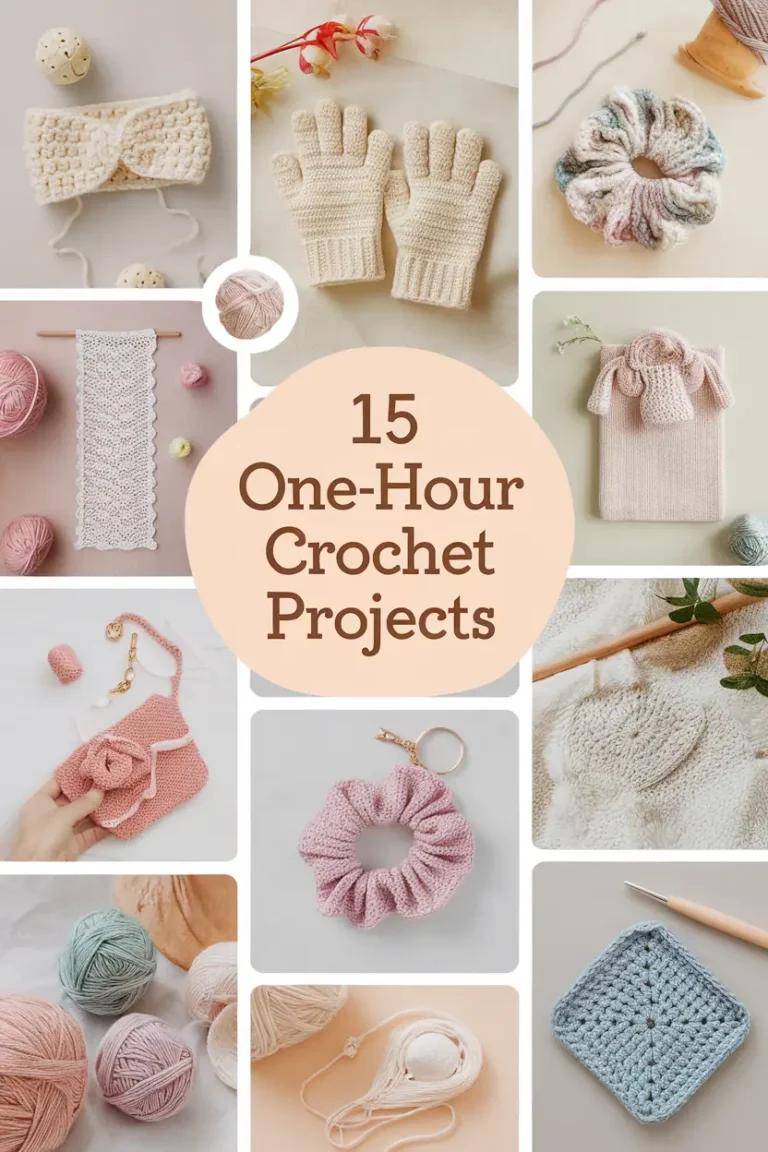
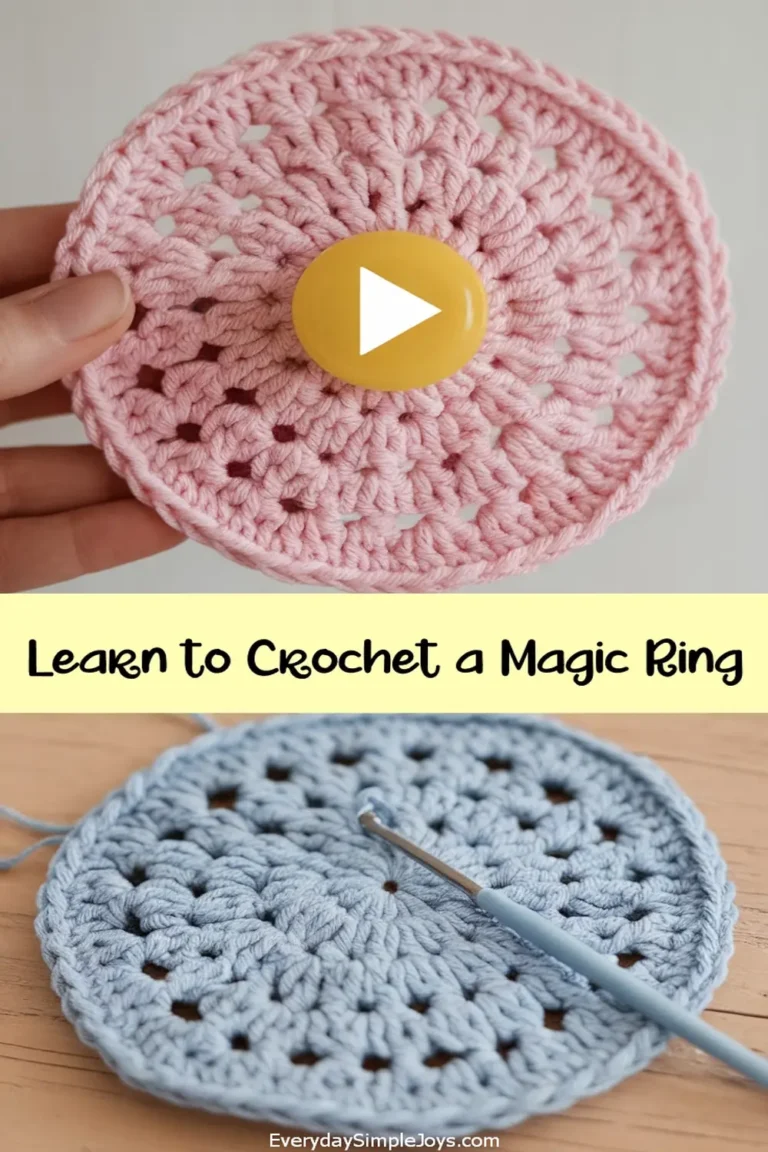
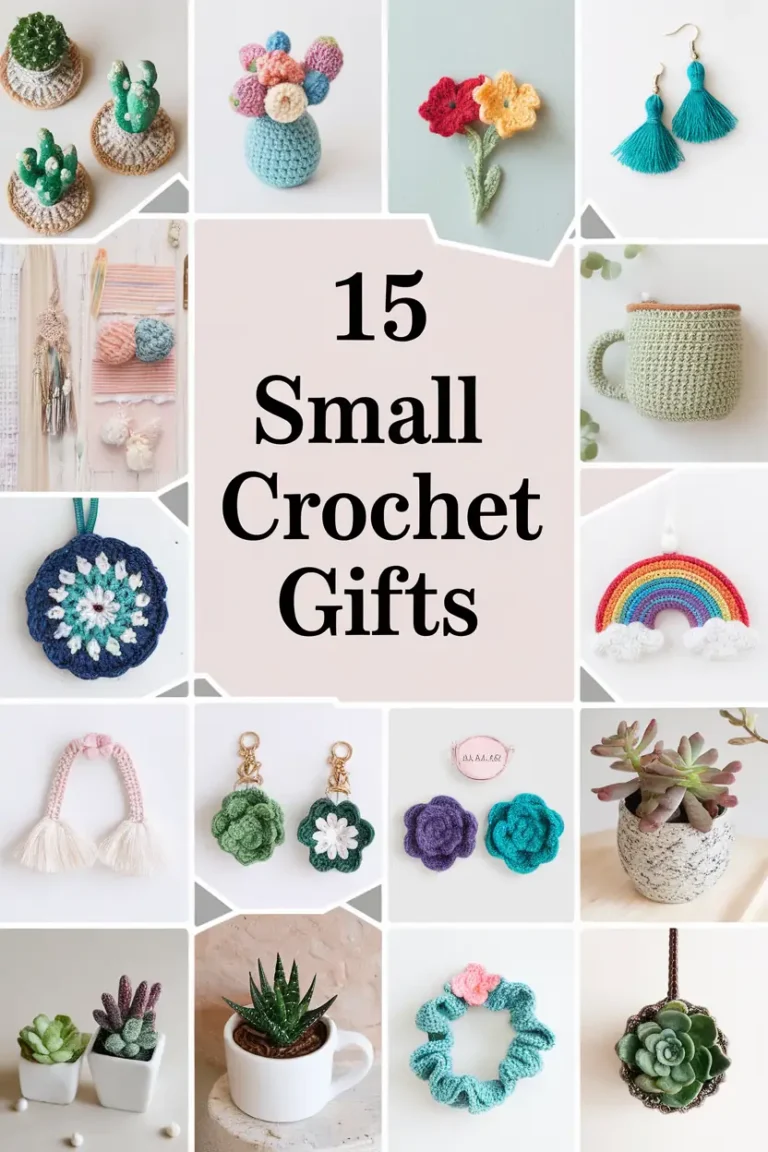
What if I told you that in just one hour, you could create something beautiful, unique, and totally your own?
It’s not only possible, but it’s also easier than you think with these fun and engaging fast crochet ideas. Whether you’re hunting for crochet projects to use up yarn or itching to try your hand at crochet earrings patterns, this guide will open the door to endless possibilities.
Designed for every skill level, including those just starting to learn crochet beginner techniques, this list of easy crochet projects will make sure no scrap of yarn—or second of your time—is wasted!
Why You’ll Love This DIY Project List:
- These quick and beginner-friendly ideas make it easy for anyone to get started.
- Explore crochet mignon creations, from practical items to surprising and fun designs.
- Feel the satisfaction of finishing something amazing in under an hour.
- Don’t be the one missing out on these brilliant crocheted items that sell and make perfect gifts!
Spiral Wave Accent Coasters
Add a touch of chic elegance to your coffee table with these stunning Spiral Wave Accent Coasters! Perfect for beginners, this 30 Minute Crochet project is quick, fun, and satisfying. The swirling wave design adds a modern yet playful vibe, making these coasters a great option for Crochet Projects To Sell or as Quick Crochet Gifts for loved ones. Plus, they’re a fantastic way to use up scrap yarn while experimenting with colors and textures.
Pros/Features
- Quick and easy to complete – perfect for a One Hour Crochet Project.
- Customizable with different yarn colors to match your home decor.
- Uses minimal yarn – a great Scrap Yarn Crochet idea.
- Beginner-friendly and great for practicing circular crochet techniques.
DIY Instructions
Materials Needed
- Worsted weight yarn in two contrasting colors.
- 4.0 mm crochet hook.
- Tapestry needle for weaving in ends.
- Scissors.
Step-by-Step Process
- Start by creating a magic ring and working 12 double crochets (DC) into it. Slip stitch to the first DC to close the ring.
- Switch to the second yarn color and chain 2. In the next round, work 2 DC into each stitch around (24 stitches total). Slip stitch to join.
- For the final round, alternate between 1 DC in the next stitch and 2 DC in the following stitch. This creates the spiral pattern. Slip stitch to close.
- Fasten off and weave in the ends with your tapestry needle.
Extra Tips
To make your coasters more durable, consider using a cotton yarn, as it’s absorbent and holds its shape well. Experiment with gradient or ombre yarns for a unique look. These coasters also work beautifully as a Crochet Projects For Craft Fairs item!
Bohemian Knot Tassel Keychain
Looking for a Quick Crochet Projects idea that’s both stylish and functional? The Bohemian Knot Tassel Keychain is the perfect DIY accessory! This fun and trendy item is great for beginners and makes for excellent Crochet Projects To Sell or Quick Crochet Gifts. The boho-chic vibe is timeless, and it’s a fantastic way to use up small scraps of yarn while practicing simple knots and loops.
Pros/Features
- Super fast to make – ready in under an hour!
- Lightweight and portable, making it a great Easy Crochet Projects gift idea.
- Customizable tassel length and color combinations.
- Perfect for adding a unique touch to your bag, keys, or backpack.
DIY Instructions
Materials Needed
- Scrap yarn in your preferred color.
- Keyring or lobster clasp.
- Scissors.
- Comb (optional, for fluffing the tassel).
Step-by-Step Process
- Start by cutting several pieces of yarn, each about 12 inches long. You’ll need around 15-20 strands for a full tassel.
- Attach the keyring by folding the yarn strands in half and looping them through the ring with a lark’s head knot.
- Wrap a short piece of yarn around the strands, just below the keyring, to create the tassel head. Tie securely and trim the excess.
- Fluff out the tassel strands with a comb, if desired, and trim the ends evenly.
Extra Tips
To give your keychain an extra boho touch, add wooden beads or small charms to the tassel. This Unique Crochet project is also a fantastic Crochet Ideas When Bored option when you need a quick crafting fix!
Modern Hexagon Wall Hanging
Transform your space with this stylish Modern Hexagon Wall Hanging! This Chic Crochet project combines geometric simplicity with artistic flair, making it a great statement piece for your home. Plus, it’s beginner-friendly and works up quickly, making it an excellent candidate for Crochet Projects To Use Up Yarn. Whether for personal use or as Crocheted Items That Sell, this design is sure to impress.
Pros/Features
- Eye-catching geometric design perfect for modern decor.
- Easy and fast to complete, even for beginners.
- Customizable with different yarn textures, colors, or embellishments.
DIY Instructions
Materials Needed
- Worsted weight yarn in your chosen color.
- 4.5 mm crochet hook.
- Wooden dowel or branch (for hanging).
- Tapestry needle and scissors.
Step-by-Step Process
- Begin by crocheting six individual hexagons. To make each hexagon, start with a magic ring and work 2 DC in each stitch for 6 stitches total. Gradually build up rows by increasing at each corner.
- Once all six hexagons are complete, arrange them in the desired pattern and sew them together with a tapestry needle.
- Attach the top corners of the wall hanging to the wooden dowel or branch using simple knots.
- Weave in all ends and trim excess yarn before hanging it up.
Extra Tips
For a more textured look, try using chunky yarn or incorporating metallic threads. This is a perfect project for decorating a nursery or gifting to new parents looking for *Haken Baby decor ideas! Pair it with a matching tassel garland for extra flair.
Scalloped Edge Sunglass Sleeve
Keep your sunglasses safe and stylish with this adorable Scalloped Edge Sunglass Sleeve. This is one of those Quick Crochet Projects that combines practicality with charm, making it perfect for summer outings or gifting. The scalloped edge design adds a touch of elegance, and since it’s an Easy Beginner Crochet Pattern, you can whip it up in no time—even if you’re just learning to crochet!
Pros/Features
- Perfect for beginners looking for a quick win with Double Crochet Projects Simple.
- Uses minimal yarn, making it ideal for Scrap Yarn Crochet.
- Customizable with your favorite colors for a personal touch.
- Practical design that protects your sunglasses while looking chic.
DIY Instructions
Materials Needed
- One skein of cotton yarn (any color you love).
- 4.0 mm crochet hook.
- Scissors.
- Darning needle for weaving in ends.
Step-by-Step Process
- Start with a foundation chain that is slightly longer than the width of your sunglasses.
- Work in rows of double crochet until the piece is long enough to wrap around your sunglasses.
- For the scalloped edge, use a shell stitch (5 double crochets in one stitch, skip the next stitch, and repeat).
- Fold the piece in half, and use slip stitches or single crochet to join the sides, creating a pocket.
- Weave in all loose ends, and your sunglass sleeve is ready to go!
Extra Tips
Use a contrasting yarn color for the scalloped edge to make it pop even more. Add a small loop and button closure for extra functionality. This is a great project if you’re looking for Crochet Projects To Sell at craft fairs or need Quick Crochet Gifts for friends and family.
Chunky Braided Plant Hanger
Bring life to your home décor with a Chunky Braided Plant Hanger that’s both functional and stylish. This One Skein Crochet project is perfect for adding a boho vibe to your space or making as a thoughtful housewarming gift. Using chunky yarn, you can finish this in under an hour, making it one of the best Quick Crochet Patterns for DIY enthusiasts.
Pros/Features
- Versatile design fits most plant pots, big or small.
- Perfect for beginners exploring Easy Crochet Projects.
- Uses chunky yarn for fast results—hello, instant gratification!
- The braided detail gives it a unique, handcrafted look.
DIY Instructions
Materials Needed
- Chunky yarn (approximately 50-100 yards).
- 6.0 mm crochet hook.
- Scissors.
- Metal or wooden ring for hanging.
Step-by-Step Process
- Create a loop around a metal or wooden ring and secure it with a slip knot.
- Crochet a series of long chains (about 4-5 strands of the same length, depending on your plant pot size).
- Braid the strands together and secure the ends with a knot.
- Create a base by tying the braided strands together, forming a cradle for the pot.
- Hang it up, add your favorite plant, and admire your work!
Extra Tips
Use jute or macramé cord instead of yarn for a rustic look. This is a standout item among Crocheted Items That Sell, especially at Craft Fairs. If you’re new to crocheting, this project is a great way to Learn Crochet Beginner techniques while making something beautiful!
Starry Night Ornament Garland
Light up your space with a whimsical Starry Night Ornament Garland that’s perfect for any season. This is one of those Quick Crochet Gifts that doubles as festive décor for holidays or cozy everyday charm. With its simple star shapes and customizable colors, it’s a delightful way to use up scrap yarn while diving into Fast Crochet projects.
Pros/Features
- Each star takes less than 10 minutes to crochet, making it a true 30 Minute Crochet project.
- Great for using up leftover yarn from other Easy Beginner Crochet Patterns.
- Fully customizable—choose colors to match any theme or occasion.
- Perfect for decorating mantels, walls, or even wrapping around a Christmas tree.
DIY Instructions
Materials Needed
- Scrap yarn in various colors.
- 4.0 mm crochet hook.
- Scissors.
- Needle for weaving in ends.
Step-by-Step Process
- Begin with a magic ring and crochet a small star using basic stitches (e.g., double crochet and slip stitches).
- Repeat the process to make multiple stars in different colors.
- String the stars together by threading a length of yarn through one point of each star.
- Secure the ends of the string, and your garland is ready to hang!
Extra Tips
If you want a more polished look, starch the stars to make them firmer and less floppy. This project is a fantastic option for Crochet Projects For Craft Fairs or just a fun activity for when you’re looking for Crochet Ideas When Bored. Pair the garland with matching ornaments for a complete festive look!
Striped Envelope Clutch
If you’re looking for a stylish and functional accessory that can be whipped up in no time, the Striped Envelope Clutch is a fantastic choice! This upbeat project combines simplicity with versatility, making it one of the best Quick Crochet Gifts or Crochet Projects To Sell. The striped design gives it a modern and chic touch, perfect for any occasion. Plus, with its compact size, it’s a great way to use up leftover yarn from other projects!
Pros/Features
- Perfect for beginners looking for Easy Beginner Crochet Patterns.
- A great example of One Skein Crochet, requiring minimal materials.
- Customizable with different color combinations to suit personal style.
- Compact yet functional—fits essentials like cards, keys, and a phone.
- One of the most stylish Crocheted Items That Sell at craft fairs.
DIY Instructions
Materials Needed
- 1 skein of medium-weight cotton yarn in two contrasting colors (or scraps for the stripes).
- Size G/4.0mm crochet hook.
- Scissors.
- Tapestry needle for weaving in ends.
- A small button or snap for closure.
Step-by-Step Process
- Start with a foundation chain that matches the desired width of your clutch.
- Using a simple Double Crochet Projects Simple stitch, work rows back and forth, alternating colors every 2-3 rows for the striped effect.
- Continue until the piece is double the height of your desired clutch, then fold it in half to form the envelope shape.
- Seam the sides using slip stitches or a mattress stitch, leaving the top flap open.
- Add a button or snap closure to secure the flap, and weave in all loose ends.
Extra Tips
For a chic finish, consider adding a simple Border Pattern around the edges, such as a scalloped or crab stitch. If you’re into Unique Crochet, embellish the flap with beads or a small tassel. This is also a great Crochet Project Free idea for anyone who wants to experiment with scrap yarn and play with color combinations!
Mini Popcorn Stitch Basket
The Mini Popcorn Stitch Basket is the perfect combination of adorable and functional! This tiny basket is ideal for holding jewelry, keys, or even small crochet tools, making it one of the most practical Easy Crochet Projects. The textured popcorn stitch adds a fun flair, and it’s a fantastic way to dive into more advanced patterns while staying beginner-friendly. This is a fabulous pick for Crochet Projects To Sell or gift to your loved ones!
Pros/Features
- Compact and functional design for everyday use.
- Features the charming popcorn stitch, adding texture and style.
- A great way to experiment with Scrap Yarn Crochet projects.
- Quick to make and perfect for One Hour Crochet Patterns Free.
DIY Instructions
Materials Needed
- 1 skein of chunky yarn or leftover yarn scraps.
- Size H/5.0mm crochet hook.
- Tapestry needle for finishing.
- Scissors.
Step-by-Step Process
- Begin with a magic circle and crochet 6 single crochets into the ring.
- Work in the round, increasing evenly until the base reaches your desired size.
- Switch to the popcorn stitch for the sides, working in continuous rounds until the basket reaches your preferred height.
- Finish with a simple single crochet edging for a clean look, and weave in the ends.
Extra Tips
Make your basket stand out by incorporating a Border Pattern at the top edge, such as a picot or reverse single crochet stitch. If you’re looking for Crochet Projects For Craft Fairs, offer these baskets in sets of 2-3 in varying colors for maximum appeal. They’re also a great way to use up leftover yarn from previous projects!
30-Minute Layered Crochet Earrings
Elevate your accessory game with these stylish 30-Minute Layered Crochet Earrings! These lightweight, statement-making earrings are not only a quick and satisfying project but also a wonderful introduction to Crochet Jewelry Patterns. Perfect for a chic handmade gift or to add to your Crochet Projects To Sell, they’re sure to win compliments wherever they’re worn. Best of all, they’re a great way to use up scrap yarn!
Pros/Features
- Super lightweight and comfortable to wear.
- A trendy design that suits both casual and formal outfits.
- Uses minimal materials, making it an excellent One Skein Crochet project.
- One of the most popular Crochet Earrings Pattern styles.
DIY Instructions
Materials Needed
- Small amounts of fine crochet thread or yarn (any color).
- Size 1.5mm crochet hook.
- Jump rings and earring hooks.
- Scissors.
- Jewelry pliers (optional).
Step-by-Step Process
- Start with a magic circle and work a small round motif (e.g., 6 double crochets) as the base layer.
- Create a second, slightly larger round motif for the middle layer, adding extra stitches to increase the size.
- Make a third, even larger motif for the outermost layer, ensuring a cohesive design.
- Stack the layers together and secure them with jump rings, then attach the earring hooks.
- Weave in any loose ends and trim excess thread for a polished finish.
Extra Tips
Experiment with different color combinations for a truly Unique Crochet look. You can also add beads or metallic thread to give your earrings extra sparkle. This project is a fantastic way to practice Beginning Crochet techniques while crafting something fashionable and functional!
Chic One-Skein Crossbody Pouch
This adorable crossbody pouch is a must-try for anyone looking to dabble in easy beginner crochet patterns. Using just one skein of yarn, this project is not only budget-friendly but also stylish and functional! It’s a perfect accessory for quick outings or even as a thoughtful, quick crochet gift. The minimalistic yet chic design makes it one of the most loved crocheted items that sell at craft fairs.
Pros/Features
- Uses only one skein of yarn, making it a one skein crochet project.
- Perfect for beginners who want to learn crochet beginner skills.
- Customizable size and strap length to suit personal preferences.
- Lightweight and functional – great for carrying essentials.
DIY Instructions
Materials Needed
- 1 skein of your favorite medium-weight yarn (cotton or acrylic works great).
- Size H (5.0 mm) crochet hook.
- Scissors.
- Tapestry needle for weaving in ends.
- Button or snap for closure (optional).
Step-by-Step Process
- Start by chaining 30 (or adjust based on the desired pouch width).
- Work single crochet (SC) stitches into each chain, turning at the end of each row.
- Continue working SC rows until the piece measures twice the desired pouch height.
- Fold the rectangle in half and join the sides using slip stitches or whipstitch for a seamless look.
- Chain the desired strap length and attach securely to the pouch.
- Add a button or snap for closure if desired, and weave in all loose ends.
Extra Tips
For a unique twist, try adding a contrasting color border using a simple double crochet projects simple stitch. If you’re looking to make this one of your crochet projects to sell, experiment with trendy yarn colors or add embellishments like tassels!
Quick Crochet Wrist Cuff Bracelet
The wrist cuff bracelet is a fantastic project for someone interested in crochet jewelry. It’s stylish, versatile, and quick to make—perfect for when you’re short on time but want an accessory that makes a statement. This piece is also a great way to create crochet ideas when bored, as it uses minimal yarn and finishes in under an hour!
Pros/Features
- Super fast to make – a true 30 minute crochet project.
- Easy to customize with different stitches, yarn colors, or beads.
- Lightweight and comfortable to wear.
- Can be adjusted to fit any wrist size.
DIY Instructions
Materials Needed
- Scrap yarn (cotton or lightweight yarn works best).
- Size G (4.0 mm) crochet hook.
- Button or snap for closure.
- Tapestry needle for weaving in ends.
Step-by-Step Process
- Chain enough stitches to wrap around your wrist (add a few extra for overlap).
- Work one row of single crochet (SC) stitches to create the base.
- Continue with your choice of pattern: you can try puff stitches, shell stitches, or keep it simple with SC or double crochet (DC).
- Once the bracelet reaches the desired width, bind off and weave in the ends.
- Attach a button or snap for closure, ensuring a snug fit.
Extra Tips
Add beads or small charms to the design to elevate the look and make it a part of your unique crochet collection. These bracelets make excellent quick crochet gifts for friends or as crochet projects for craft fairs!
Beginner-Friendly Scrap Yarn Hair Scrunchie
Give your leftover yarn a new purpose with this super cute and functional hair scrunchie! Perfect for beginners, this project is a delightful way to practice basic stitches while creating something trendy. These scrunchies are not only easy crochet projects but also highly useful, making them a fantastic addition to your stash of crochet projects to use up yarn.
Pros/Features
- Uses minimal yarn, making it ideal for scrap yarn crochet.
- Quick and straightforward – perfect for beginning crochet.
- Functional and trendy, aligning with current fashion trends.
- Easily customizable with different yarn types and colors.
DIY Instructions
Materials Needed
- Small amount of leftover yarn (any weight works, but medium-weight is easiest).
- Size G (4.0 mm) or H (5.0 mm) crochet hook.
- Plain hair elastic.
- Scissors.
- Tapestry needle for weaving in ends.
Step-by-Step Process
- Start by attaching the yarn to the hair elastic with a slip knot.
- Work single crochet (SC) stitches all the way around the elastic, ensuring the elastic is fully covered.
- For a ruffled effect, work two SC stitches into each stitch in the next row.
- Finish off by securing the yarn, weaving in the ends, and trimming any excess.
Extra Tips
Try using velvet or metallic yarn for a more luxurious finish, especially if you’re creating crochet projects to sell. These scrunchies are fantastic for adding a pop of color to your hairdo and are among the most useful things to crochet free patterns you’ll find!
Fast Double Crochet Bookmark
Looking for a quick and practical crochet project? This Fast Double Crochet Bookmark is an absolute breeze to make and perfect for bookworms or as a thoughtful gift. It’s simple yet elegant, using the double crochet technique to create a slim and functional design. Whether you’re diving into Easy Beginner Crochet Patterns or looking for Crochet Projects To Sell, this bookmark is a fantastic choice.
Pros/Features
- Quick to complete – perfect for those seeking 30 Minute Crochet projects.
- Uses minimal yarn, making it great for Scrap Yarn Crochet.
- Lightweight and slim, ideal for keeping your place in any book without damaging pages.
- Customizable with colors, tassels, or even Border Patterns for an extra pop.
DIY Instructions
Materials Needed
- Small amount of yarn (lightweight or medium works best).
- Crochet hook (size recommended for your yarn).
- Scissors.
- Tapestry needle for weaving in ends.
Step-by-Step Process
- Create a slip knot and chain the desired length of your bookmark (typically around 30 chains).
- Double crochet in the third chain from the hook and in each chain across.
- Turn your work, chain 2, and continue double crocheting across for two more rows or until it reaches your desired width.
- Fasten off the yarn and weave in the ends using the tapestry needle.
- Optional: Add a tassel or fringe to one end for a chic finish.
Extra Tips
To give your bookmark a polished look, consider adding a single crochet edge or a Unique Crochet decorative border. For a more personalized touch, use variegated yarn for a colorful design or incorporate a small applique, like a crochet flower or heart. This project is quick enough to make multiples in an hour, which makes it ideal for Crochet Projects For Craft Fairs or Crocheted Items That Sell!
Seamless Pocket Tissue Holder
Say goodbye to crinkly tissue packets with this Seamless Pocket Tissue Holder! This easy and functional DIY project is perfect for beginners and is a great way to explore **One Hour Crochet Patterns Free. These holders are not only practical but also make for Quick Crochet Gifts or Easy Crochet Projects To Sell. Plus, they’re an excellent way to use up leftover yarn from other projects.
Pros/Features
- Compact and portable – perfect for keeping tissues tidy in your purse or car.
- Great for Scrap Yarn Crochet projects, requiring only a small amount of yarn.
- Elegant and seamless design that looks professional and polished.
- Can be customized with colors, patterns, or even embellishments for a Chic Crochet touch.
DIY Instructions
Materials Needed
- Small amount of worsted-weight yarn.
- Crochet hook (size H/5mm recommended).
- Scissors.
- Tapestry needle for sewing the seams and weaving in ends.
Step-by-Step Process
- Start with a foundation chain of about 30 stitches (adjust to match the size of your tissue packet).
- Work single crochets in each chain across, then chain 1 and turn your work.
- Continue working single crochets in rows until your piece is long enough to wrap around the tissue packet with a slight overlap.
- Fasten off the yarn, leaving a long tail for sewing.
- Fold the crocheted piece in half with the wrong side out and stitch the two shorter sides together using the tapestry needle. Turn it right side out to reveal your seamless holder.
Extra Tips
To make your tissue holder extra stylish, consider adding a decorative Border Pattern or stitching on a small applique, like a monogram or a cute crochet flower. This is also one of those Crochet Projects To Use Up Yarn, so experiment with different textures and colors for variety. These make great items for craft fairs, as they’re quick, Useful Things To Crochet Free Patterns, and a surefire hit with buyers!
Unique Puff Stitch Beaded Pendant
Elevate your accessory game with this Unique Puff Stitch Beaded Pendant! This project merges the elegance of Crochet Jewelry with the fun of adding beads for extra sparkle. Whether you’re looking for Crochet Jewelry Patterns or need a standout piece for Quick Crochet Projects, this pendant is a beautiful and rewarding DIY. Wear it as a necklace or gift it as a Quick Crochet Gift to someone special.
Pros/Features
- Combines crochet and beadwork for a modern, eye-catching look.
- Small and fast to make – ideal for One Skein Crochet or Crochet Ideas When Bored.
- Customizable with different beads and yarn colors for limitless design possibilities.
- Perfect for Crochet Projects For Craft Fairs and as Crocheted Items That Sell.
DIY Instructions
Materials Needed
- Lightweight yarn or crochet thread.
- Small crochet hook (1.5mm to 3mm, depending on thread/yarn weight).
- Beads of your choice (make sure the yarn/thread fits through their holes).
- Scissors and tapestry needle.
Step-by-Step Process
- Thread your beads onto the yarn/thread before starting (around 10 beads is a good start).
- Create a slip knot and chain 6 to form a loop, then slip stitch to join.
- Work puff stitches into the loop, pulling a bead into place with each stitch as you go around.
- Once you’ve completed the round, fasten off and weave in any loose ends using the tapestry needle.
- Attach your pendant to a necklace chain or cord, and it’s ready to wear!
Extra Tips
Experiment with bead shapes and colors to create a truly Unique Crochet design. Using metallic or sparkly thread can add a touch of glam, while earthy tones give a more bohemian look. This project is great for beginners looking to try Crochet Jewelry or anyone wanting to add a stunning handmade piece to their collection of Diy Crochet Projects!
FAQ
What crochet skill level is required for these projects?
All the projects listed, such as the Beginner-Friendly Scrap Yarn Hair Scrunchie and the Fast Double Crochet Bookmark, are suitable for beginners and intermediate crocheters. Many of these are easy beginner crochet patterns with simple stitches, making them perfect for those learning crochet beginner techniques or looking to practice basic skills.
Can I complete each project within 1 hour?
Yes! Each of the items, from the Spiral Wave Accent Coasters to the Quick Crochet Wrist Cuff Bracelet, was chosen because it can be finished in an hour or less. These are great fast crochet options for crafters short on time but eager to create.
Are these projects good for using up leftover yarn?
Absolutely! Many projects, like the Mini Popcorn Stitch Basket and the Seamless Pocket Tissue Holder, are excellent for scrap yarn crochet. These are also great crochet ideas when bored and looking to make something useful!
Can these items be used as gifts?
Yes, these projects make wonderful quick crochet gifts. For example, the Starry Night Ornament Garland is perfect for festive occasions, while the Chic One-Skein Crossbody Pouch is stylish and practical for everyday use. These crocheted items that sell are also great for giving a personal, handmade touch to gift-giving.
What if I want to sell these items at craft fairs?
Many of these projects, like the Bohemian Knot Tassel Keychain and the Striped Envelope Clutch, are ideal for crochet projects to sell. They are small, quick to make, and can be customized in various colors, making them popular choices for craft fairs and markets.
How do I find free patterns for these projects?
You can find one hour crochet patterns free online or follow easy tutorials. Many of these projects, such as the Unique Puff Stitch Beaded Pendant and the 30-Minute Layered Crochet Earrings, often come with step-by-step guides or crochet jewelry patterns available for free or minimal cost.
Can I customize these designs?
Of course! Many of these DIY crochet projects, such as the Modern Hexagon Wall Hanging or Chunky Braided Plant Hanger, can be easily customized by changing the stitch, color, or embellishments. Personalizing them makes for truly unique crochet items.
Are these projects suitable for kids or teens to try?
Yes, many of these easy crochet projects, like the Beginner-Friendly Scrap Yarn Hair Scrunchie or the Fast Double Crochet Bookmark, are beginner-friendly and great for younger crafters. Just supervise younger children when working with hooks or beads.
Conclusion
Whether you’re an experienced crocheter or just starting your crafting journey, this curated collection of 30-minute crochet projects is here to inspire your creativity.
From the stylish Bohemian Knot Tassel Keychain to the innovative Scalloped Edge Sunglass Sleeve, these quick and budget-friendly projects can be completed in under an hour. Ideal for producing quick crochet patterns, these designs can be used for personal gifts, home décor, or even as crochet projects to sell at craft fairs.
For those on a mission to master easy beginner crochet patterns, start with something simple like the Beginner-Friendly Scrap Yarn Hair Scrunchie. If you’re looking for more advanced yet quick crochet projects, the 30-Minute Layered Crochet Earrings or the Unique Puff Stitch Beaded Pendant are fantastic choices to explore crochet jewelry.
Feeling inspired?
Save this article as a go-to guide for your one-hour crochet patterns free. Share it with friends and loved ones who might enjoy trying these easy crochet patterns to sell or give as gifts!
We’d love to hear from you—let us know in the comments which project you’re excited to try first. Happy crocheting!
“`

