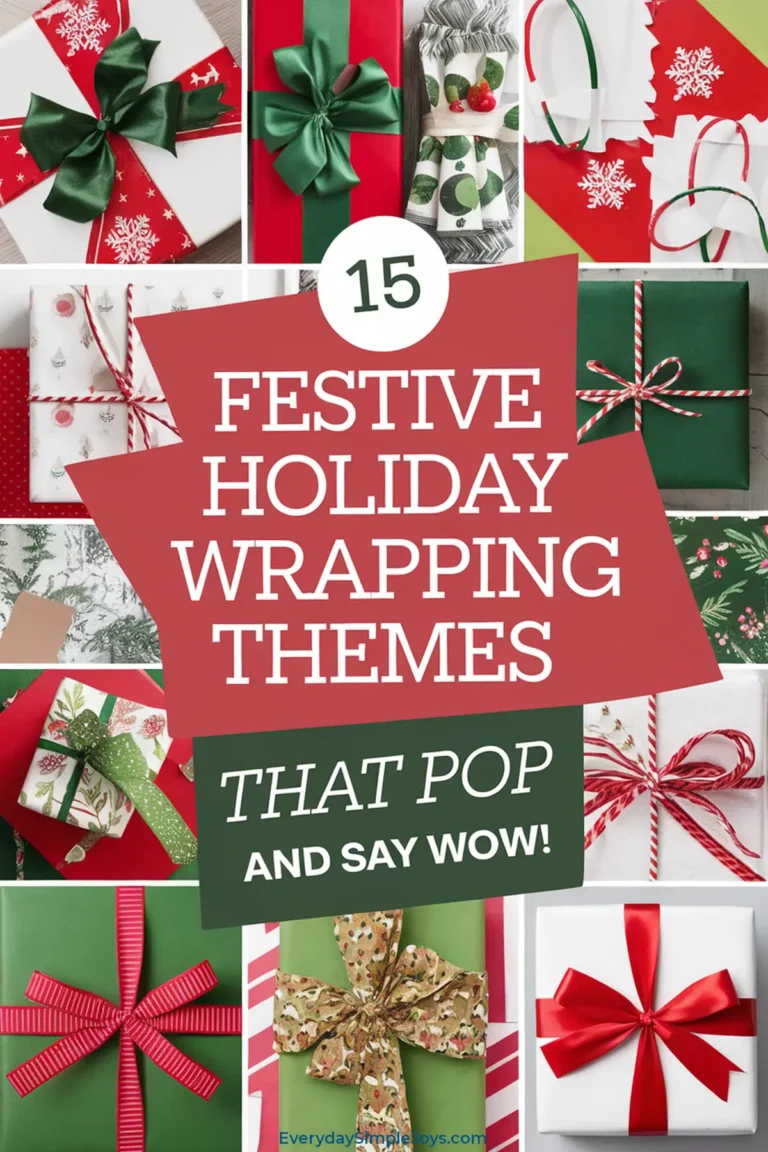
Did you know that 73% of campers say themed decorations make their outdoor experiences more memorable? If you’re looking to add some quirky holiday spirit to your summer camping trip, you’ll love these budget-friendly Christmas in July decorations that won’t break the bank or take up too much space in your camping gear. From turning beach balls into festive trees to crafting seashell garlands, these 12 DIY projects will help you create that perfect blend of summer fun and winter magic at your campsite.
Highlights
Create a tropical pineapple Christmas tree using painted pinecones, green tissue paper, and fairy lights for a festive campsite centerpiece.
Transform pool noodles into holiday wreaths by wrapping them with garlands and decorating with camping-themed ornaments and ribbons.
Design a summer sandman display using sand-colored fabrics and decorative stones, topped with a Santa hat for Christmas flair.
Make seashell ornaments and garlands using collected shells, Model Magic, and hemp twine for beach-themed Christmas decorations.
Light pathways with DIY jar lanterns, glow-in-the-dark painted rocks, and battery-operated fairy lights for magical campsite ambiance.
Tropical Pineapple Christmas Tree
Transform your ordinary camping setup into a whimsical holiday display with a tropical pineapple Christmas tree centerpiece. You’ll be amazed at how simple pinecones can become festive mini pineapple trees with just a coat of yellow paint and some creative touches.
Start by gathering pinecones from your campsite (free decorations, score!) and give them a quick spray with yellow paint.
While they’re drying, cut some green tissue paper into spiky crown shapes. Once your pinecones are ready, attach the paper crowns with all-purpose glue.
This is where the magic happens: wrap some battery-operated fairy lights around your creation and add tiny ornaments like seashells or dried orange slices.
For extra tropical flair, surround your pineapple tree with dollar store finds like faux palm leaves and coral-colored accents.
Pop it on a wooden slice or crate, and you’ve got yourself a conversation starter that’ll have fellow campers doing double-takes!
Pool Float Holiday Wreath
You’ll need just a handful of basic supplies to create your festive pool float wreath, including a foam pool noodle, duct tape, holiday decorations, and a hot glue gun.
Getting started is super fun and straightforward: simply bend your pool noodle into a circle, secure the ends with duct tape, and you’re ready for decorating.
Once you’ve got your base ready, you can let your creativity shine by attaching ornaments, ribbons, and themed decorations using your hot glue gun.
Materials and Tools Needed
Before plunging into this super fun pool float wreath project, you’ll need to gather a handful of basic materials and tools that’ll make the crafting process smooth sailing.
Start with a pool noodle or foam insulation tube as your base (I’ve found these work better than inflatable tubes since they’re more stable). You’ll want duck tape to secure the shape, plus a 9-foot garland rope to wrap around it. For decorating, grab a statement bow, some festive ornaments, and your trusty hot glue gun with extra glue sticks. Don’t forget scissors and floral wire for assembly and hanging. I like to keep some thin ribbon handy too. You never know when you’ll need to add an extra decorative touch! Finally, pick up sturdy wreath hangers or suction cups for display.
Quick Assembly Steps
With the materials ready to go, let’s plunge into assembling your pool float holiday wreath.
It’s easier than you might think! Start by shaping your pool noodle into a perfect circle, securing the ends with duct tape or hot glue.
Trust me, taking an extra minute to guarantee it’s not oval will make your final wreath look so much better.
Now comes the fun part: decorating!
Working from the outside in, attach your shatterproof ornaments and garland using hot glue.
I’ve learned that layering different decorations helps cover the noodle base completely.
No peeking pool float allowed!
Top it off with a festive bow or ribbon for that perfect finishing touch.
You’ll be amazed at how a simple pool noodle can transform into such a jolly centerpiece for your campsite.
Summer Sandman Display
Creating a Summer Sandman display brings the magic of a winter wonderland right into your sunny campsite. Instead of frosty snow, you’ll use sand-colored fabrics and decorative stones to craft your beachy friend, complete with a tiny Santa hat and maybe even a fishing rod for extra character.
Position your Sandman as the star of the show, then surround it with twinkling LED lights and DIY lanterns made from repurposed materials. Those old CDs make surprisingly sparkly decorations!
Layer your display with mini camping tents and backpacks to blend the Christmas and camping vibes. You’ll want to add some traditional holiday touches too, like red and green accents or small Christmas trees.
Don’t forget to weatherproof your creation with a protective coating. Trust me, there’s nothing sadder than a Sandman that’s melted in the summer rain!
For extra fun, create a cozy s’mores station nearby where campers can gather and admire your handiwork.
Beach Ball Christmas Tree Tower
Speaking of beach-themed holiday fun, you’ll love this next project that takes summer inflatables to new heights!
Create a unique Christmas tree using beach balls stacked on a sturdy pole. It’s the perfect blend of summer and holiday spirit for your campsite.
Start by gathering beach balls in different sizes and a strong pole that’ll serve as your tree’s backbone. Stack the balls from largest to smallest, securing each one to the pole with string or twine.
You can really make it shine by wrapping battery-operated fairy lights around your creation and adding camping-themed ornaments like tiny lanterns or miniature tents.
Don’t forget to anchor your pole firmly in the ground or a heavy base, as those beach balls can catch quite a breeze!
Add some personal flair with colorful bows, or write fun holiday messages right on the balls. It’s a conversation starter that’ll have your camping neighbors doing double-takes!
Cocktail Umbrella Door Swag
A tropical twist on holiday door decor awaits with this delightful cocktail umbrella swag!
You’ll transform your campsite’s entrance into a festive paradise by layering colorful cocktail umbrellas with ribbons and artificial flowers. It’s super fun to mix traditional Christmas elements with summer vibes, creating a unique decoration that’ll make your camping neighbors smile.
Create depth by arranging umbrellas in clusters, securing them with decorative wire for a fuller look. Mix in solar-powered string lights between the umbrellas for magical evening ambiance.
Add personal touches with small camping-themed ornaments or family name tags.
You don’t need to break the bank for this project. Shop sales for supplies or repurpose items you already have.
I’ve found that layering different-sized umbrellas creates the most eye-catching effect. For an extra special touch, weave in some tropical artificial flowers or even small seashells to enhance that Christmas-meets-summer feeling.
Glowing Starlight Campsite Path
You’ll love how your evening campsite comes alive with a magical starlit path that’s super easy to create using glow-in-the-dark pebbles and stones.
Simply mark your path with string, dig a shallow trench, and spread your solar-charging glow materials to create a safe, enchanting walkway that’ll impress your fellow campers.
The best part is that these luminous paths charge all day in the summer sun, giving you hours of twinkling guidance when darkness falls, and they’re perfect for those late-night trips to the bathroom!
Solar Light Path Magic
Transform your campsite into a magical starlit paradise with three simple solar light strategies that’ll make your Christmas in July celebration truly shine.
Create a twinkling wonderland by placing modern stake-mounted lights every 3-4 feet along your paths, mixing cool white and warm white LEDs for that perfect holiday glow. The best part? These weather-resistant beauties work automatically from dusk till dawn.
- Arrange multi-height solar lights in zigzag patterns to form a magical pathway that guides guests to your campsite.
- Add red and green color filters to your 2-in-1 solar lights for instant Christmas cheer without breaking the bank.
- Create custom light designs using 10-packs from Walmart: spell out “JOY” or make a twinkling Christmas tree shape.
These budget-friendly solar decorations are super easy to install, and they’ll make your summer camping spot feel like Santa’s workshop!
Easy Evening Path Setup
While solar lights create magical overhead displays, bringing that starlit wonder down to ground level adds an entirely new dimension to your Christmas in July campsite.
You’ll love how easy it’s to transform your pathways into a twinkling wonderland using budget-friendly materials you might already have.
Start by marking your path’s edges with glow-in-the-dark painted rocks or recycled jar lanterns. Then, weave fairy lights between them like a river of stars.
For extra sparkle, scatter some glowing pebbles along the borders (they’re super fun to collect during daytime walks). Don’t forget to mix in natural elements like pinecones and branches to keep that cozy campsite feel.
Battery-operated LED candles work great as markers, especially when tucked safely inside mason jars for a warm, festive glow.
Seashell Ornament Collection
Since summer camping calls for unique decorations, creating a seashell ornament collection adds the perfect beachy touch to your Christmas in July celebration.
You’ll find these ornaments super fun to make, especially when you’re crafting with family at the campsite. With some Model Magic and colorful shells, you can create lasting memories that’ll brighten up your outdoor space.
- Try the seashell imprint technique with white Model Magic. It’s perfect for little hands and creates beautiful impressions.
- Transform your favorite beach vacation photos into mini wreath ornaments using small shells and white craft foam.
- Add some sparkle to natural seashells with ultra-fine glitter paint for an eye-catching display.
You’ll love how versatile these ornaments are. Hang them from your RV awning or decorate a small tabletop tree.
Plus, they make thoughtful gifts for your camping neighbors who are celebrating alongside you. Don’t forget to personalize them with names or special dates!
Palm Tree String Light Display
You’ll need some basic supplies to create your magical palm tree light display: extension cords, zip ties, and multiple strands of LED string lights (the $4.79 sets work great).
Start by wrapping the lights snugly around your camp’s natural palm trunks or creating artificial ones using PVC pipes as your base structure.
For eye-catching patterns, try mixing tight spiral wraps with loose zigzag designs, and don’t forget to spread the lights evenly through the fronds to create that perfect tropical Christmas glow.
Essential Setup Materials Needed
To create a magical palm tree string light display for your Christmas in July camping adventure, you’ll need to gather some essential materials before getting started.
You’ll want to focus on items that are both practical and budget-friendly, making your tropical-themed campsite shine without breaking the bank.
Palm tree string light sets (about $4.79 for 10 lights), look for weatherproof options that’ll hold up during your camping trip.
Tent clips, hooks, and ground stakes to secure your display (trust me, you don’t want your lights taking flight in the evening breeze!).
Weather-resistant extension cords or solar-powered alternatives if you’re going cord-free.
Consider grabbing a few extra sets of lights for backup.
They’re super handy when you’re feeling creative and want to expand your display. Plus, these versatile lights can transform your backyard or patio long after your camping trip ends.
Palm Wrapping Techniques Explained
While creating a stunning palm tree light display might seem tricky at first, mastering the right wrapping techniques will make your Christmas in July campsite truly shine.
Start at the trunk’s base and work your way up in a steady spiral pattern (it’s like decorating a giant candy cane). For the best results, you’ll want to measure your trunk’s height and calculate the spacing between wraps.
When you’re ready to tackle the fronds, run lights down the center rib of each one. You can either create a neat, structured look or go for a more relaxed, draped effect.
Nobody wants their hard work sliding off halfway through the celebration, so be sure to secure everything with zip ties or light clips. For extra sparkle, try combining white lights on the trunk with colored ones on the fronds.
Creative Lighting Pattern Ideas
Five stunning lighting patterns can transform your palm tree display from basic to breathtaking.
You’ll love how these creative designs add a magical touch to your Christmas in July camping experience. Regardless of if you’re wrapping lights around real palms or creating artificial displays, these patterns will make your campsite the talk of the grounds.
- Try the “cascading waterfall” effect by hanging vertical strands from top to bottom.
- Create a spiral wrap starting from the base and working your way up for a classic look.
- Layer multiple strands in a crisscross pattern for added depth and sparkle.
Mix and match these patterns to design your unique paradise setting.
For extra pop, combine warm white and colorful lights to highlight different sections of your palm trees. You’ll be amazed at how these simple techniques create such stunning results.
Giant Inflatable Bauble Garden
Creating a magical outdoor display gets super fun with a Giant Inflatable Bauble Garden, the perfect way to merge Christmas cheer with summer camping vibes.
You’ll want to start with 3-5 inflatable baubles in varying sizes, from 60cm up to 5 feet tall, creating depth and visual interest around your campsite.
Set up your baubles using the included ground stakes on grassy areas, or opt for weighted bases if you’re on a patio. For added pizzazz, integrate some LED lighting (they’re fantastic for nighttime ambiance).
I’ve found that surrounding them with potted palms or pairing them with mini tents really brings the summer-meets-Christmas theme to life.
Don’t worry about breaking the bank. You can snag these beauties for under $50 each from places like Walmart or AliExpress.
Pro tip: Stock up during January clearance sales for next year’s camping adventures!
Melted Snowman Summer Scene
Speaking of outdoor Christmas displays, you’ll love this hilarious twist on a winter classic: the Melted Snowman Summer Scene!
Create a comical vacation vibe by positioning your melting snowman under a tiny beach umbrella, complete with sunglasses and a summery scarf. It’s super easy to make using Epsom salts for the “melted snow” effect, and you can upcycle clear plastic ornaments as the base.
Transform regular craft supplies into beachy accessories, such as mini cocktail umbrellas, dollar store sunglasses, and DIY “Help! I’m Melting!” signs.
Use lightweight materials like foam balls and fabric for easy transport to your campsite.
Add battery-operated tea lights for a magical evening glow that’s tent-safe.
Make it interactive by setting up a craft station where fellow campers can build their own melted snowmen. You can even turn it into a fun photo opportunity with a tropical-meets-winter backdrop.
The best part? Most materials cost under $10 total!
Neon Christmas Camping Banner
When traditional Christmas lights just won’t cut it for your summer campsite, a neon Christmas camping banner will steal the show!
You’ll love how this modern twist on holiday decor combines bright LED strips with camping-inspired designs for a truly unique display.
Start with a black acrylic or MDF board as your base, then map out your design using CAD software or printed templates.
I’ve found that dogbone-shaped cuts work perfectly for securing the LED neon strips. They’re like little anchors for your lights!
Add some fun camping motifs like tents and trees alongside your “Christmas in July” text.
For extra pizzazz, mix traditional red and green LEDs with vibrant neon colors.
You can power the whole thing with batteries, making it perfect for outdoor use.
Don’t forget to weatherproof your creation with clear epoxy, and add some glow-in-the-dark paint for that extra pop when the sun sets at camp!
Summer Christmas Shell Garland
A beautiful seashell garland brings the perfect blend of Christmas cheer and beachy vibes to your summer campsite! You’ll love how easy it’s to create this stunning decoration using shells you’ve collected or picked up from your local craft store.
Mix different sizes and shapes of shells for visual interest, and add some wooden beads or pearls between them for extra sparkle.
- Create a coastal Christmas feel by alternating white shells with red and green painted ones
- Thread shells onto hemp twine using pre-drilled holes, or wrap them securely with string
- Add starfish or sand dollars as statement pieces every few shells
You can customize your garland’s length to fit anywhere at your campsite. Try hanging it across your awning or wrapping it around your tent poles.
When you’re done camping, this versatile decoration works beautifully at home too. Just store it in an airtight container, and it’ll be ready for next year’s Christmas in July celebration!
Summary
These budget-friendly Christmas in July decorations will transform your campsite into a festive summer wonderland. Last weekend, my family created a stunning beach ball Christmas tree that became the talk of the campground (kids couldn’t stop taking photos with it). You’ll love how these DIY projects blend traditional holiday charm with sunny summer vibes. Now’s the perfect time to gather your supplies and begin creating your own outdoor holiday magic.