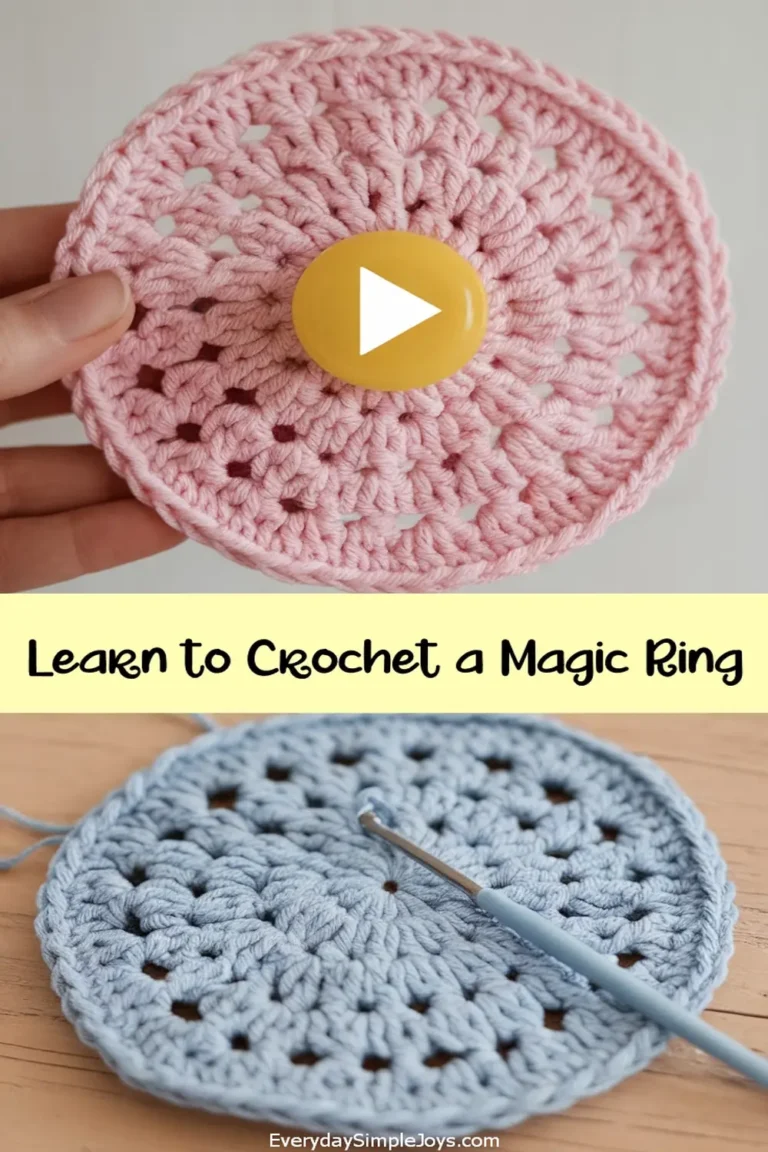
Whether you are a beginner learning how to crochet a magic ring or you are more advanced, but need a quick refresher, I thought it would be helpful to put this brief page together for you.
Since so many patterns like Plush Animals, hats, socks, and others use the magic ring, this should be explained.
Magic Ring Crochet Techniques
The magic ring, also known as a magic circle, is a fundamental crochet technique used to start a round. It is particularly useful for projects that need a tightly closed center, like hats or amigurumi.
Steps to Create a Magic Ring
- Make a Loop: Lay the yarn over your fingers with the tail hanging down, and secure it with your thumb.
- Insert Hook: Insert your crochet hook into the loop, yarn over (using the yarn coming from the ball, not the tail), and pull through the loop.
- Make a Chain (optional): Chain one (or as many as needed for your pattern) to secure the loop. This step stabilizes the center of the ring.
- Work Stitches: Work the required number of stitches into the ring according to your pattern.
- Pull Tail to Tighten: Once the necessary stitches have been made, pull the tail of the yarn to tighten the circle, closing it completely.
Tips for a Successful Magic Circle
- Make sure to hold the base of the loop securely as you make the stitches.
- After tightening the magic ring, you may want to secure the tail by weaving it into the subsequent stitches to prevent it from loosening.
Video Instruction
Since seeing is often much better than reading when trying to figure out the proper way to do a stitch, I’ve put together a list of three different video tutorials. Hopefully, this will help you to get going quickly on your Amigurumi toys, plushie animals, and crochet patterns.


