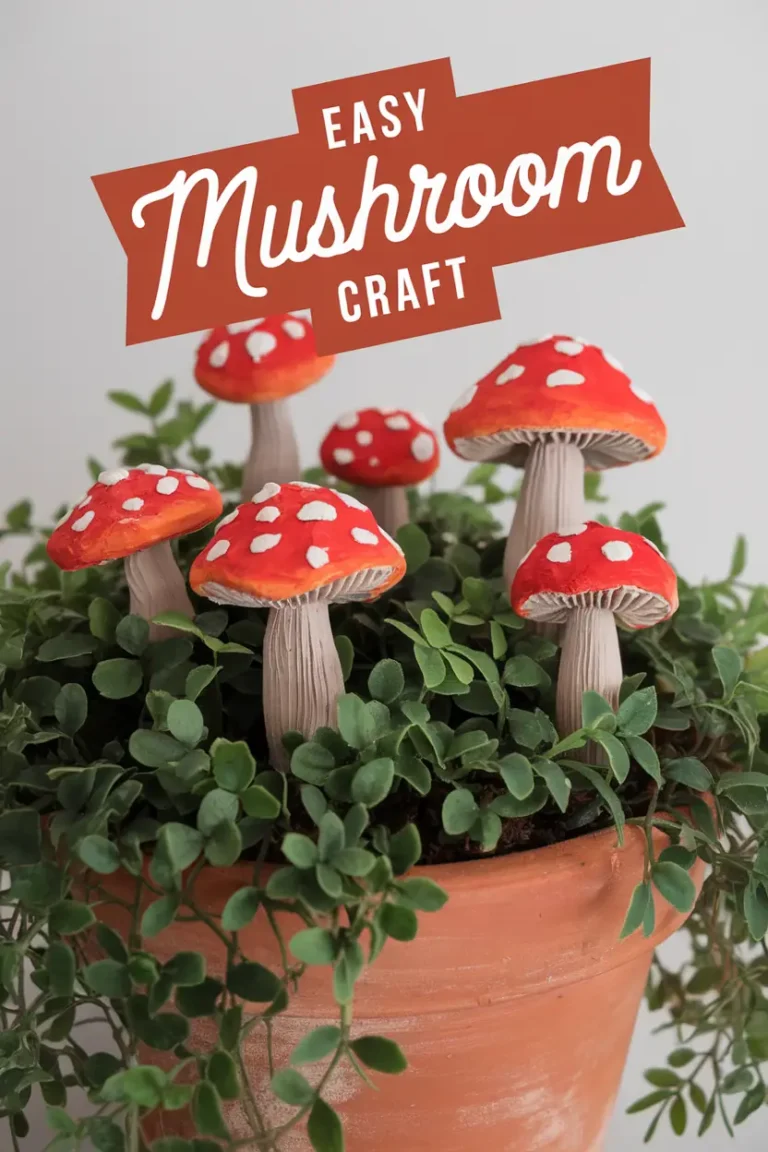
Looking to add a dash of whimsy to your home?
Picture cute toadstools for your shelves, mushrooms and toadstools for your garden, and even natural, homemade natural ornaments that feel straight out of a fairy tale. From DIY mushroom ornaments for your Yule tree to mushrooms out of clay for your garden, mushroom crafts are a fun, easy way to create charming decorations with a handmade touch.
We’ll go through different techniques, from polymer clay mushrooms to DIY outdoor ornaments—all simple enough for beginners and fun for experienced crafters too!
Why You’ll Love This Article:
- Beginner-Friendly: No experience needed to create stunning pieces.
- Year-Round Magic: Perfect for every season and holiday.
- Variety of Projects: From small home accents to garden decor.
- Budget-Friendly Supplies: Use what you have or grab affordable items.
Let’s get started!
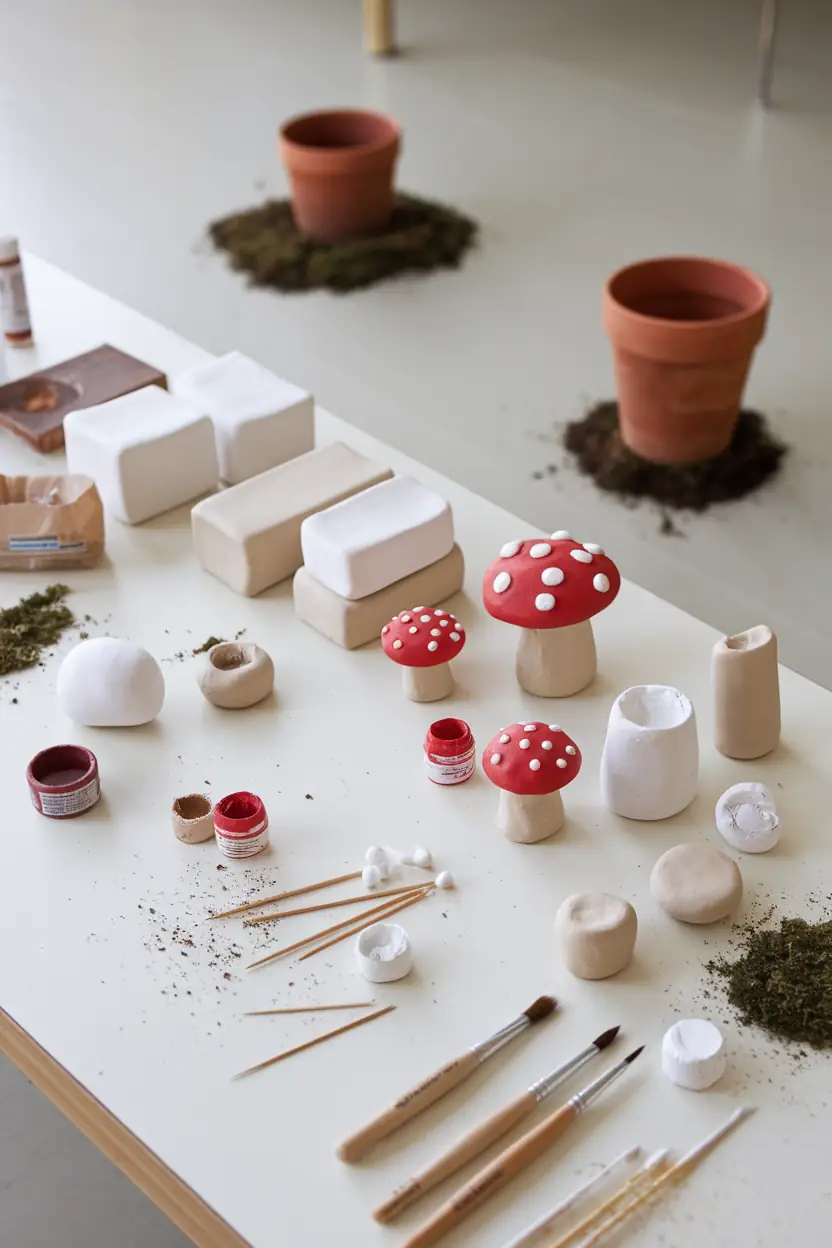
Materials Needed for DIY Clay Mushrooms
- Air-Dry Clay or Polymer Clay (white or beige): This will be used to sculpt the mushroom caps and stems.
- Acrylic Paints:
- Red for the mushroom caps.
- White for dots on the caps and for highlighting the stems.
- Brown or beige for shading on the stems, if desired.
- Small Paintbrushes: For painting details on the mushrooms.
- Clay Sculpting Tools or a Butter Knife: To shape and carve details into the clay.
- Toothpicks or Small Sticks: Optional, for adding texture or stability to the mushrooms.
- Sealer or Clear Acrylic Spray: To protect the paint and make the mushrooms more durable if used outdoors.
- Potting Soil or Moss (optional): To fill the pot around the mushrooms if used as garden decor.
- Small Terra-Cotta Pots or Planters: If displaying the mushrooms indoors with other plants.
Step-by-Step Guide: Creating DIY Clay Mushrooms
Step 1: Shape the Mushroom Stems
- Start by taking a small amount of air-dry clay and rolling it into a cylinder to form the stem.
- Pinch the top slightly to create a narrower end where the cap will sit.
- If you want a textured look, use a toothpick or sculpting tool to add slight lines or notches around the stem for a more natural appearance.
Step 2: Form the Mushroom Caps
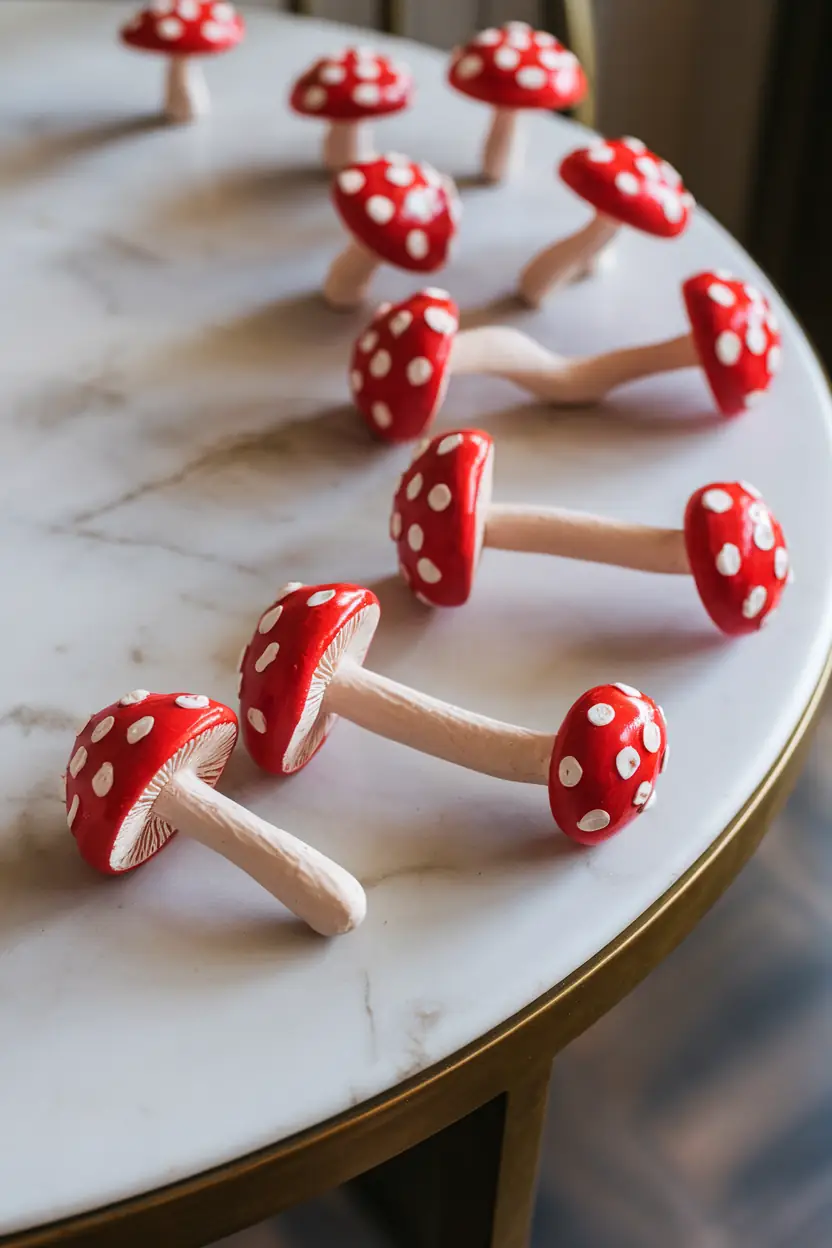
- Take another piece of clay and roll it into a ball, flattening it slightly to create a dome shape for the mushroom cap.
- Press the underside of the cap lightly to create a slight indentation, which will help it sit securely on the stem.
- For a realistic touch, use a toothpick to gently score tiny lines underneath the cap, mimicking the gills of a mushroom.
Step 3: Assemble the Mushrooms
- Attach the cap to the stem by gently pressing the two pieces together. If needed, smooth out the connection with your fingers or a damp tool.
- For extra stability, you can insert a small toothpick into the stem before attaching the cap, ensuring it reaches into the cap for support.
Step 4: Let the Clay Dry Completely
- Allow the mushrooms to dry for the recommended time based on your clay type (air-dry clay may take 24 hours to fully harden, while polymer clay requires baking).
- Ensure the mushrooms are firm and dry before moving on to painting.
Step 5: Paint the Mushroom Caps
- Use red acrylic paint to cover the top of each mushroom cap. Let the paint dry, then apply a second coat if needed for a bright, vibrant color.
- Once the red paint is dry, use a small brush and white acrylic paint to add dots on the cap, creating a classic toadstool look. Try to make the dots irregular for a natural feel.
Step 6: Paint the Stems
- Paint the stems white or a light beige for a natural appearance. You can add a bit of brown or beige shading around the bottom to give it a realistic look.
- For extra texture, lightly dry-brush the stem with a tiny bit of brown paint, then blend it with a dry brush to give a weathered effect.

Step 7: Seal the Mushrooms (Optional)
- Once the paint is dry, apply a clear acrylic spray or sealer to protect your mushrooms, especially if you plan to use them outside.
- This will keep the paint vibrant and protect the clay from moisture.
Step 8: Display the Mushrooms
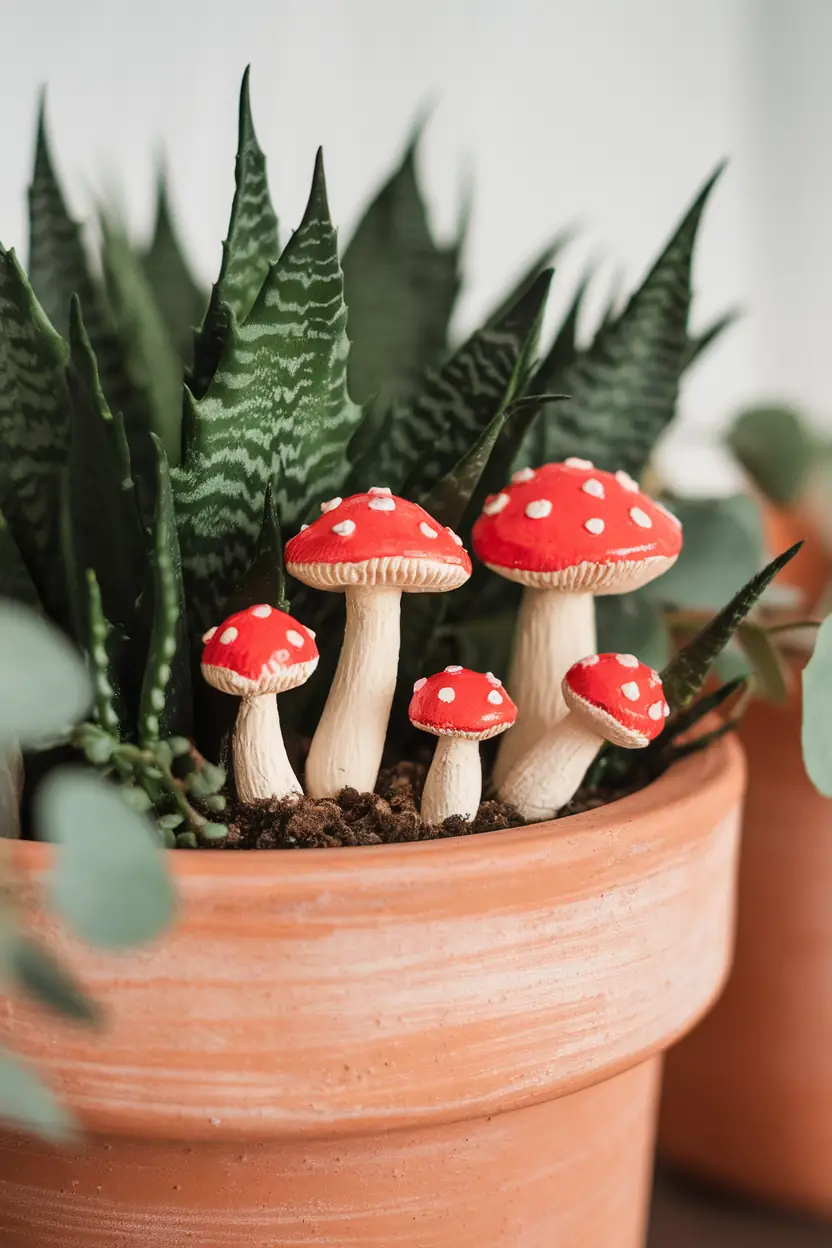
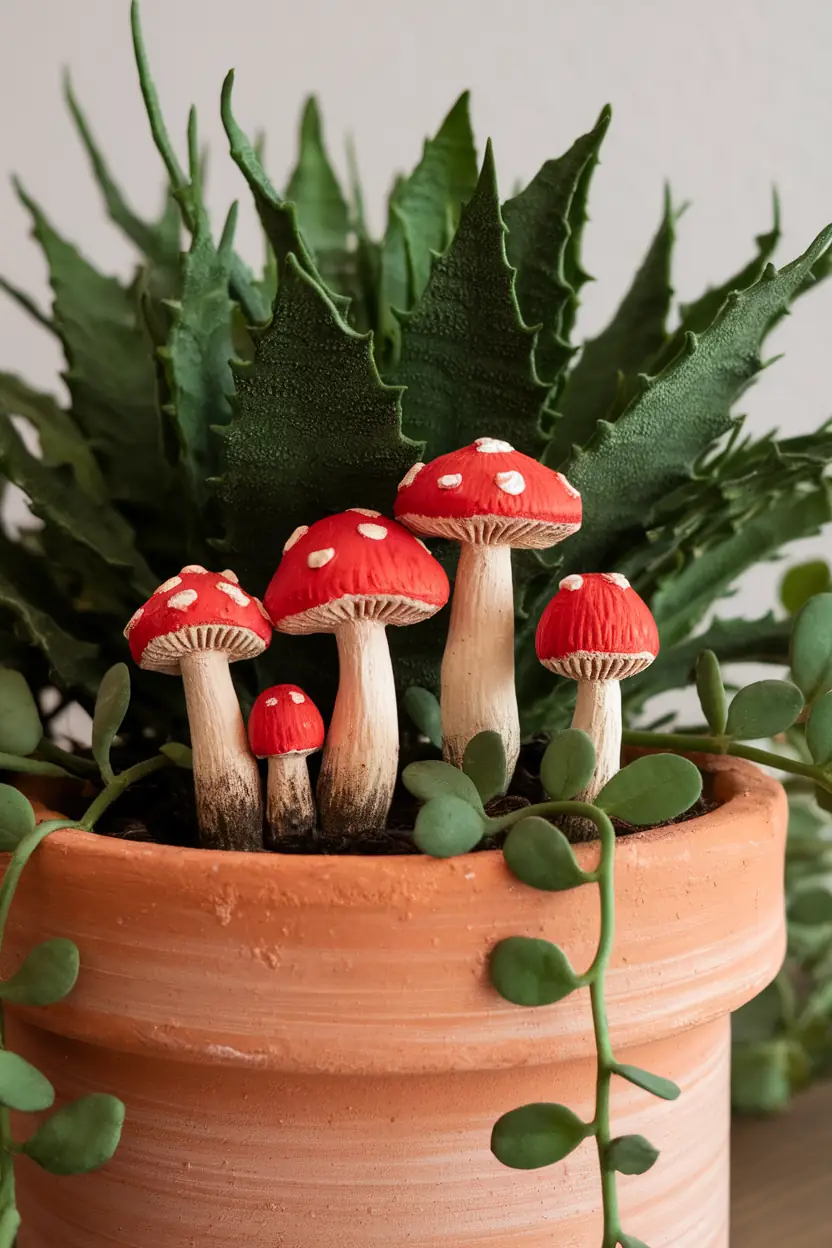
- Place your finished mushrooms in a terra-cotta pot with potting soil or moss around the base for an earthy, garden look.
- You can also place these mushrooms in your garden beds, near potted plants, or even as indoor decorations alongside other plants for a whimsical touch.
Estimated Time to Make This Mushroom Craft
Creating these clay mushrooms will take about 1-2 hours of active crafting time, plus drying time. Here’s a rough breakdown:
- Shaping and Assembling (about 30 minutes): Sculpting the clay into stems and caps and attaching them carefully.
- Drying Time (Air-Dry Clay: 24 hours, Polymer Clay: Baking time as per instructions): Follow the drying or baking time based on the clay type used.
- Painting (30-45 minutes): Allow time for thin layers of paint to dry between coats.
- Sealing (Optional, 15 minutes): Applying a clear sealer if needed and allowing it to dry.
Overall, you’ll need around 1-2 hours of crafting time plus drying/baking time, so it’s ideal to start this project a day before you’d like to display the mushrooms.
Tips for Success
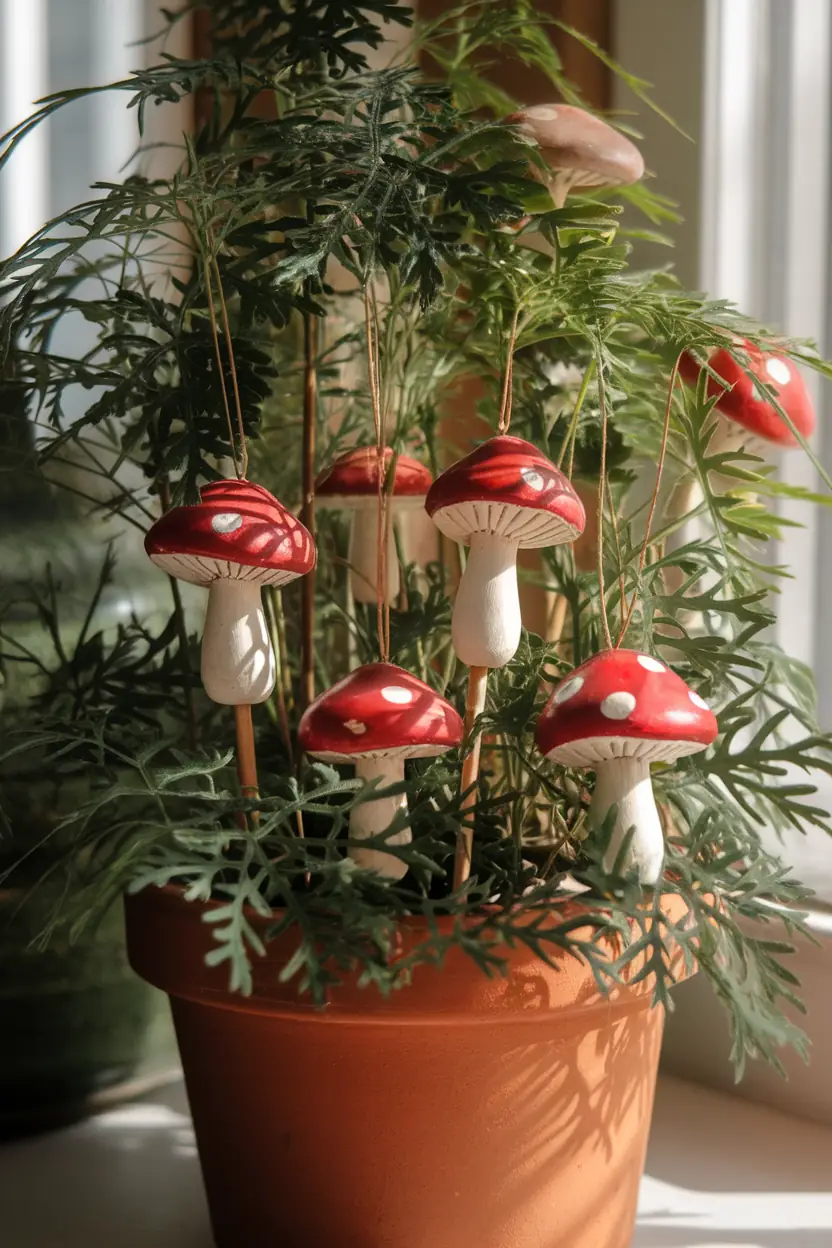
- Experiment with Sizes: Make mushrooms of various sizes to create a more natural look.
- Add a Rustic Look: Lightly brush the edges of the cap and stem with a bit of brown paint to give the mushrooms a rustic, earthy feel.
- Try Different Colors: While red and white are classic, feel free to experiment with other colors to match your decor style.
- Be Gentle with the Dots: When adding the white dots on the mushroom cap, use a fine-tip brush or even a cotton swab for a cleaner, rounder look.
- Let Kids Join In: This is a great project for kids! Just make sure they use non-toxic, kid-friendly paints and have a bit of guidance on how to shape the clay.
Extra Clarifications and Extra Tips For Making The Mushroom Craft
- Attach the Cap to the Stem Carefully
- When attaching the mushroom cap to the stem, make sure to press gently but firmly to secure it without deforming the shapes.
- If the clay is too soft, you may find it helpful to let each piece sit for a few minutes before assembling, so it’s slightly firmer and easier to handle.
- Allow for Complete Drying Time
- If you’re using air-dry clay, give it the full drying time recommended by the manufacturer, which is often around 24 hours. Rushing this step may cause the clay to crack or not hold paint well.
- If you’re using polymer clay, follow the baking instructions closely to avoid over-baking, which could cause the clay to darken or crack.
- Use Thin Layers of Paint
- When painting, apply thin layers and allow each layer to dry before adding the next.
- This prevents smudging and helps create a smooth, even finish. It’s better to do multiple light coats rather than a single heavy one to avoid streaks or clumps.
- Protect Your Work Area
- Clay and paint can be a bit messy, so lay down some newspaper or a disposable tablecloth.
- Have a damp cloth handy to wipe any messes right away.
Mistakes to Avoid While Making This
- Using Too Much Water When Smoothing Clay
- While a little water can help smooth out rough edges, too much can make the clay too soft, sticky, or hard to shape. Use just a small amount on your fingers if needed to smooth the surface gently.
- Skipping the Sealing Step for Outdoor Mushrooms
- If you’re planning to place the mushrooms outdoors, don’t skip the sealer! Without it, the paint can fade or wash away, and the clay might absorb moisture and crack. A clear acrylic spray or sealer will keep your mushrooms looking fresh and protected from the elements.
- Applying Paint Too Thickly
- Applying a thick layer of paint all at once can lead to streaks or smudges and can take longer to dry. Thin layers create a more polished look and dry faster, which is especially important if you plan to add more colors or details.
- Skipping Support for Larger Mushrooms
- For larger mushroom designs, inserting a toothpick or small stick in the stem before attaching the cap adds stability. This prevents the cap from falling off or shifting while the clay is drying.
Where Else to Use These DIY Mushroom Crafts for Decoration
Indoor Plant Pots
- Place small clay mushrooms in plant pots to add a pop of color and personality to your indoor greenery.
- They look especially cute nestled among ferns or succulents, giving a forest-like vibe to your plants.
Fairy Gardens
- Mushrooms are essential for any fairy garden.
- Use your crafted mushrooms to create a magical woodland scene, whether it’s in a corner of your garden, a large flowerpot, or even a small terrarium.
Bookshelves and Mantels
- Add a bit of whimsy to your bookshelves or mantel by arranging mushrooms among books, picture frames, or other small trinkets.
- They work well as playful accents that give any room a cozy, enchanted feel.
Holiday Tablescapes
- Incorporate mushrooms into your holiday table decor for a unique, nature-inspired look. Place them alongside candles, leaves, and other autumn or winter decorations to create a woodland-themed tablescape.
- They work beautifully for Thanksgiving or Christmas.
Outdoor Garden Beds
- For those who make more durable, weatherproof versions, add mushrooms to garden beds or flower borders.
- They blend in beautifully with plants and flowers, creating a fun and whimsical touch that brings the fairy tale aesthetic outdoors.
Window Sills and Entryways
- Brighten up your windowsill or entryway by placing small mushroom decorations in these areas.
- They’ll bring a little cheer to every day as you come and go, especially if you combine them with other natural elements like stones or pinecones.
Pro Tips to Make the Perfect Fake Mushrooms
Here are some expert tips to help you make your fake mushroom crafts look realistic, durable, and uniquely yours:
Use Varied Shapes and Sizes
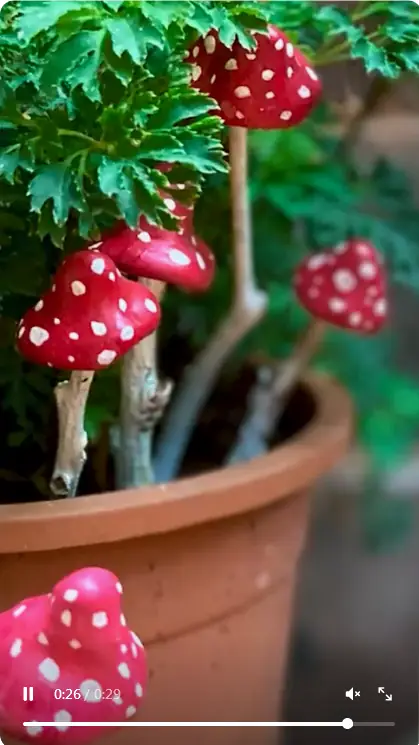
- Real mushrooms come in all shapes and sizes, so don’t be afraid to make your mushrooms a bit different from each other.
- Make some taller, some shorter, and vary the width of the caps to create a more natural, organic look.
Experiment with Colors
- Red and white are classic for toadstool mushrooms, but don’t be afraid to explore other colors like shades of brown, orange, or even pastel colors for a whimsical look.
- Adding subtle shading with a brush can create a more realistic effect.
Add Texture for Realism
- Use sculpting tools, a toothpick, or even a small paintbrush to add lines and grooves to the stem and cap.
- This detail can make your mushrooms look more realistic. For example, lightly score the underside of the cap to mimic mushroom gills.
Seal for Outdoor Use
- If you’re planning to use your mushrooms outside, be sure to seal them with a weatherproof, clear acrylic spray.
- This will help protect the paint and prevent the clay from absorbing moisture, keeping your mushrooms looking fresh and vibrant.
Create a Stable Base
- If your mushrooms will stand independently (like in garden beds or plant pots), make sure the bottom of the stem is flat, or use a small stick or toothpick inserted into the clay for added stability.
- This will help prevent them from tipping over.
Blend into Natural Surroundings
- To make the mushrooms look like they belong, add a bit of real moss, small stones, or dried leaves around them.
- This extra detail can create a seamless, fairy-tale effect, making them look like they sprouted naturally in your decor.
Use Fine Brushes for Painting Details
- For the little white dots on the mushroom caps or any other details, use a fine-tipped brush for precision.
- This will give your mushrooms a clean, polished look, and make each detail stand out nicely.
Let Your Creativity Shine
- Mushrooms are naturally whimsical, so let your creativity run wild!
- Try adding tiny faces, patterns, or even a sprinkle of glitter on the caps for a fantasy-inspired twist.
Common FAQs About Fake Mushroom Crafts
- What type of clay is best for making fake mushrooms?
- Air-dry clay and polymer clay are both great options.
- Air-dry clay is easy to work with and doesn’t require baking, while polymer clay can be baked for a sturdier finish.
- How can I make my mushrooms weatherproof for outdoor use?
- To make your mushrooms durable for outdoor settings, apply a clear acrylic sealer once the paint is dry.
- This helps protect them from rain and sunlight.
- What paint should I use to color the mushrooms?
- Acrylic paint works well for clay mushrooms.
- It’s easy to use, dries quickly, and offers vibrant colors. For extra durability, especially if using the mushrooms outdoors, seal the paint with an acrylic spray.
- Do I need to add anything to stabilize the mushrooms in my garden?
- For larger mushrooms, consider inserting a small wooden stick or toothpick into the clay stem before it dries.
- This gives it extra stability when you place it in soil or plant pots.
- Can I use other materials besides clay?
- Absolutely! You can use felt, fabric, or even recycled items like plastic bottles.
- Clay is just one option for creating durable, realistic-looking mushrooms.
Conclusion: Share Your Enchanting Mushroom Creations!
Creating mushroom crafts is a fun way to add a bit of whimsy and charm to your home or garden decor.
These DIY projects allow you to express your creativity, experiment with colors, and craft decorations that bring a bit of magic into any space. Whether you’re making tiny toadstools for plant pots or fairy garden mushrooms, there’s no limit to what you can create.
We’d love to see what you come up with!
Feel free to share your mushroom crafts on social media or with friends and family to spread inspiration. And if you enjoyed this guide, remember to save it or share it with others who love DIY decor.

