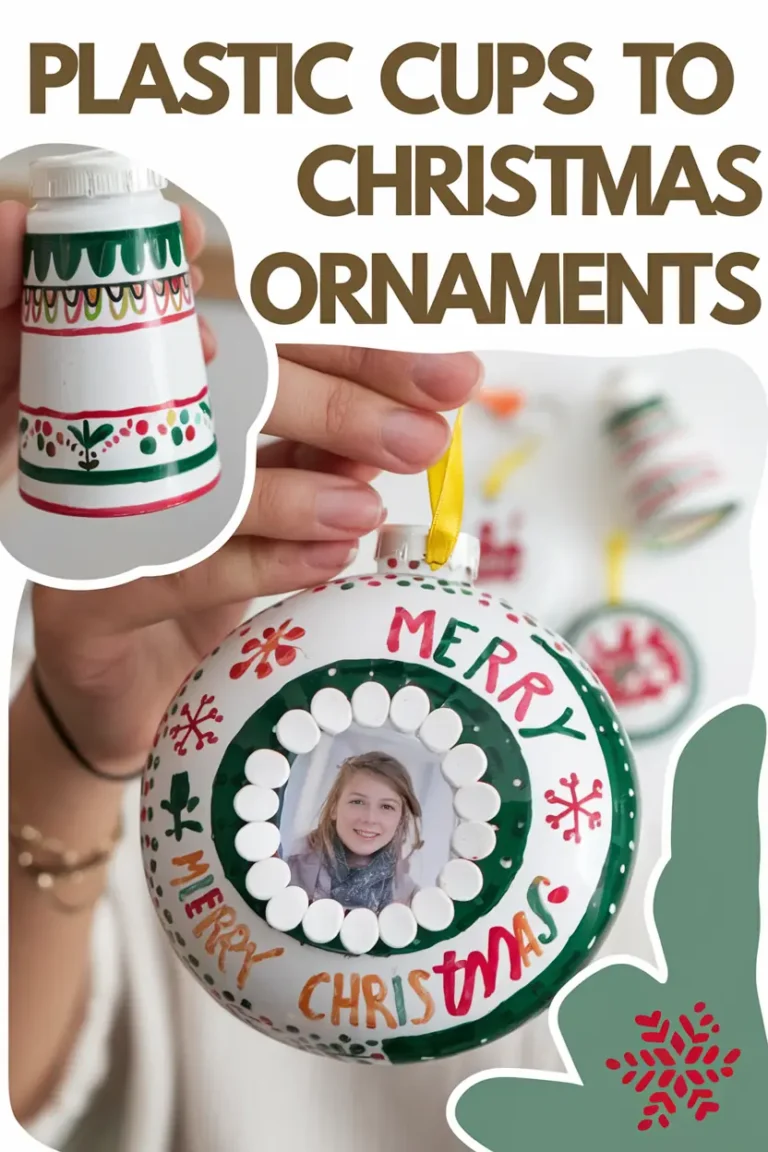
Ready to transform something ordinary into something extraordinary?
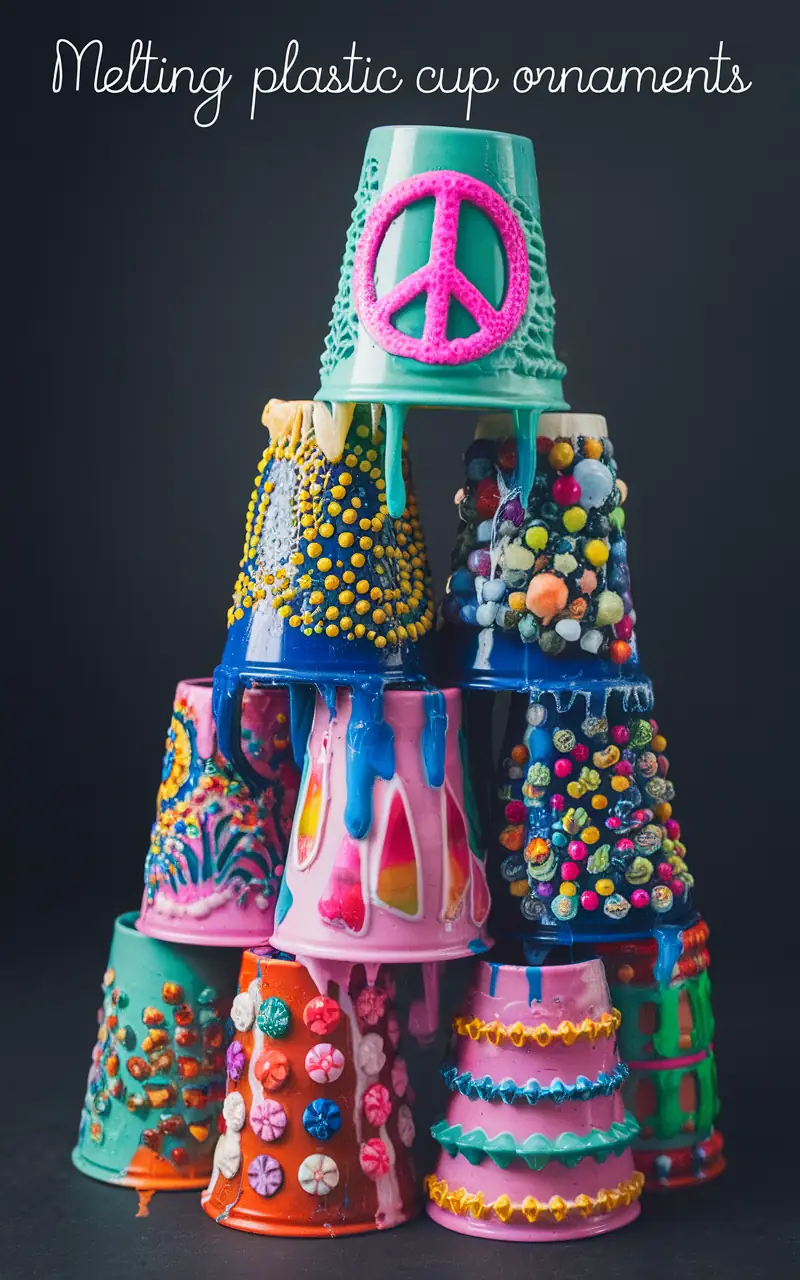
Melted plastic cup ornaments combine creativity with sustainability. This craft is perfect for anyone looking to reduce waste while having fun.
From quirky Beaded Ornaments to elegant Recycled Art pieces, there’s something magical about melting plastic into shimmering designs.
In this tutorial, we’ll show you how to create eye-catching decorations using Plastic Cups, markers, and a little heat.
Whether you’re a beginner or an experienced crafter, you’ll find ideas to match your style, from Summer Crafts to festive inspired designs.
Why You’ll Love This Article:
- Eco-Conscious Crafting: Turn old cups into beautiful, functional art.
- Kid-Friendly: Safe and engaging for kids of all ages, including Ornaments For Kindergarteners To Make.
- Versatile Designs: From Sharpie Christmas Ornaments to colorful Melted Bead Ornaments, the options are endless.
- Gift-Worthy Results: Impress your loved ones with personalized holiday treasures.
Step By Step Process For Making Plastic Cup Ornaments
Materials Needed
- Plastic Cups (preferably #6 plastic cups) – Look for colorful or patterned plastic cups to create vibrant ornaments. If using clear cups, you can decorate them with Sharpie markers to add your own designs.
- Sharpie Markers – If the cups are clear, decorate them with patterns, stripes, or holiday motifs.
- Ribbon or String – For hanging the finished ornaments on your tree.
- Hole Punch – To create a small hole for the ribbon after melting.
- Baking Sheet – A flat, metal baking sheet for baking the cups safely in the oven.
- Aluminum Foil or Parchment Paper – To line the baking sheet and prevent the cups from sticking.
- Oven Mitts – For safely handling the baking sheet when removing it from the oven.
- Oven – To melt the cups, typically preheated to 250°F to 350°F.
Process Steps
- Preheat the Oven
Set your oven to 250°F to 350°F. The exact temperature can vary depending on the plastic cup type, so start on the lower end and gradually increase if needed. - Prepare the Baking Sheet
Line your baking sheet with aluminum foil or parchment paper. This will protect the baking sheet from any residue and prevent the cups from sticking. - Decorate the Cups (Optional)
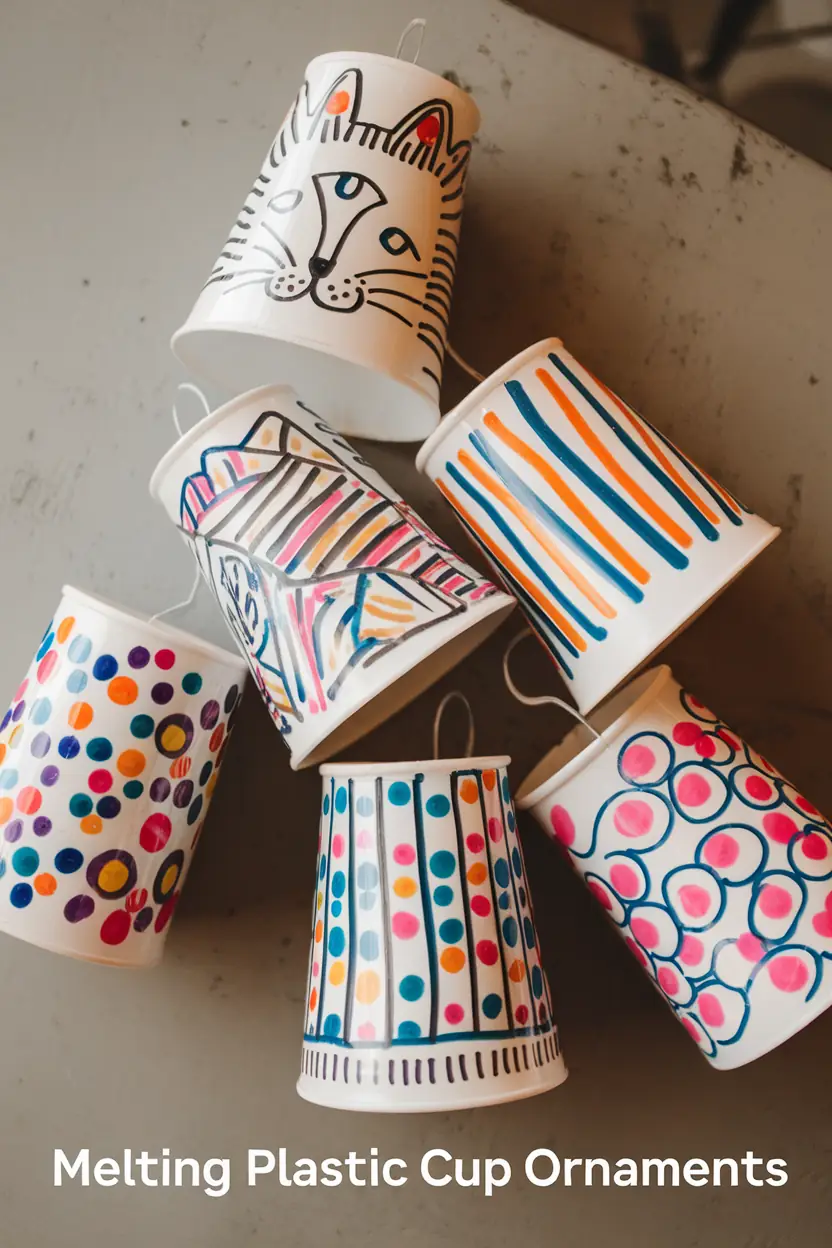
If you’re using clear plastic cups, decorate them with Sharpie markers. Draw stripes, dots, holiday designs, or even a Patchwork style to create unique patterns. Remember, the design will condense when melted, so bold colors and larger patterns work best. - Place Cups on the Baking Sheet
Arrange the plastic cups on the baking sheet with the open end facing down. Ensure there is enough space between each cup to allow for expansion and melting without them sticking together. - Bake and Watch Closely
Put the baking sheet in the preheated oven. Watch carefully as the melting process happens quickly, usually within 1-2 minutes. The cups will start to shrink and flatten out into circular discs. When they have completely melted and are flat, carefully remove the baking sheet from the oven. - Let the Ornaments Cool
Allow the melted cups to cool for a few minutes on the baking sheet. They will harden quickly, so you don’t have to wait long. - Punch a Hole
Once cooled, use a hole punch near the edge of each melted ornament to make a hole for hanging. - Attach Ribbon
Thread a piece of ribbon or string through the hole and tie a knot to create a loop for hanging. Trim any excess ribbon if needed.
Time Estimate
Making melted plastic cup ornaments typically takes 15-20 minutes:
- Preparation (decorating cups with Sharpies and arranging on the tray): 5-10 minutes
- Baking and Cooling: 2-5 minutes in the oven, then another 2-3 minutes for cooling
- Finishing Touches (punching holes, attaching ribbon): 2-3 minutes
Tips for Success
- Keep an Eye on the Oven: Melting plastic can go from perfect to too far in seconds. Stay close to the oven to remove the tray at the right time.
- Ventilation: Melted plastic can release fumes, so ensure your kitchen is well-ventilated. Open a window or turn on an exhaust fan.
- Thicker Designs Work Best: When using Sharpies to draw designs, remember that details may compress as the plastic melts. Bold and broad designs generally work better than intricate details.
Additional Tips and Clarifications:
To help you make these ornaments without any issues, here are a few extra tips and clarifications that might come in handy:
- Using the Right Type of Plastic: Make sure the cups are labeled as #6 plastic (polystyrene). This type melts and flattens well, creating a smooth, ornament-like finish. Other types of plastic may not melt the same way and could release more fumes.
- Ventilation Tip: Since you’re melting plastic, it’s always best to have a well-ventilated area. Open a window or use a fan to keep the air fresh, especially if you’re making multiple ornaments.
- Timing is Key: Keep a close eye on the cups while they’re in the oven. The melting process usually only takes 1-2 minutes at the correct temperature. Once they start to flatten out, they’re ready to come out. Overheating can warp them or cause uneven melting.
- Handling Hot Plastic: When you take the baking sheet out, the plastic will cool and harden quickly, so be careful not to touch it right away. Let it sit on the tray for a minute or two until it’s completely cooled and solid before handling.
- Using Sharpies for Designs: If you’re decorating with Sharpies, remember that bold, larger designs look best because the melting process can compress finer details. Try stripes, dots, or patchwork designs in holiday colors.
- Experimenting with Shapes: You can also experiment with different shapes if your cups allow for it. For example, some people use small cups to create smaller ornaments or cut sections of larger cups for variety.
Mistakes to Avoid While Making Melted Plastic Cup Ornaments
- Using the Wrong Plastic Type: Only #6 plastic cups (polystyrene) will melt and flatten properly to create these ornaments. Using other types of plastic can result in uneven melting or produce unpleasant fumes.
- Overheating the Cups: Melting plastic at too high a temperature or for too long can lead to uneven shapes or even burn marks on the plastic. Stick to 250°F – 350°F and keep an eye on the cups, as they usually melt within 1-2 minutes.
- Ignoring Ventilation: Melting plastic can release fumes, so make sure to do this craft in a well-ventilated area. Open a window or use a fan to help clear the air.
- Touching the Plastic Too Soon: The melted plastic cools quickly, but it’s still very hot right out of the oven. Let it sit for a minute or two to avoid burns or warping the design.
- Not Watching the Oven Closely: Plastic cups can melt quickly, so don’t walk away. Have all your materials ready, and once the cups go in, watch them closely to ensure they don’t over-melt or warp.
- Using Too Many Colors or Fine Details: Since the plastic shrinks and compresses, intricate designs can lose clarity. Stick to bold, simple patterns or larger designs to make the final look pop.
Pro Tips to Make the Best Melted Plastic Cup Ornaments
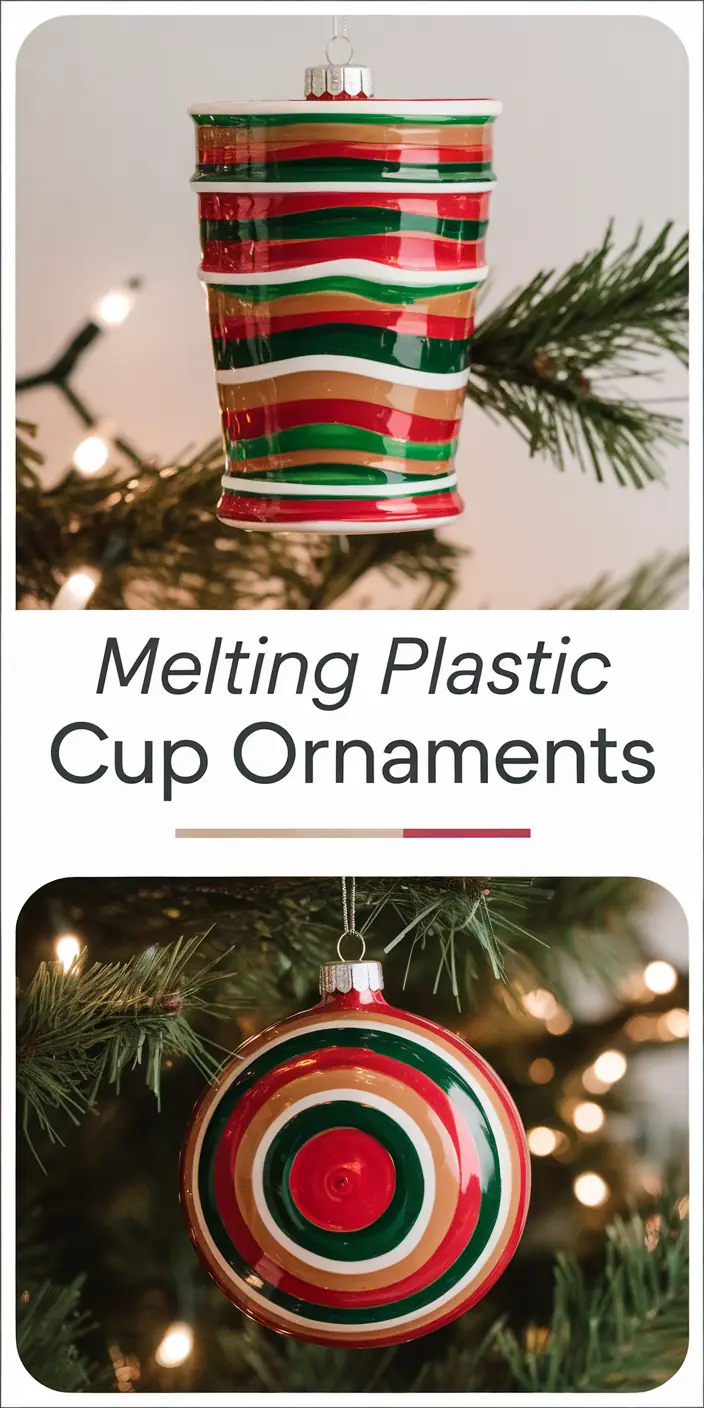
- Choose the Right Colors: Use holiday colors like red, green, white, and gold for a classic Christmas look. Sharpies work well, but you can also experiment with metallic markers for a shiny effect.
- Test One Cup First: If you’re new to this craft, try melting one cup as a test before doing a batch. This lets you get comfortable with the timing and melting process, so your final ornaments turn out just right.
- Experiment with Patterns: Bold patterns like stripes, polka dots, or zigzags tend to look fantastic when the plastic compresses. Avoid intricate details that might get lost in the melting.
- Preheat Your Oven Properly: Start with a low temperature and gradually increase if needed. 250°F is a safe starting point. Every oven varies slightly, so avoid going straight to high heat.
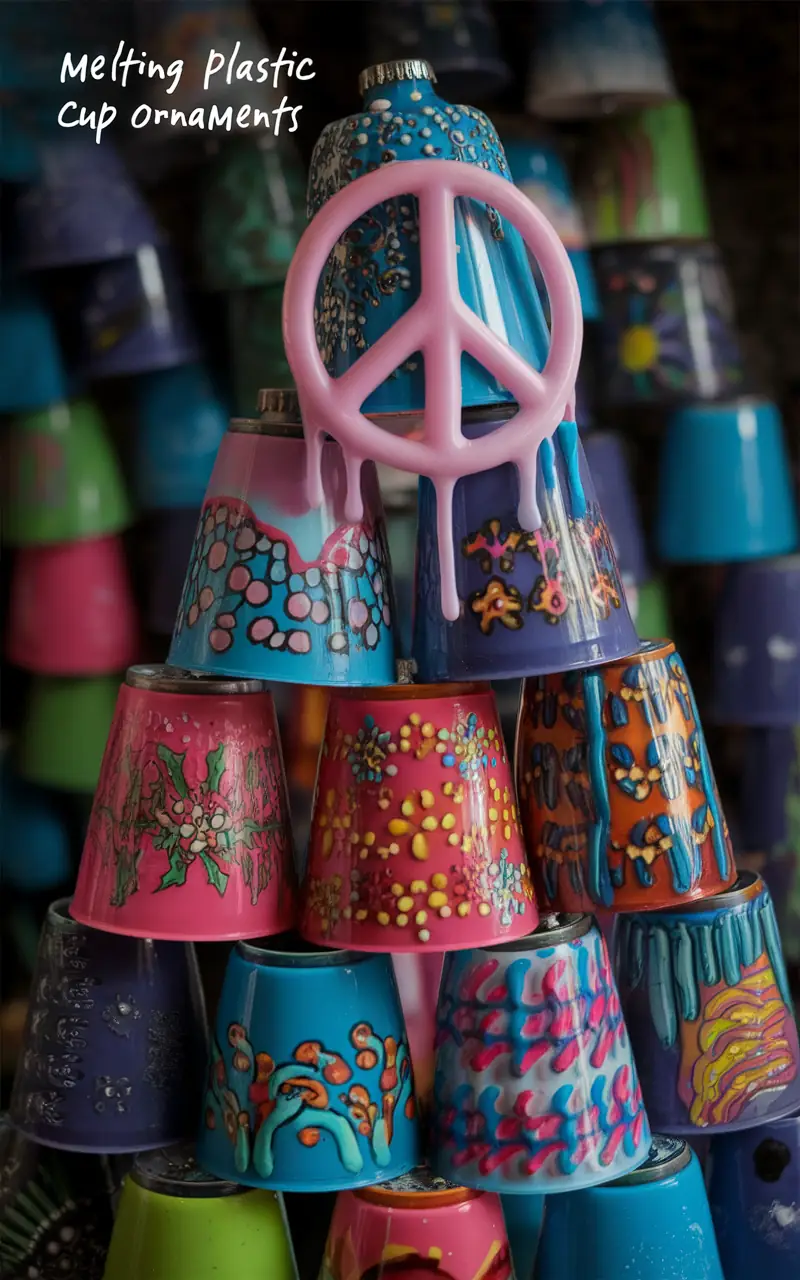
- Add a Little Extra Decoration: Once melted and cooled, you can embellish your ornaments further. Try adding small beads, glitter, or even a light coat of spray sealant for shine.
- Punch the Hole While It’s Warm: If you have trouble making the hanging hole after it’s fully cooled, try gently punching it when the plastic is still slightly warm (but not too hot to touch). This can make the process easier.
- Keep Safety in Mind: Be cautious of fumes from melting plastic. Try this project in a well-ventilated area and consider using a dedicated crafting tray for melting plastic, separate from trays used for food.
- Personalize Your Ornaments: If you’re gifting these ornaments, try adding initials or a small holiday greeting on each one. Kids can make unique designs for family members, adding a special touch.
- Seal for Longevity: After you finish, consider applying a light coat of clear sealant spray to make the colors pop and add a touch of durability, especially if you plan to use them year after year.
Making Drawings and decorating Plastic Cups With Sharpie markers
Materials Needed:
- Plastic cups
- Permanent markers (Sharpies work well for vibrant colors)
- Oven and baking sheet
- Parchment paper (to protect your baking sheet)
- Hole punch or needle (for creating a hole to hang the ornament)
- Ribbon or string (for hanging)
Steps:
- Decorate the Cups: Use markers to draw fun designs, patterns, or doodles on the outside of each plastic cup. You can try polka dots, stripes, or even holiday-themed designs.
- Preheat the Oven: Set your oven to 250°F (120°C).
- Prepare the Baking Sheet: Line the baking sheet with parchment paper to protect it and place the decorated cups upside-down on the sheet.
- Melt the Cups: Place the baking sheet in the oven and watch closely. The cups should begin to melt and flatten within 1-2 minutes. Once they flatten completely, remove them from the oven.
- Cool and Shape: Let the ornaments cool for a minute. If you want to add a hole for hanging, punch it while the plastic is still slightly warm.
- Add String or Ribbon: Thread a piece of ribbon or string through the hole, and your melted plastic cup ornament is ready to hang!
Creative Designs to Try
Shrinky Dink Cup Ornaments: How to Add Fun Illustrations
Take inspiration from Shrinky Dinks by drawing detailed illustrations or fun patterns on the cups before melting. Use Sharpie markers to create vibrant designs, such as cartoon characters, abstract patterns, or holiday motifs like candy canes and snowflakes. When melted, the designs shrink and intensify, creating a bold and colorful effect. This is perfect for personalizing each ornament with your own creative flair.
Beaded Christmas Ornaments: Adding Texture with Beads or Sequins
Elevate your melted cup ornaments by incorporating texture. After the cup has melted and cooled, use hot glue to attach beads, sequins, or small rhinestones around the edges or as accents. Create intricate patterns, like spirals or snowflakes, to give your ornament a unique sparkle.
This design is ideal for anyone looking to craft ornaments that catch the light and stand out on the Christmas tree.
Clear Plastic Cup Ornaments: Ideas for Elegant, Transparent Designs
For a minimalist, elegant look, stick with clear plastic cups and use metallic or white markers to draw subtle designs like stars, dots, or swirling patterns. You can also melt the cups without any design and then decorate them with gold or silver glitter glue.
These clear designs look stunning when paired with tree lights, creating a magical glowing effect.
Kid-Friendly Crafts
Kindergarten Ornaments Craft: Simple and Safe Ideas for Little Ones
Kindergarteners will love making simple and colorful ornaments. Provide them with non-toxic markers and let them decorate plastic cups with dots, stripes, or smiley faces. Adults can handle the melting process, but kids will be thrilled to see their designs transform into unique ornaments. It’s a great way to combine creativity with a touch of science!
Ornaments for Kindergarteners to Make: Fun Shapes Like Stars and Snowflakes
Cut the cups into basic shapes, such as stars, hearts, or snowflakes, before melting. Let kids decorate the shapes with bold colors and glitter glue. Once melted, these pre-cut designs retain their festive forms, giving kids a sense of accomplishment as they see their handmade creations sparkle on the tree.
Preschool Christmas Projects: Easy Decorating with Colorful Sharpies
Preschoolers can join in on the fun with colorful Sharpies and stickers. Encourage them to scribble or draw their favorite patterns on the cups. After melting, these random bursts of color turn into playful ornaments that kids will proudly display. Add string or ribbon for easy hanging, making it a delightful addition to any holiday craft session.
Displaying and Using Your Ornaments
How to Hang Your Ornaments on the Tree with Cup Hooks
Hanging your ornaments is easy with cup hooks or small ornament hangers.
After melting and decorating your plastic cups, use a hole punch to create a small hole near the top edge. Screw in a small cup hook or attach a ribbon or string loop for hanging.
This method ensures your ornaments are secure and easy to display on branches, keeping them in place no matter how much you rearrange your tree.
Decorating Tips for Plastic Cup Tree Ornaments
Plastic cup ornaments can be more than just tree decorations—they can create a themed masterpiece!
Mix clear plastic ornaments with glittery or colorful designs to create depth and texture on your tree. Arrange them alongside fairy lights to enhance their shine.
For a cohesive look, stick to a color palette like red, gold, and white, or go bold with rainbow hues. You can also cluster smaller ornaments at the top of the tree and larger ones near the bottom for balanced visual appeal.
Using Melted Ornaments for Table Settings or Gift Tags
Get creative with your melted ornaments by using them beyond the tree.
Add a festive touch to your holiday table by placing an ornament on each plate as a decorative place setting. Attach a small name tag to transform them into personalized seating markers.
Alternatively, tie your melted ornaments to gift packages with ribbon as unique gift tags. Not only are they practical, but they also double as a keepsake the recipient can hang on their own tree.
FAQs About Melted Plastic Cup Ornaments
1. What type of plastic cups work best for melting?
Look for #6 plastic cups, as they shrink and melt evenly when heated. You can usually find this number on the bottom of the cup.
2. Are melted plastic cup ornaments safe to make?
Yes, as long as you use proper ventilation while heating the cups. Melting plastic can release mild fumes, so ensure your kitchen is well-ventilated or use an exhaust fan.
3. Can I use any markers for decorating?
It’s best to use permanent markers, like Sharpies, as they won’t smudge during the melting process. Washable markers may fade or run.
4. How can I fix a mistake in my design?
Before melting, you can remove marker mistakes with rubbing alcohol on a cotton swab. Once melted, the design becomes permanent.
5. What’s the best way to hang these ornaments?
Punch a small hole near the edge while the plastic is still warm, then loop a ribbon or string through it. If you forget to punch the hole, you can glue a small hook or hanger on the back.
6. Can I add other embellishments?
Absolutely! You can glue sequins, glitter, or small beads onto the ornament after it cools for extra flair.
7. Are these crafts kid-friendly?
Yes, kids can decorate the cups, but an adult should handle the melting process for safety.
8. How do I prevent the cups from sticking to the baking sheet?
Always use parchment paper or a silicone baking mat to avoid sticking.
9. Can I create larger ornaments?
Larger designs might require experimenting with bigger cups, but keep in mind they’ll shrink proportionally. Use only plastic items that are labeled as #6.
10. How do I clean melted plastic if it spills in the oven?
Let the oven cool completely, then gently scrape off the plastic using a plastic scraper. For residue, use a baking soda paste or vinegar to clean the surface.
Conclusion: Share Your Melted Plastic Cup Ornaments!
Crafting melted plastic cup ornaments is a fun and creative way to add a personal touch to your holiday decorations. These ornaments are easy to make, budget-friendly, and perfect for kids and adults alike.
Whether you’re adding color to your Christmas tree or creating custom gifts, these ornaments are guaranteed to bring festive cheer.
Get started with your supplies and let your imagination take over! Don’t forget to share your beautiful creations with family and friends or even gift them as thoughtful keepsakes.
Save this article for future reference and inspire others by sharing it on Pinterest or social media.
Let’s spread the joy of crafting one ornament at a time! Happy Crafting!

